If you are just starting out in wood working then you will need to learn the tricks to getting straight and accurate cuts. Many people try to free hand the cut by following the line with their circular saw only to have a wobbly cut in the end. There is a secret that many have used before me. If you have never seen this contraption then you will be as amazed as I was when you finally get you see it.
For along time I had been using clamps and a straight (or as straight as I could find at the box store) 2x4 to clamp down and run my saw against to make a straight line.
Now this works but it doesn't work well. The main issue is you need to know the distance from the straight edge to the blade. This may not be a factor for you but you are basically taking a second measurement for the distance of the blade and then clamping the straight edge to the second set of measurements. This all can compound and with a small amount of inaccuracy cause your cut to be slightly off or in my case way off. There are many ways to accomplish a straight cut with a circular saw but I will show you my tried and true method that works similar to a track saw.
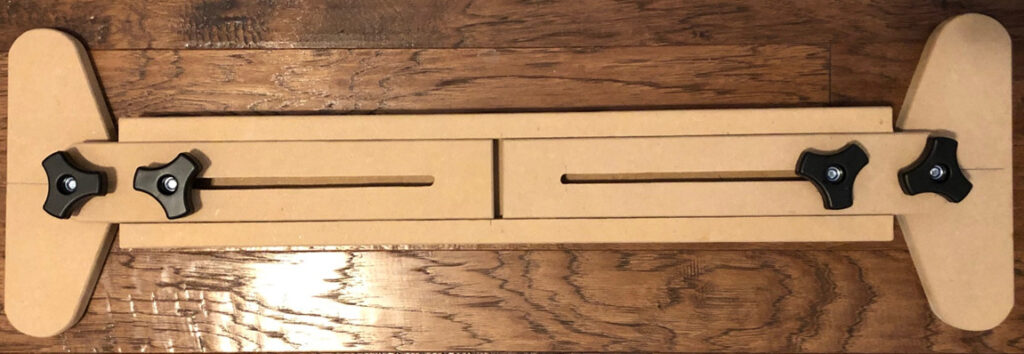
With my DIY track I can place the edge of the track on the exact line I need cut and know that my saw is going to cut right on the line. This was first introduced to me as being called a Door Board. Basically we will be creating a track
Why make a circular Saw Guide instead of buying a Track Saw?
Okay this is an easy one. Go buy a track saw if you have the means to purchase one. I like the challenge of making something instead of buying it. Don't believe me? Go look at my Stair Tread Jig video.
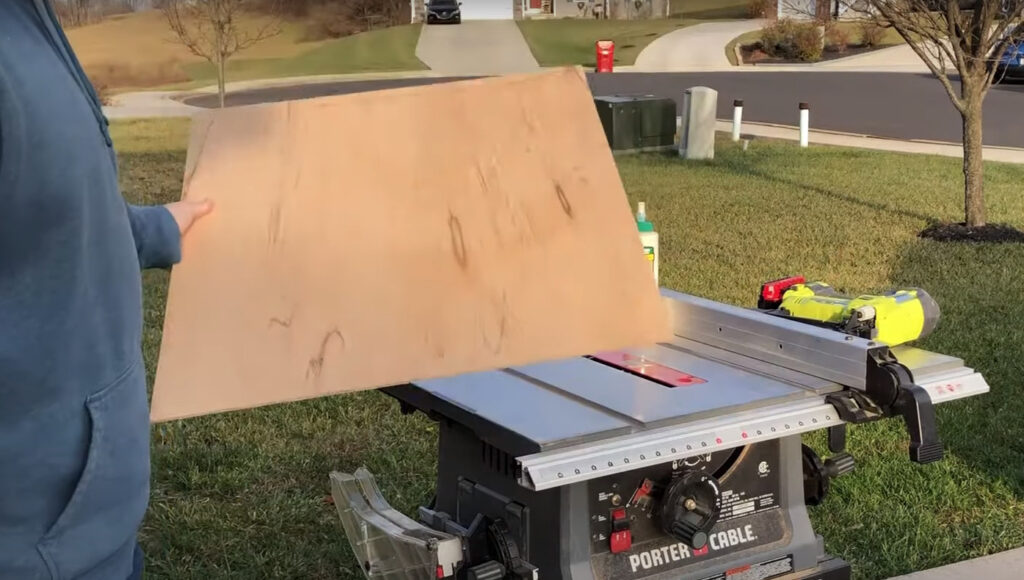
When you purchase a track saw you will need the saw itself, and the saw tracks. These are usually purchased individually. Also the tracks come in two short lengths that need to be purchased separately. So you will have spent a small fortune before you can even purchase your 80 dollar plywood you need to cut. I'll admit I have always wanted a track saw and just purchased one recently. I will say it's a game changer but also more convenient.
By making this guide all you would need is some scrap wood, glue and a circular saw. That's why this is an option over purchasing a track saw if you are just starting out and want to save money.
How to Make a DIY Circular Saw Guide
First you need to purchase a circular saw. Make sure your saw is adjustable and that you will have enough room for the throat plate to sit on top of the guide and the blade will still go through the material you plan to cut. It doesn't matter if your saw is a magnesium plate or pressed steel plate.
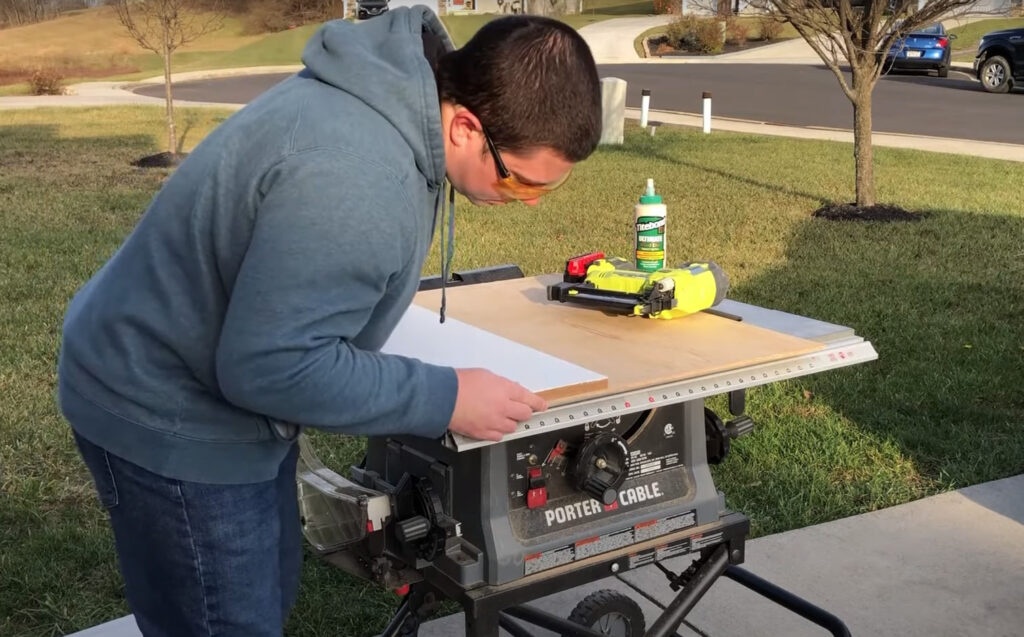
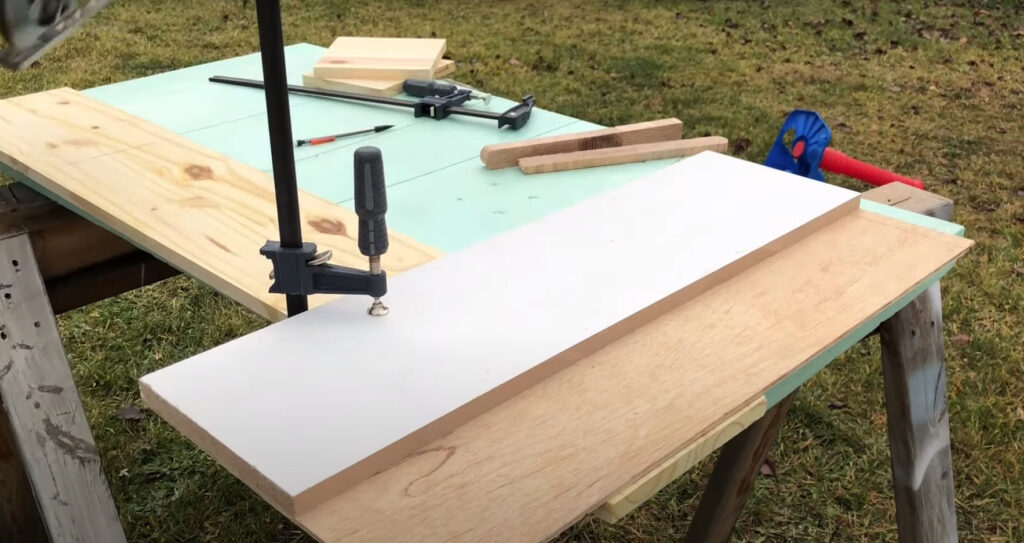
For my track I used 1/4 inch plywood and 3/4 inch mdf. You can use whatever you have on hand that is close to the dimensions. The 3/4 inch piece needs to be 2 inches up to about 6 inches in width ( this is the part you will be using as a straight edge and clamp face). The 1/4 inch piece needs to be the width of the 3/4 inch piece plus the width of the throat plate of the circular saw plus about 1/4 inches. You will be cutting the extra off which will be the 1/4. You need to leave this extra to make sure you have enough for any variance on the straight edge or if you glue it crooked.
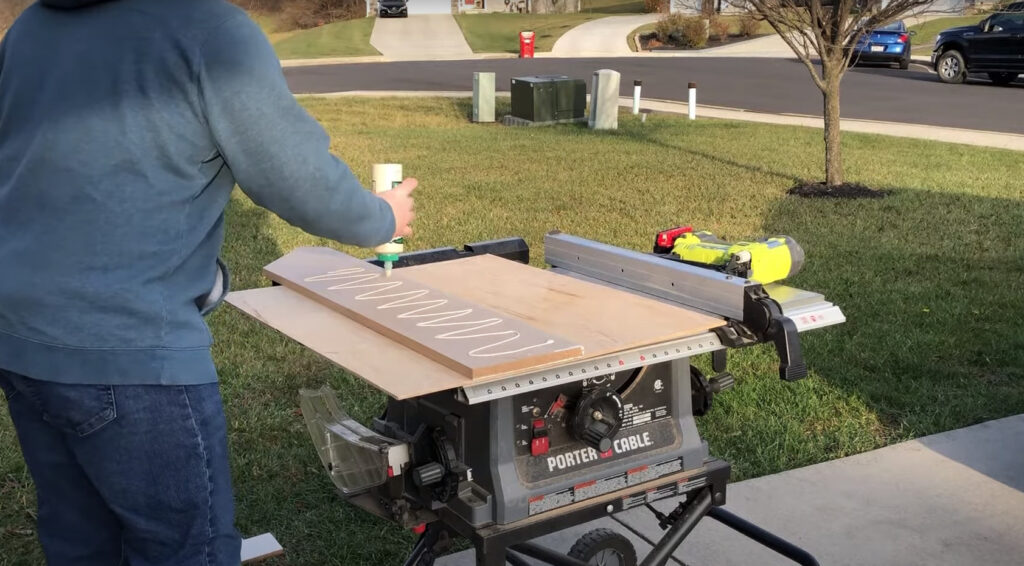
Now keep in mind you can make this jig as long as you want. Do you want to cut 8 feet or 4 inches. As long as you have the two wood pieces wide enough you can make the length whatever you want. A lot of people use this method to make 8 foot tracks to cut down sheet goods.
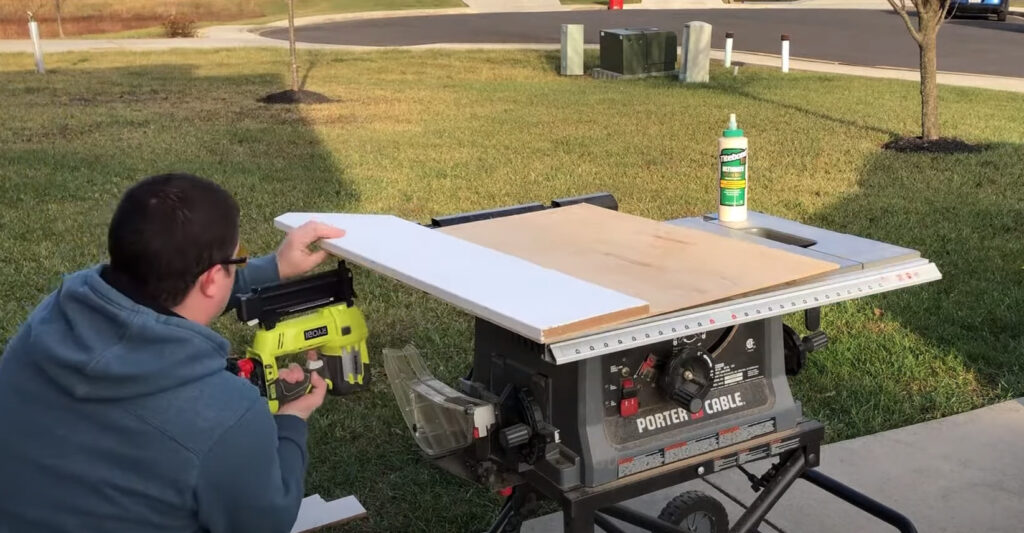
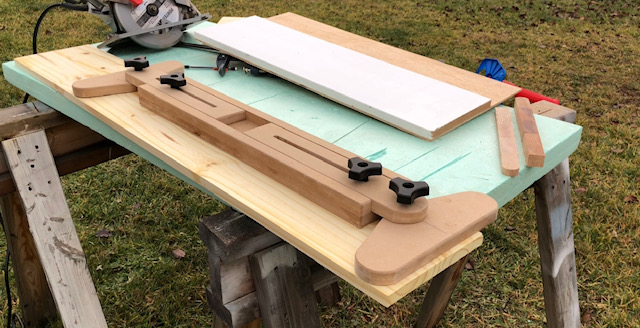
Once you have the pieces glued together you can nail them if you are impatient like I am or you can just clamp them and let the glue dry.
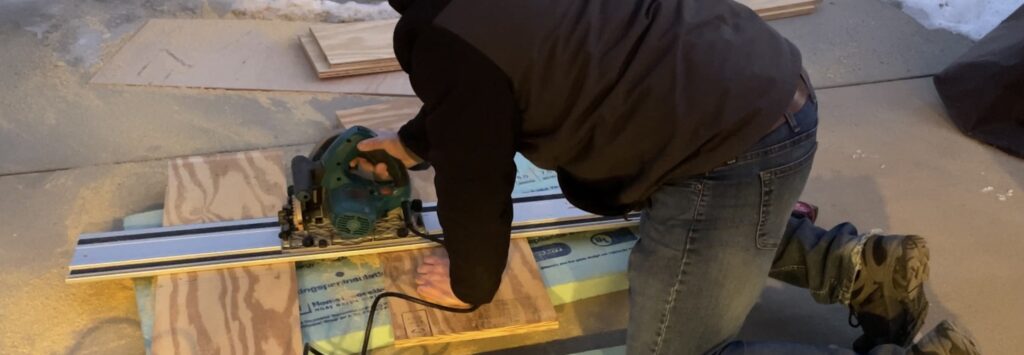
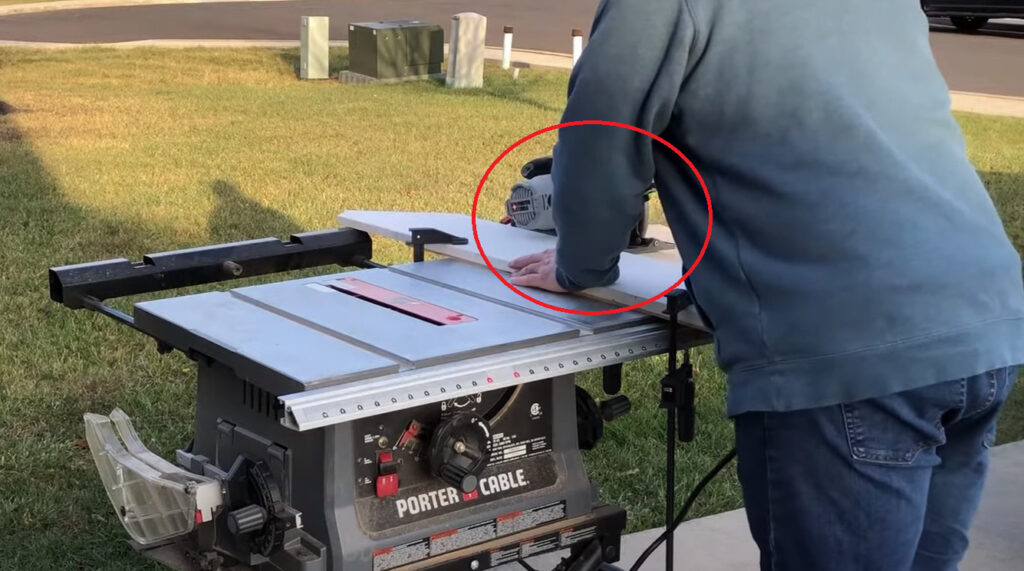
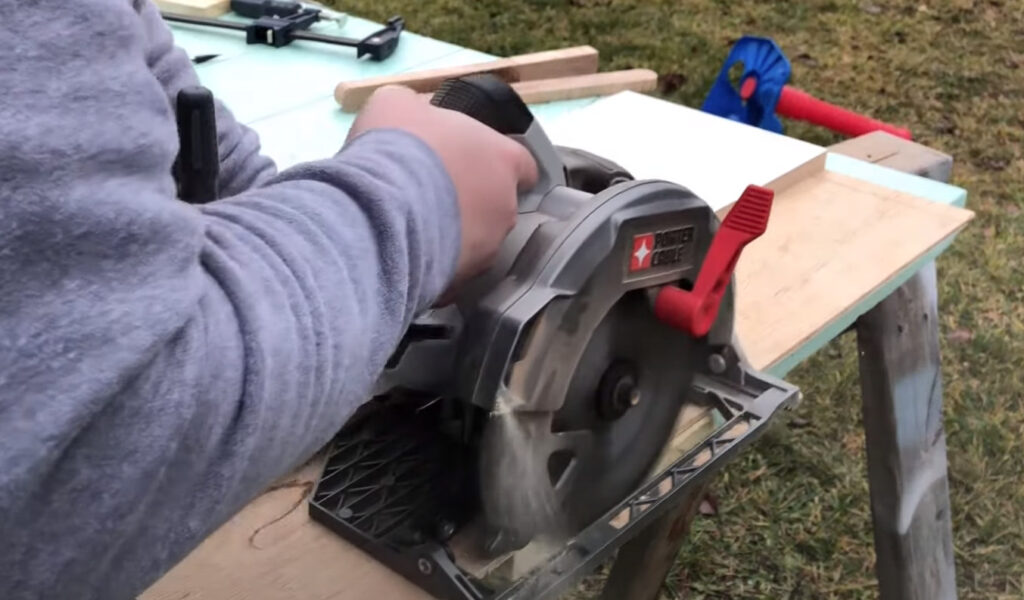
Next you will need to cut off the extra on the right edge. You will do this by running your saw against the left straight edge and cut the extra plywood off. This will reveal a straight edge to place on your cutting line. You will now know that wherever you clamp the right side of your jig the blade edge will cut on that line.
If you are a visual learner I have also included a video below.
Video: How to cut straight with a DIY Circular Saw Guide
How to use a Circular Saw Straight Cutting Track
So you made your jig following these instructions. Now you want to cut something straight. All you need is the straight Jig and a clamp. Make sure you measure your cutting line at both ends so you can place the jig across the two points to make the straight line. Then clamp your jig down with either one or two clamps. You can use C clamps or an F style Clamp like I did. I also use the squeeze clamps if I have them handy.
Then place your saw in the track before the work piece and glide the saw against the straight edge. Follow this edge until you have cut through your work piece. You should now have a straight cut with little effort.
Tools used for this build
- Ryobi Brad Nailer
- Porter Cable Circular Saw
- Mechanical Pencil
- Titebond Glue
Thank you for coming along with me on this project. Check back for more interesting builds.