Did you know that you could transform your backyard into a refreshing oasis with a DIY stock tank swimming pool? In this post I’m going to show you how I selected the perfect spot and how to install your pool step-by-step. Follow along and I’ll show you how to create your backyard oasis whether you’re a seasoned DIY enthusiast or first time backyard project adventurer get ready to create your own slice of summer from start to finish.
Here is everything you need to setup your stock tank pool like mine
Getting started, you will need to gather the necessary materials for your stock tank pool. This is how I built mine but you can search around online and see there are many different types of builds. You can use the stock tank without a liner. You can also skip cutting holes in the side and drape the lines in. Some have made custom PVC piping that hangs on the side. Either way this guide can be a starting point for you to determine what your build will look like.
Below you will see the items that I purchased for our stock tank pool. I bought the last stock tank at Family Farm and Home in 2020. They were out of stock everywhere and had a long wait time to order. Now I think its easier to find them and I have provided multiple links if you have different farm supply store options around you.
You can find the link to the item by clicking on the individual links or clicking the photo.
| Item | Description | Link | Photo |
| Stock Tank | Tarter 8ft Stock Tank (Mines from Family Farm and Home) | Family Farm and Home Tractor Supply Rural King | 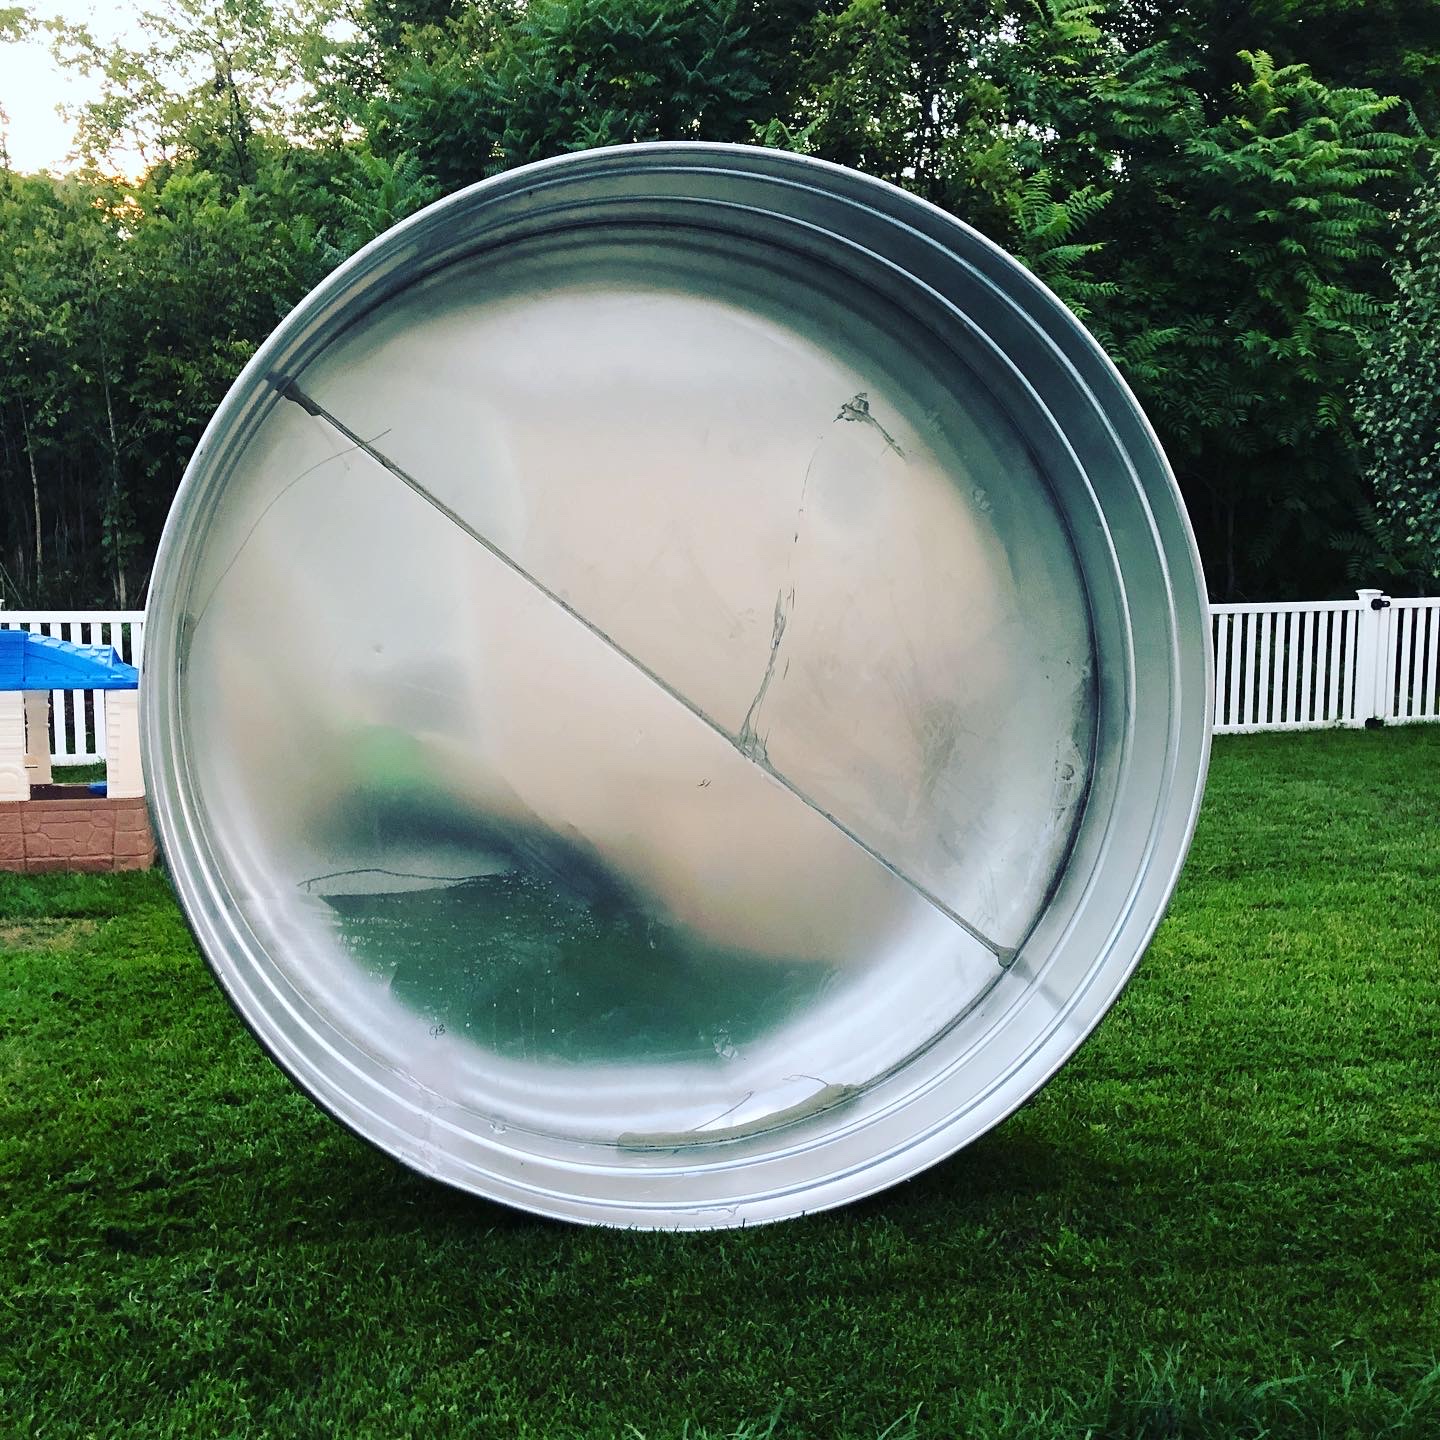 |
| Inlet and Return | 1.5" Line Outlet Strainer & Inlet Nozzle with Plunger Valve | Amazon - Inlet and Return | 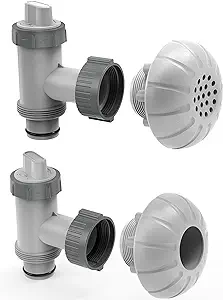 |
| Pool Sand Filter | Intex Sand Filter 2100 GPH Pump | Amazon - Intex Sand Filter | 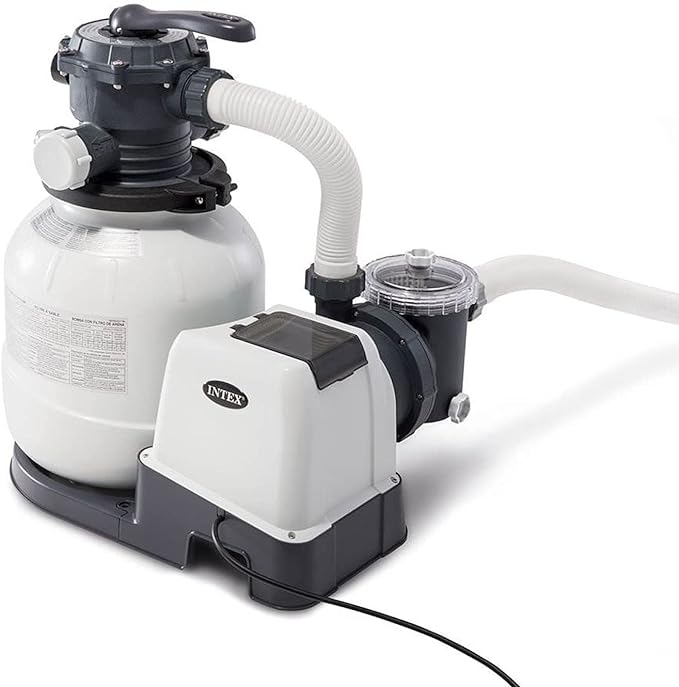 |
| Pool Liner | 8ft Pool Liner (Mines from Familypoolfun.com) | Amazon - 8 ft Liner FamilyPoolFun.com |  |
| Pool Noodles | Standard Pool Noodles (Mine are from Walmart) | Amazon - Pool Noodles Walmart - Pool Noodles |  |
| 100% Silicone | 100% Silicone, General Purpose, Make sure its 100% Silicone (I used this same type and brand) | Amazon - Silicone | 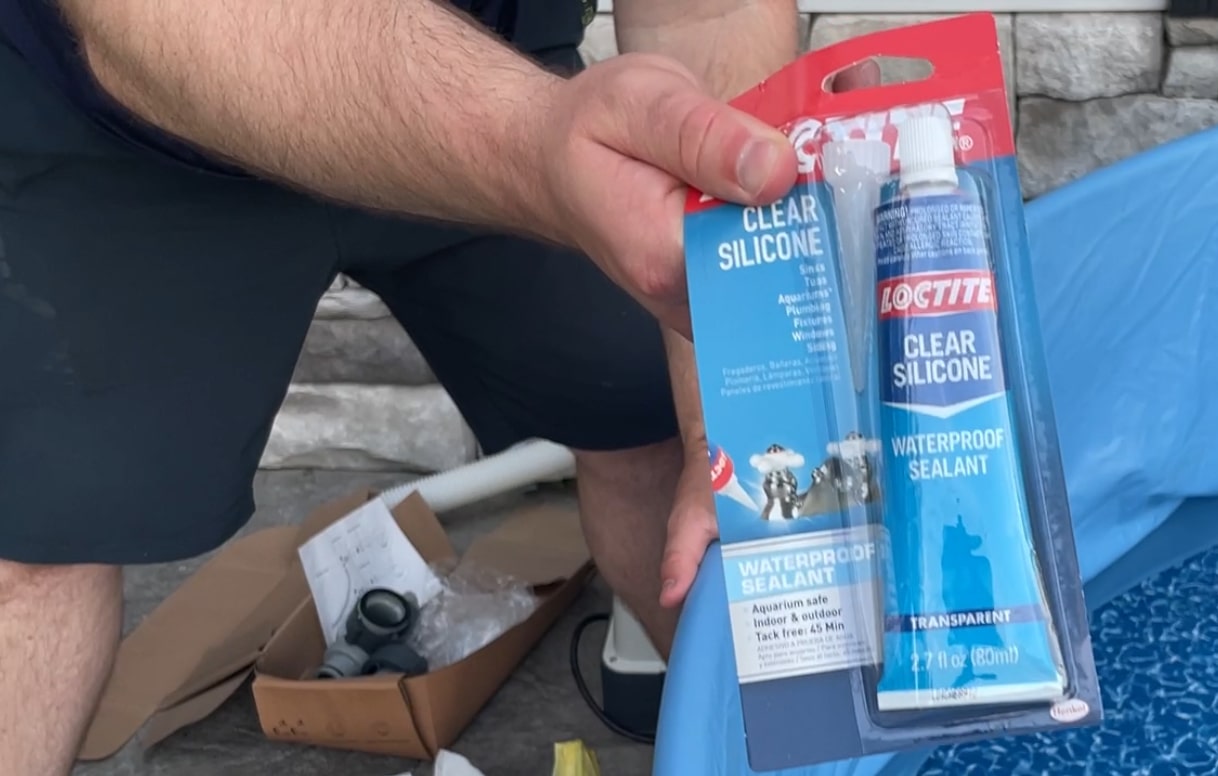 |
| Foam Padding | Foam Padding 1/2 (Mines from Lowes due to convenience) | Lowes - Foam Amazon - Foam | 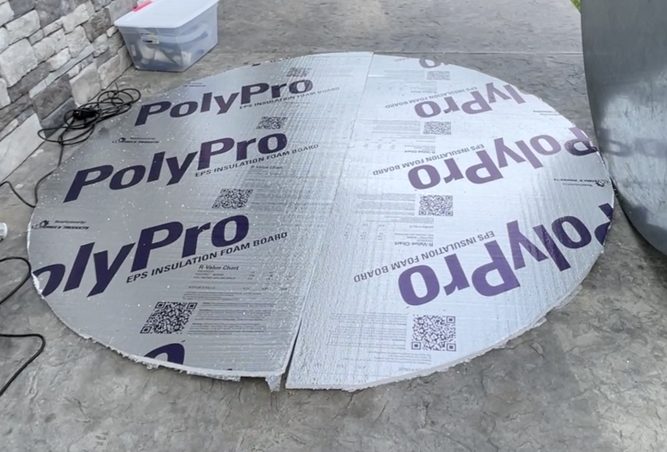 |
| Pool Thermometer | Floating Pool Thermometer | Amazon - Floating Thermometer | 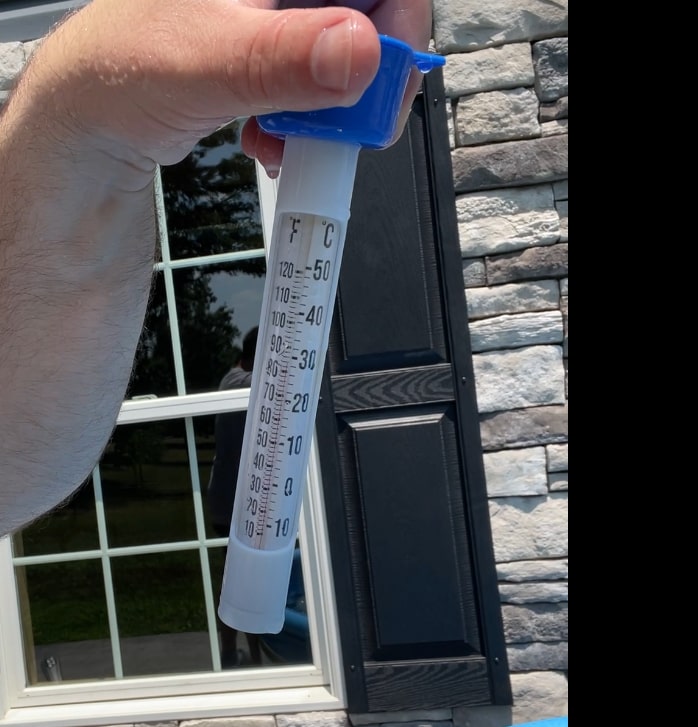 |
| Chlorine Floater | Floating Chlorine Tablet Dispenser | Amazon - Chlorine Dispenser | 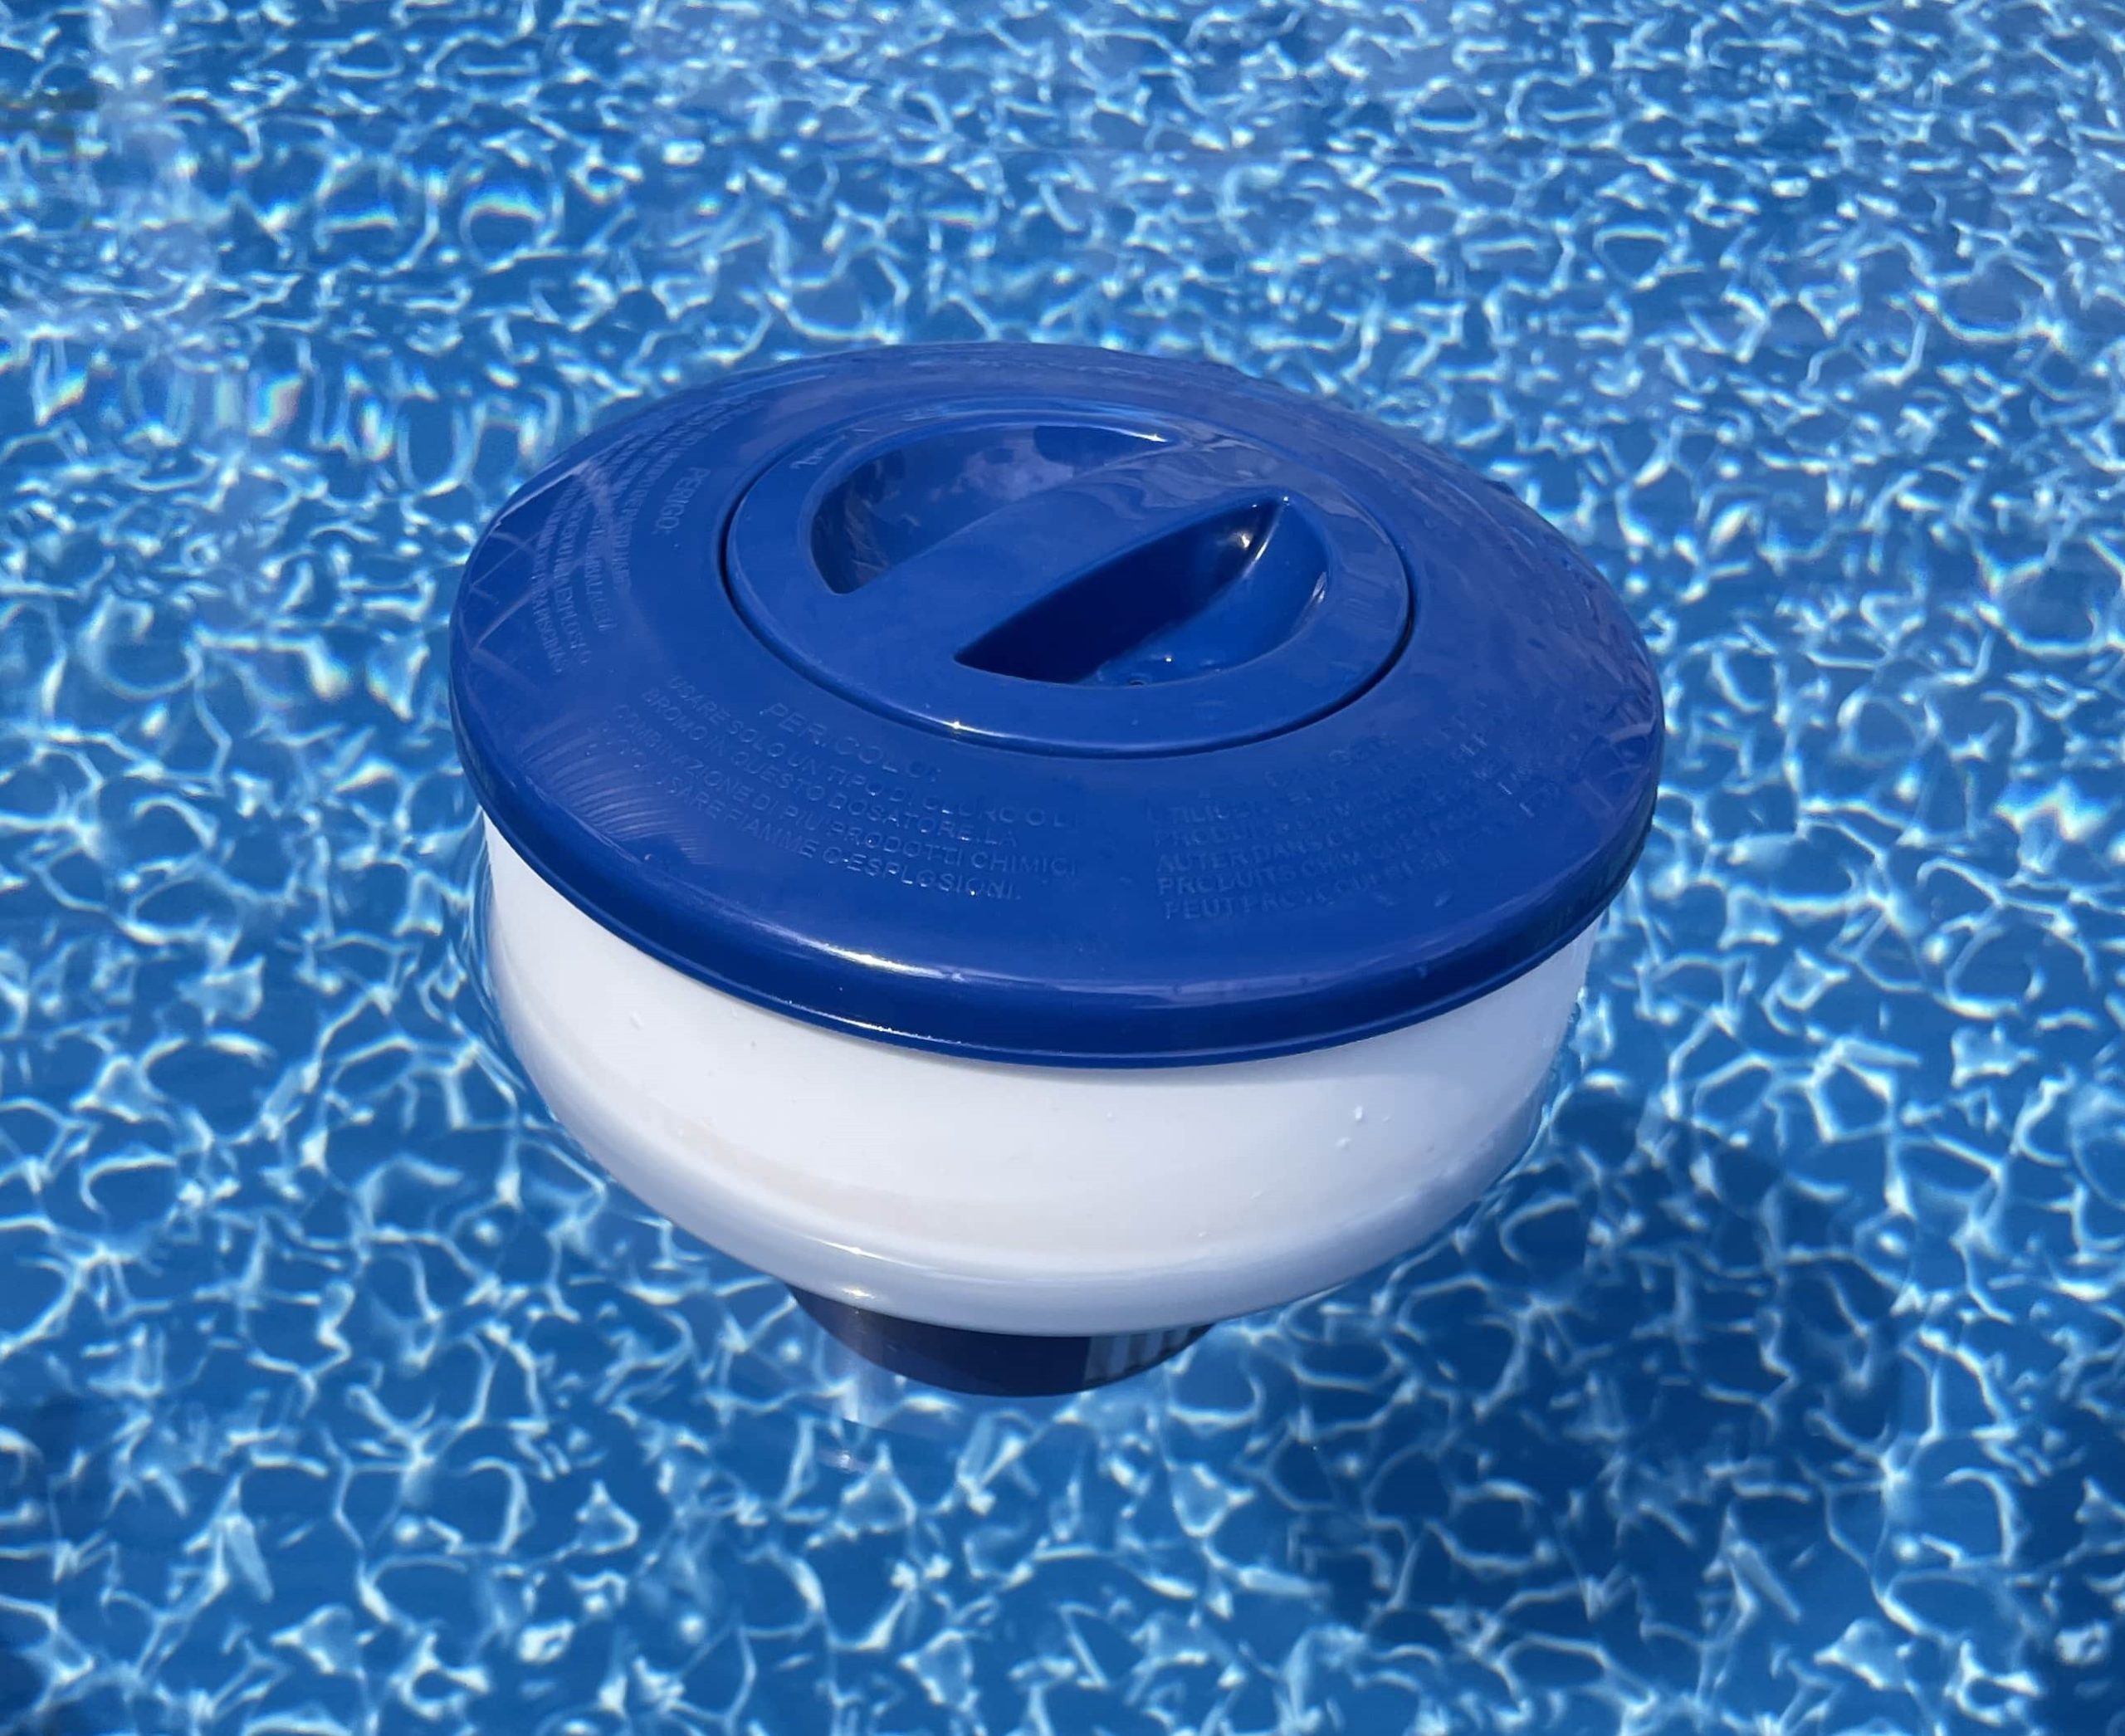 |
| Chlorine Tablets | 1" Chlorine Tablets for Floater | Amazon - Chlorine Tablets |  |
| Hole saw | 2.75" or 3" bi-metal hole saw ( I used a Lenox I had on hand. The ones linked are cheaper alternatives Lenox requires the arbor also) | Amazon - 3" - cheaper Amazon - 2.75" - cheaper Amazon - Lenox 3" Amazon - Lenox 2.75" Amazon - Lenox Arbor | 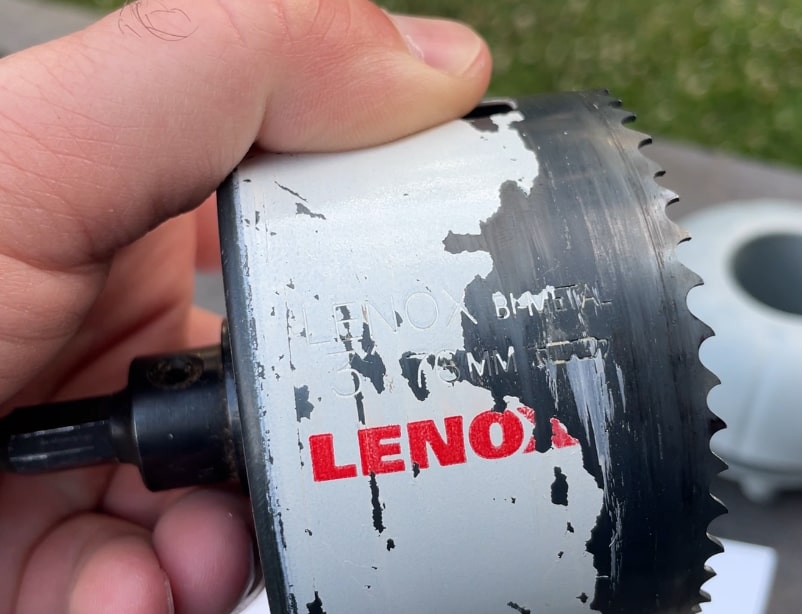 |
| File Set | Round File for smoothing holes after cutting | Amazon - File Set | 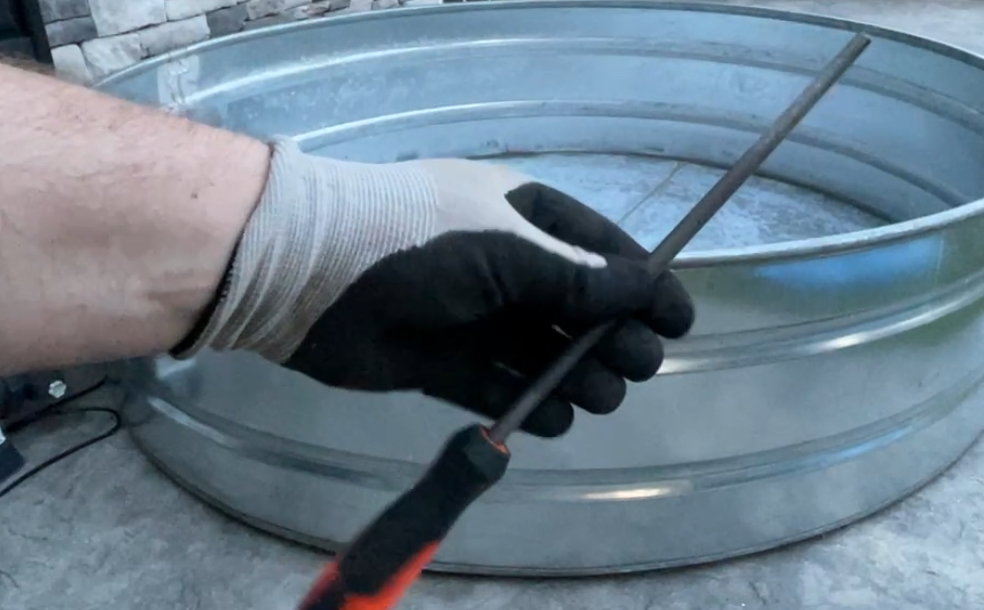 |
Now that you have all the supplies you need for your stock tank, you can follow along with my build instructions and get your back yard oasis complete!
You can watch the video or follow along below
Determine where you want to install your stock tank
We initially wanted to put ours in the backyard. This plan was changed because we needed to cut down a dying tree that was dropping branches into the area where the pool would be set. We would also need to build a deck area for the pool and we even discussed a pathway to walk to the stock tank pool. All of these factors came into our decision when we then decided, why not just put it on our basement walkout. This met all of our criteria. Ample sun, privacy, easy to get to from the house, and it had all the necessary hookups for water and electric for the filter. This is how we determined our space. You will have to assess your area and determine the best place for your pool.
Choosing the right location for your stock tank pool is crucial for both functionality and enjoyment. Start by assessing the available space in your backyard or outdoor area. Look for a flat, level surface that can accommodate the dimensions of your tank while leaving enough clearance around it for easy access and maintenance. Avoid placing the pool directly under trees to minimize debris and falling leaves.
Consider factors such as sunlight and shade throughout the day, as well as privacy from neighbors. Ideally, you want a spot that receives ample sunlight for heating the water naturally and drying the pool area after use. Carefully evaluating these elements to ensure your stock tank pool fits seamlessly into your outdoor space.
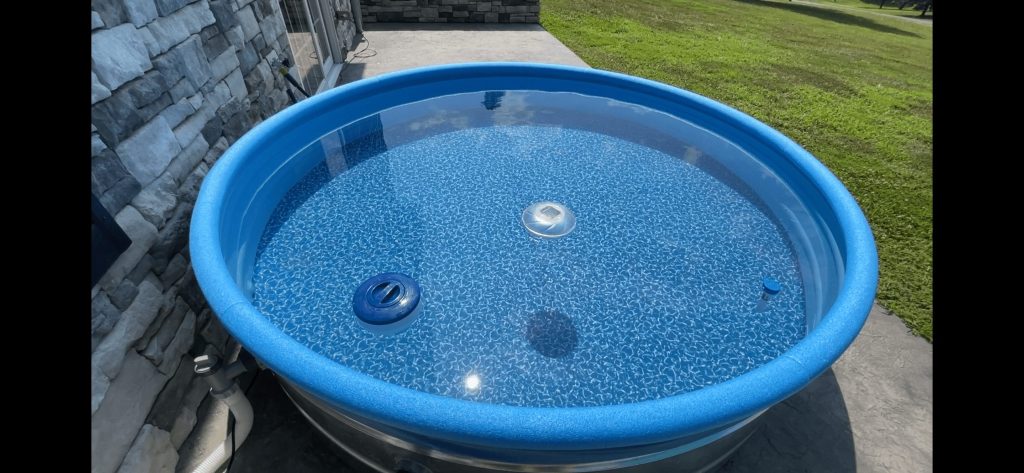
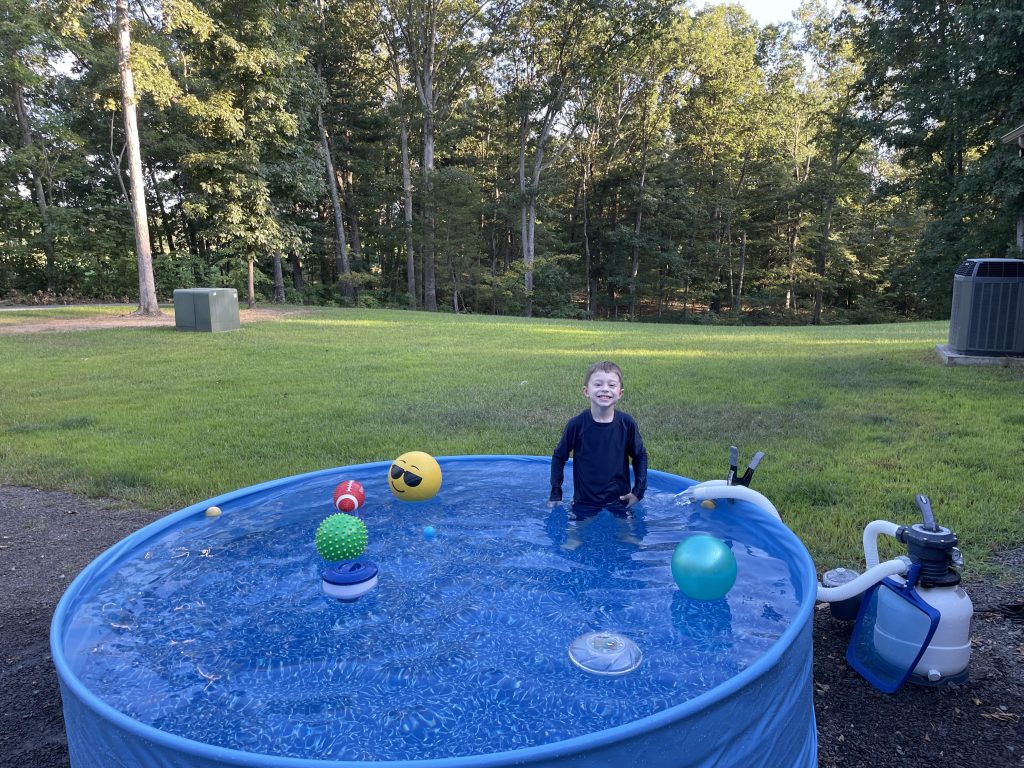
To aid in visualizing the area of the pool before you get your stock tank you will need to make sure there is enough space. Before getting our stock tank, I used a piece of rebar and placed it in the center of the yard where I wanted my pool. I then took an 8 foot piece of string and tied it to the rebar. I walked around the rebar with the string tight to determine the exact area where this pool would sit. Here are photos of the pool when we first got it. This was at our old house right before we sold it.
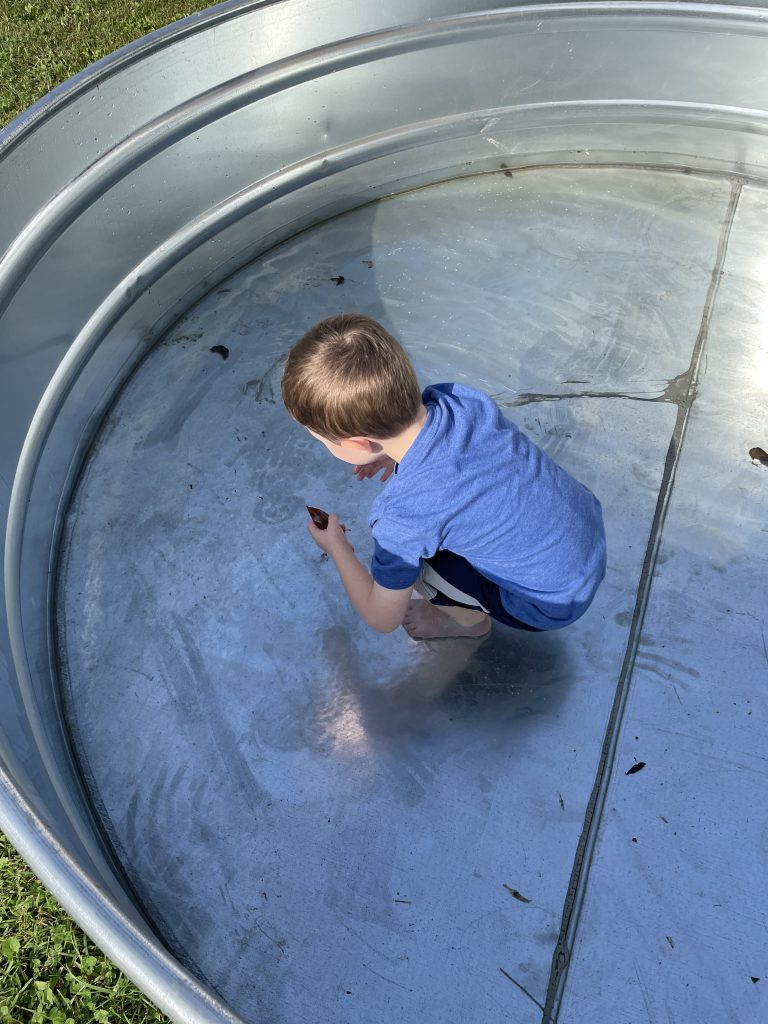

After we moved we wanted to use the stock tank but didn't really want it to be a permanent installation. We knew our new house would be built soon so we opted to set the stock tank up in the driveway so that it wouldn't be sitting in the muddy grass. To move it we would just need to drain it. So we set the stock tank up with the liner and filter. We placed the tank in the driveway, put in the liner ( without cutting it to size), and draped/clamped the filter hoses into the pool. This worked! We had this up for one summer in this fashion. It wasn't as good looking as I wanted but it was a place for my son to play and us to cool off.
Next I'll show you how I setup the pool this summer and how to do it for yourself.
How and where to purchase a stock tank and how to transport it home
When it comes to purchasing a stock tank for your pool project, there are several options to explore. Start by checking local farm supply stores, which often carry a variety of sizes and styles suitable for conversion into swimming pools. These stores typically stock galvanized steel tanks.
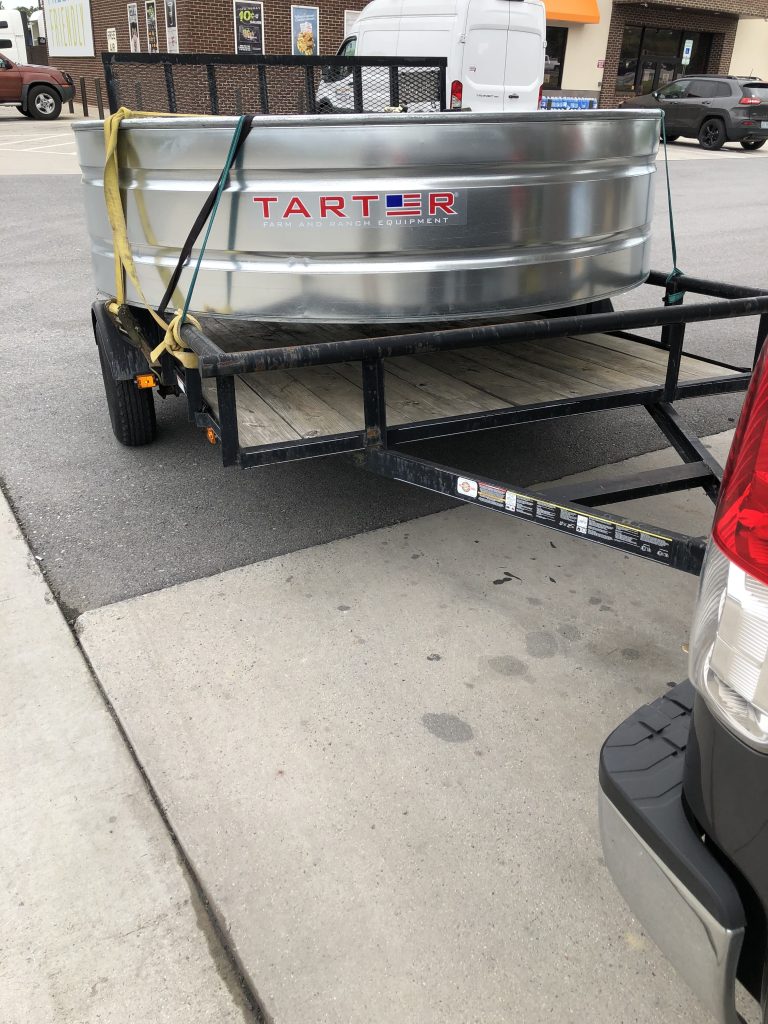
Once you've found the perfect stock tank, getting it home can be straightforward with some planning. If you have a suitable vehicle like a truck or SUV with trailer, ensure it has enough space to accommodate the tank's dimensions.
When I transported mine home, I was going to use my truck but I was afraid of the stock tank hanging over the sides of the bed. I strapped mine on to my trailer which is 8x6. The 8 foot stock tank that I used is 8 feet in diameter and 2 feet tall. Take these measurements from your tank into consideration when trying to transport it home.
If you don't have a truck, SUV or trailer you can always see if your local home improvement store has pickup truck rentals. Many of the home improvement stores had the option to rent a pickup for a set amount of time. Usually this isn't very expensive either.
Alternatively, many farm supply stores offer delivery services for an additional fee, which can save you the hassle of transporting the tank yourself. Whichever method you choose, be sure to measure both the tank and your vehicle carefully to ensure a safe and secure journey home. With your tank in hand, you'll be one step closer to creating your own backyard oasis.
If you are placing your stock tank on the ground you will need to make a level area for your tank to sit on. This can be tricky but the best way is with a 2x4 thats 8 feet long and a level. Lay an on edge 2x4 on the ground and place the level on top. This will help you visualize where you will need to dig or add fill.
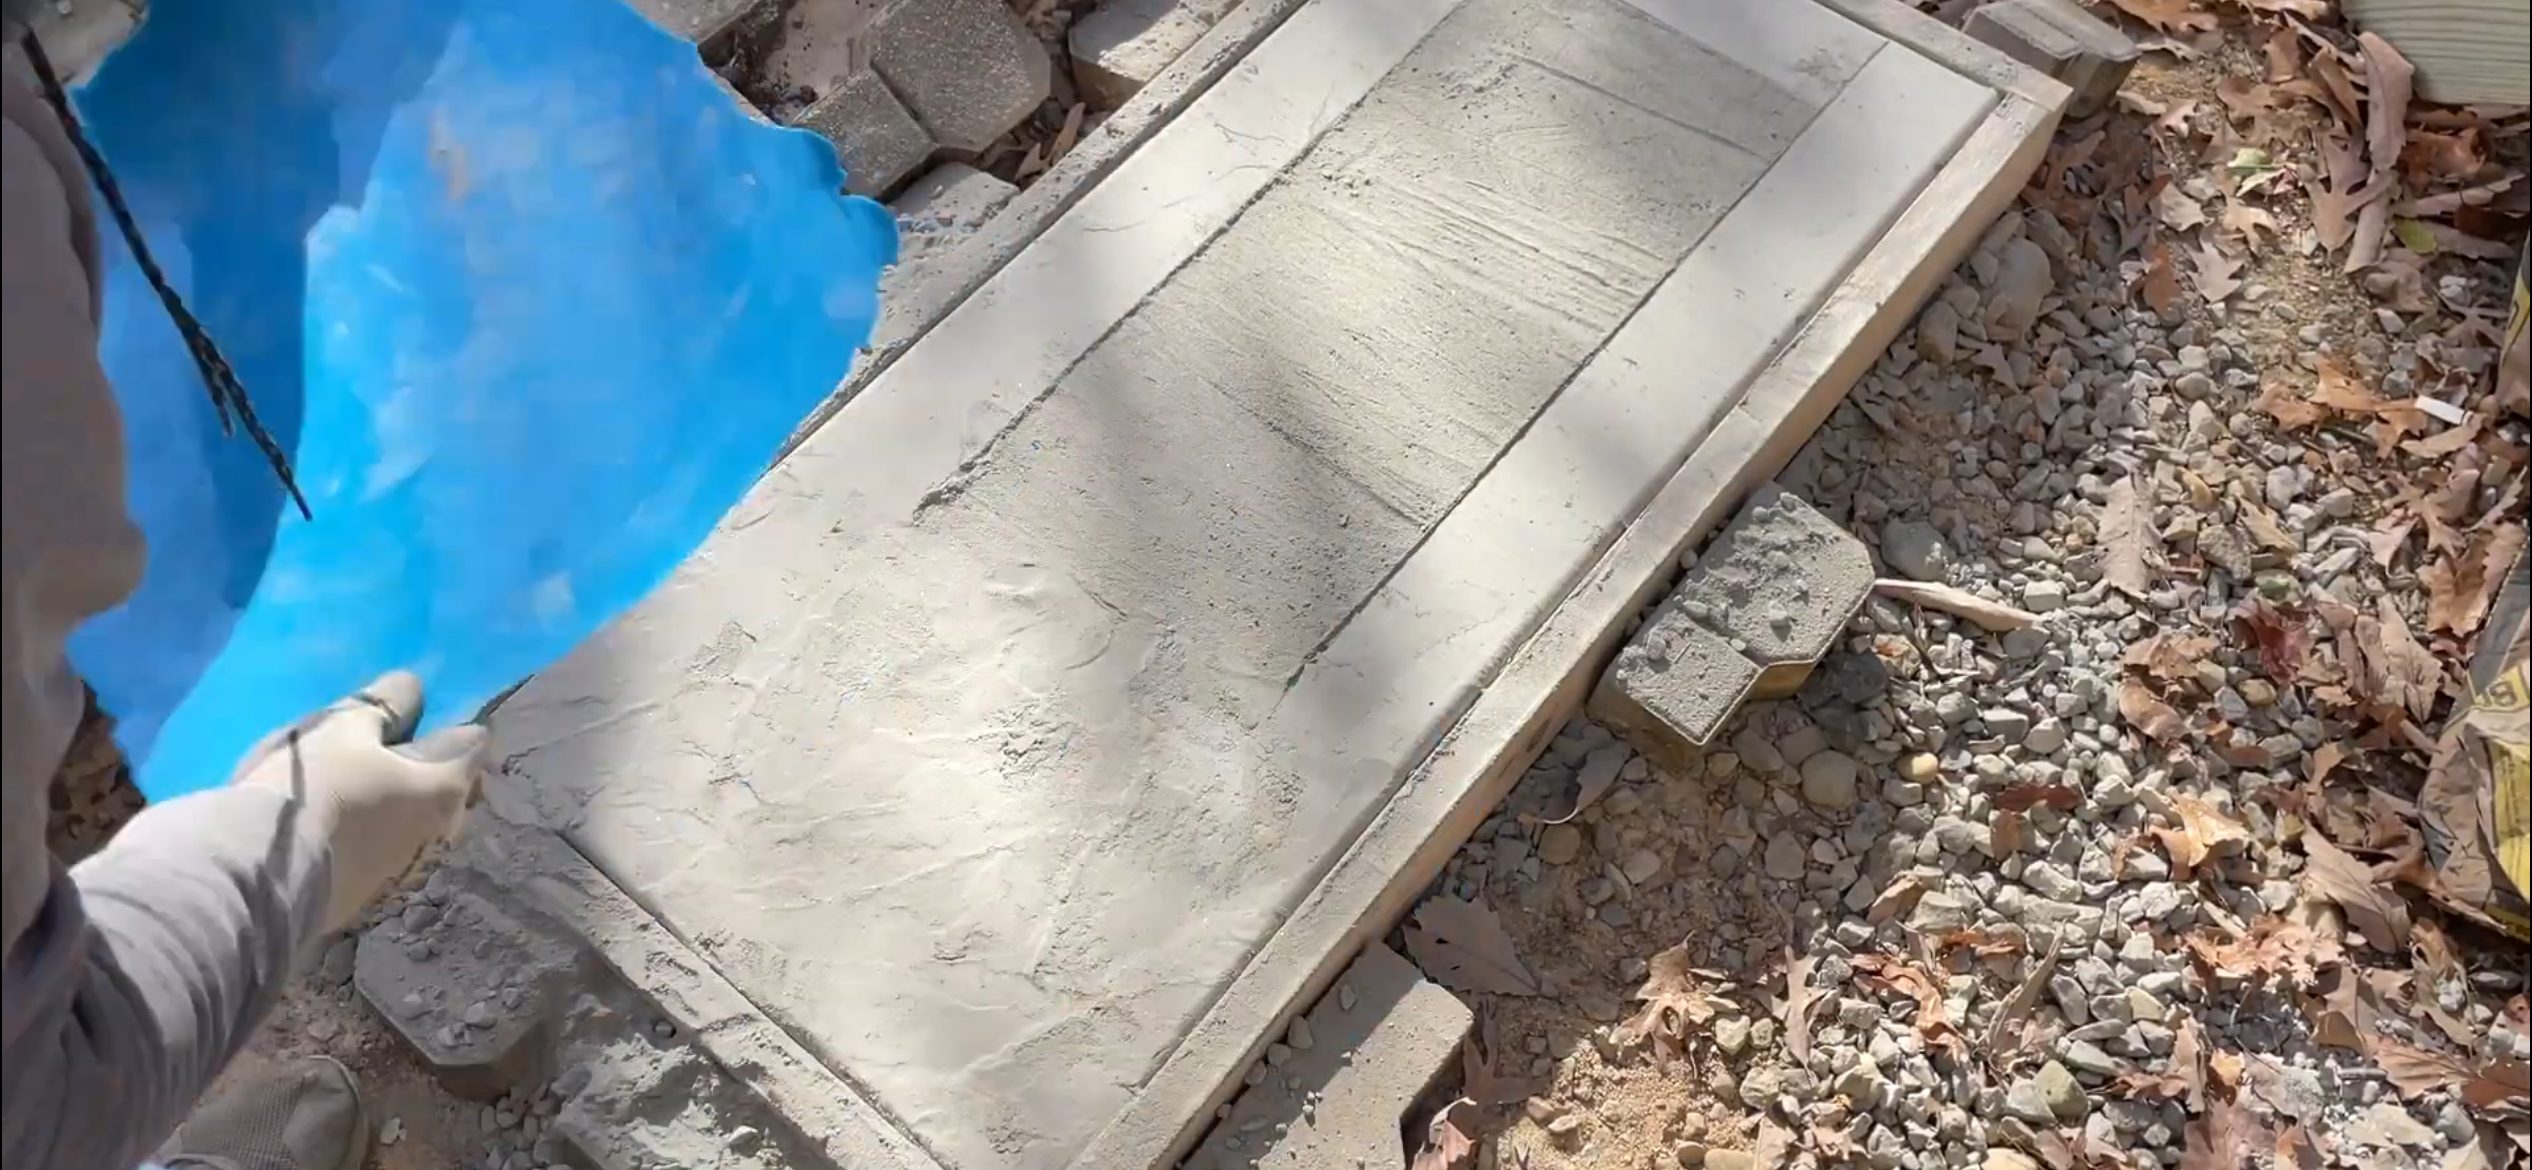
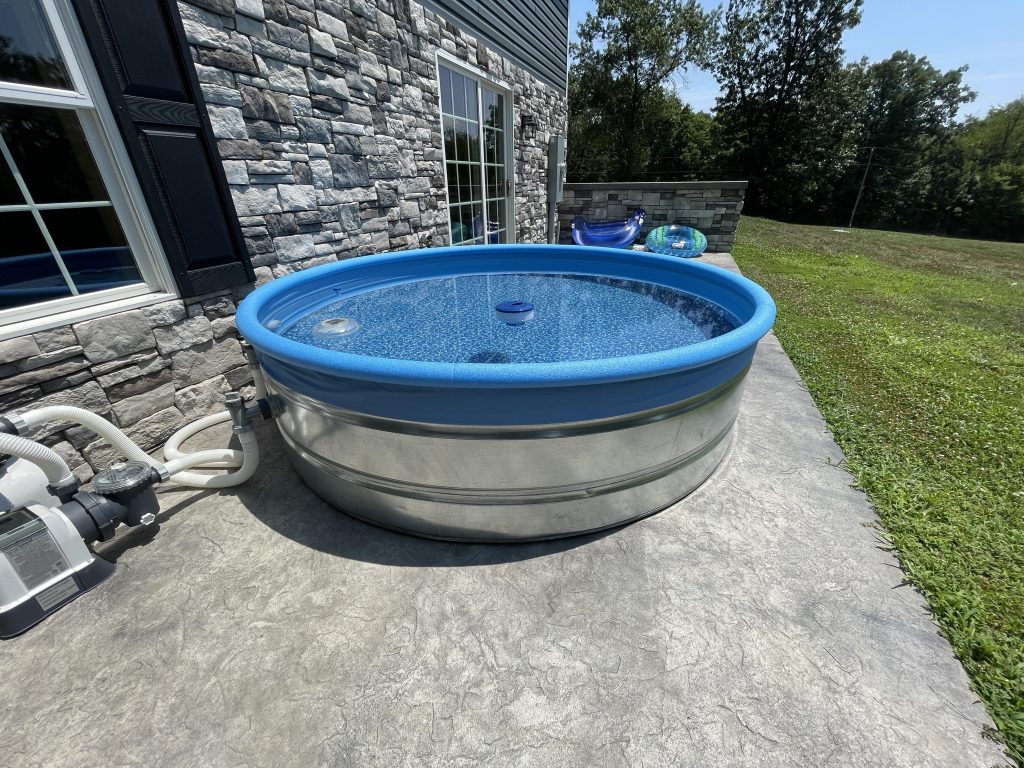
For our pool we chose to place it on a poured concrete area at our basement walkout. I chose to place down rigid half inch insulation board to add some cushion to the underneath of the stock tank. I believe this will also protect the bottom from sitting on moisture and rusting. You can also use this insulation in your yard if you would like to have a barrier between the stock tank and the dirt. Others have put down pea gravel or even sand. This will be a preference on how you want to level your pool.

I cut the foam out with a razor blade. I first laid two sheets of the insulation on top of the pool. I traced the outside with a marker then I cut 1" inside the line. This allowed the insulation to sit under the stock tank 1" and not be visible around bottom edge of the pool.
How to cut the holes in your stock tank for the inlet and return
Now that you have your stock tank home and in place you can start to see the pool coming together. Now is the time to decide whether you want to have the filter inlet and return installed in the side or not. Both options will work but in this tutorial I'm going to show you how to install the ports.
Do you need to cut holes for the inlet and return in the side of your stock tank?
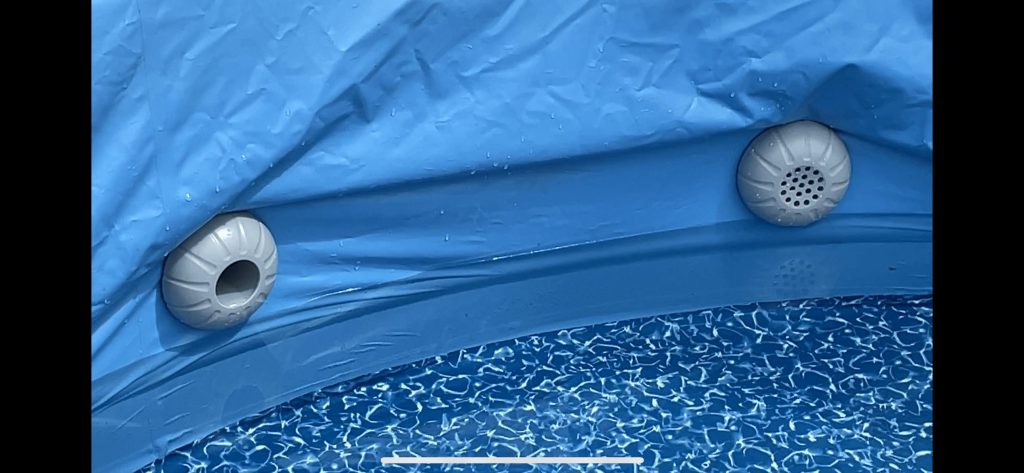
You don't have to cut holes in your stock tank. You can put the inlet and return over the side of the tank. Some may not prefer this due to the way it looks. Placing the ports in side make the pool look more polished and less cluttered on the top. I like either option. Do whatever suits you best. Placing the hoses over the side will allow you to keep the integrity of your stock tank and liner.
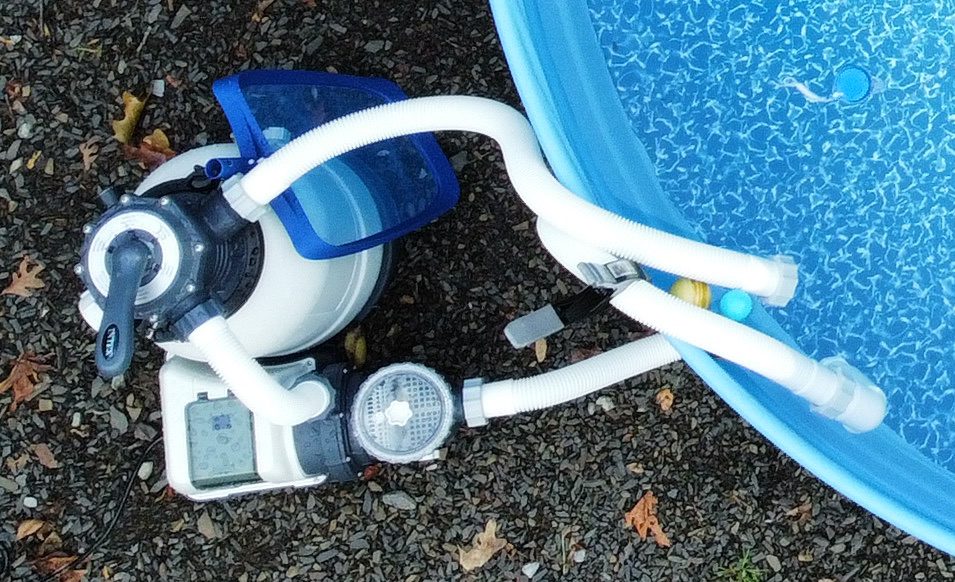
You can see I used a large clamp to secure the hoses over the edge of the stock tank. This method worked for a whole summer. You can also take PVC and make yourself a custom plumbed system.
How to setup your tock tank without cutting holes
Okay if you are brave enough to go this route then lets get a couple things out of the way before we start cutting holes.
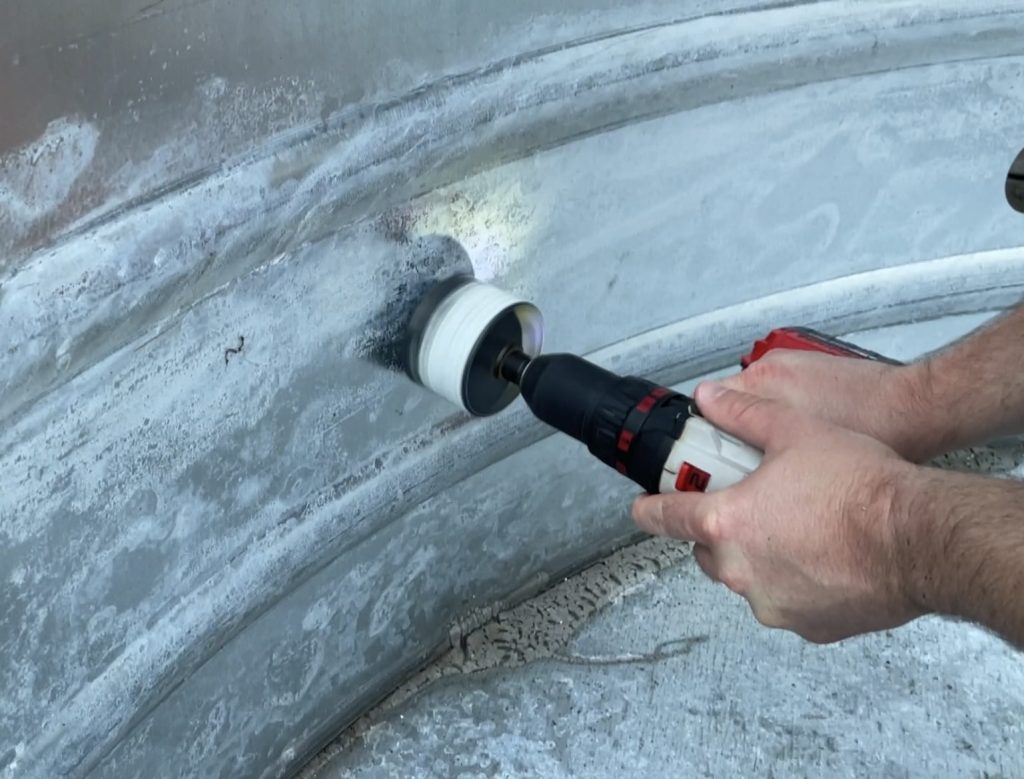
The hole size depends on the side of the inlet and return pieces that you are going to use. There are several different size pieces you can get on amazon or from the pool supply. The ones that I have linked above are 2.75" in diameter where the piece goes through the side of the tank. But just for clarification I used a 3" hole saw to make my holes. I had a 3" hole saw from another project and I didn't want to purchase another one. There is enough surface area that you can also do this. If I was starting from scratch without the hole saw I would buy the smallest size I could that will allow the piece to fit.
To determine the side of the hole saw needed you will need to measure the diameter of the threaded piece. The Outside Dimension "OD" of your hole saw must be large enough that the port fits inside the hole.

Then after you make sure you have the correct hole saw you can determine where to start cutting the holes. I chose to cut mine in the middle ring on my stock tank. Some stock tanks have ribs. You will have to determine the best place for your holes based on where you have your filter. Mine are at the same level a couple feet apart.
To drill the hole you will take the hole saw from the inside and start drilling. Use medium pressure to ensure the bit stays on center and continue until the hole is completely cutout.
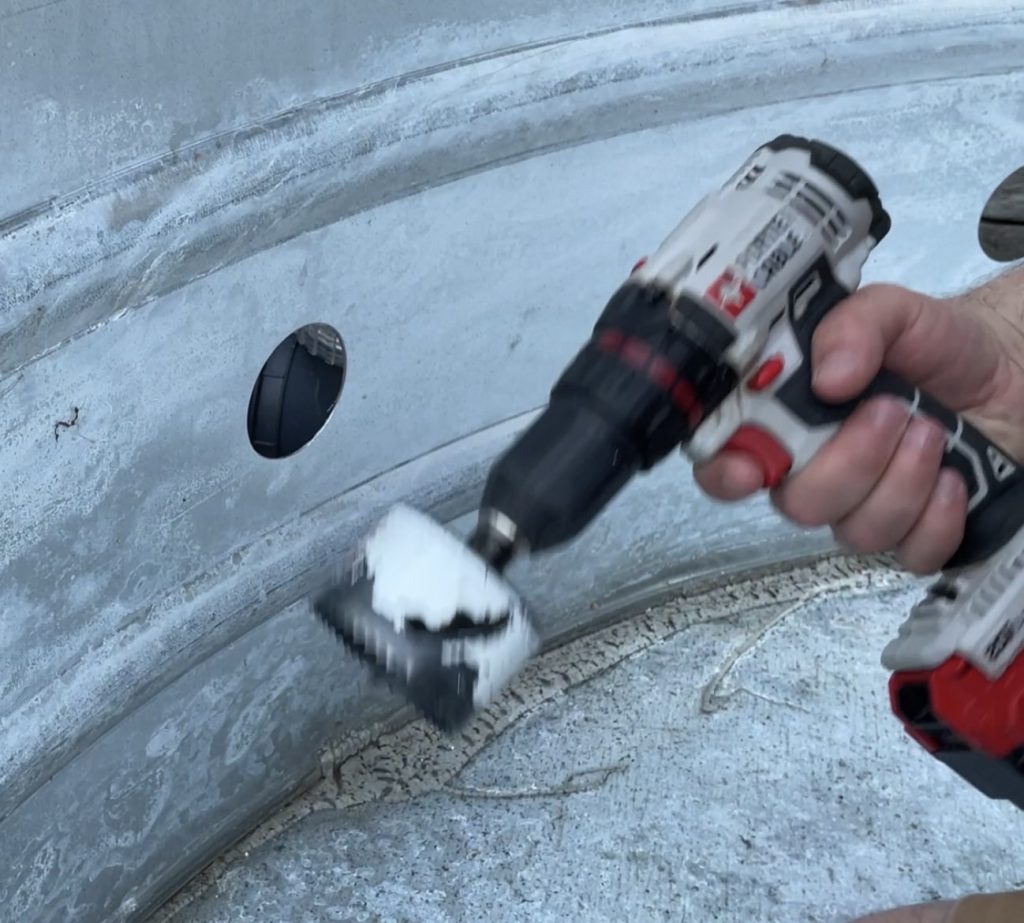
After you have your hole make sure you sand or file the edges of the hole. This step is important if you are using a liner. You don't want your new liner to tear against the sharp edge when you are installing it. To file the edges I used a round file.
Next you will need to vacuum up all the small shavings made from the hole saw. This is important so that you don't have small metal shavings that will rip your liner. Once these are cleaned up you can move on to the next step.
Now that you have the hole cleaned out and smooth you can start installing the liner.
How to install a liner in your stock tank pool
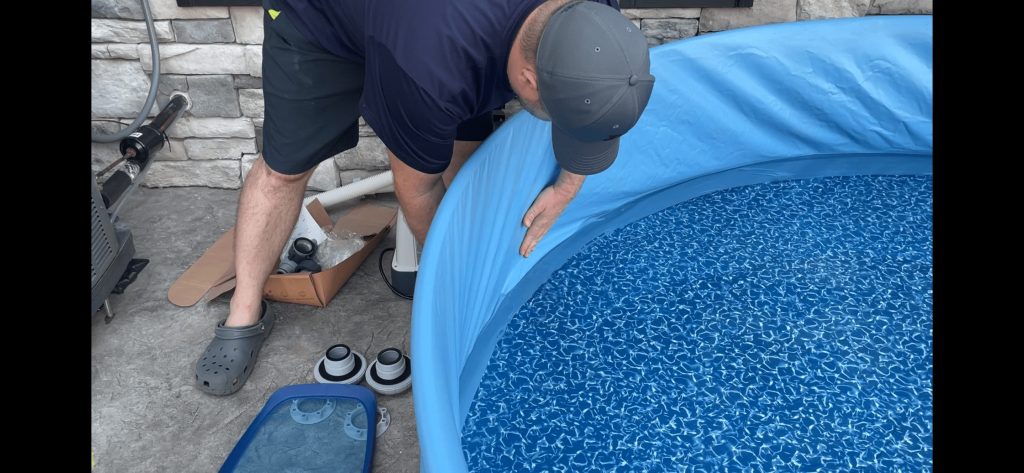
It is best to install the liner in the stock tank pool when its warm outside. This will help you with stretching and pushing out the wrinkles. This is not a fast process.
- You need to place the liner inside the pool and drape the excess over the sides and pull down.
- Then you need to spread the bottom of the liner out on the bottom of the stock tank.
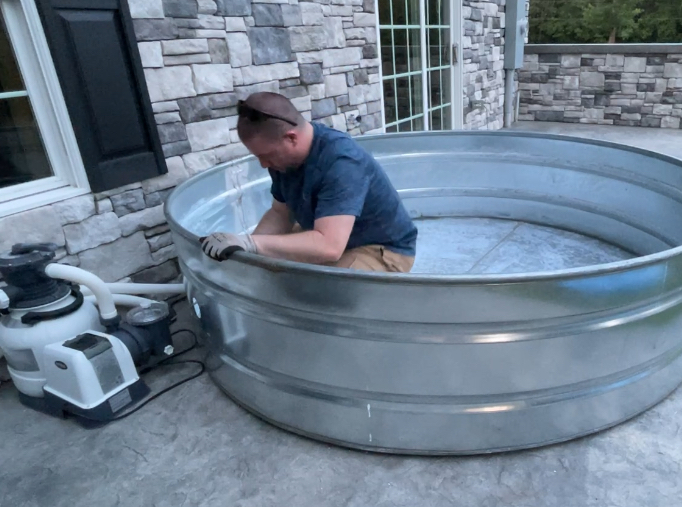
- At this point you can start filling a small amount of water into the pool.
The water in the pool helps to weigh down the liner. You will probably have to get into the water for this step. This will allow you to push the wrinkles out and the liner will stay in place. Make sure you only fill up the pool to about 2 or 3 inches below the holes for the inlet and return ports. Stop when you have this much water so that you can install the ports.
Start moving on to adding the holes for the ports. If you are skipping this step move on to filling up your stock tank. and avoiding wrinkles.

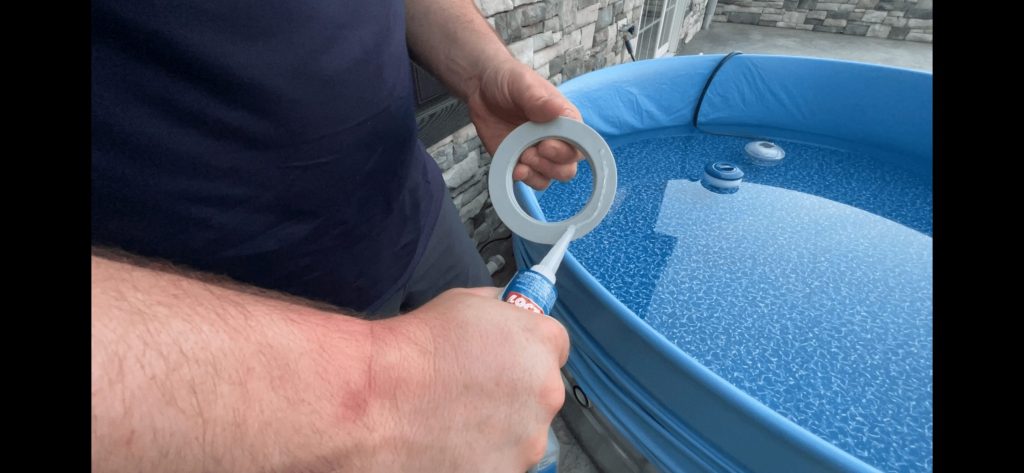
Next you need to cut the hole for the inlet and return. Make sure you don't cut the hole too big. A good rule of thumb is to take the gasket and trace the outside of it on the hole you want to cut. Then you can cut it out with scissors or a razor blade like I did here.
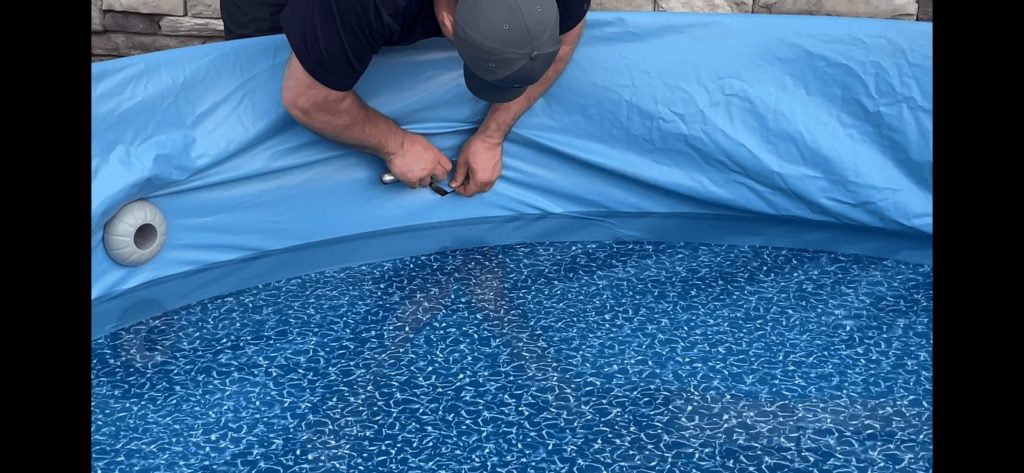
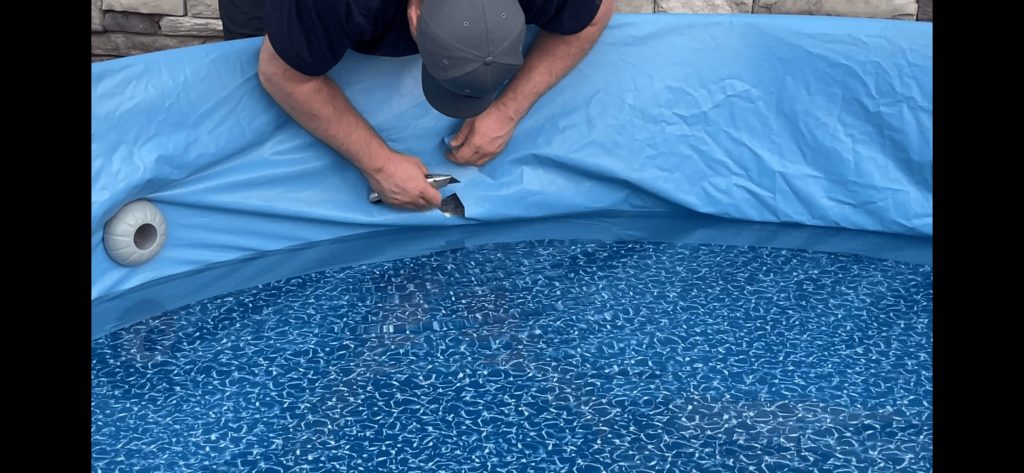

After you have the hole cut you can move on to the next step of installing the inlet and outlet. You will need silicone and patience for this step.
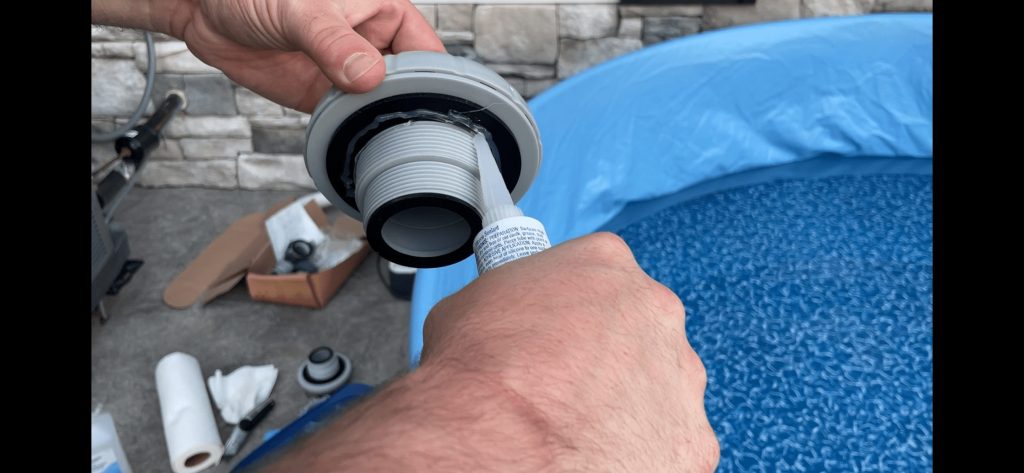
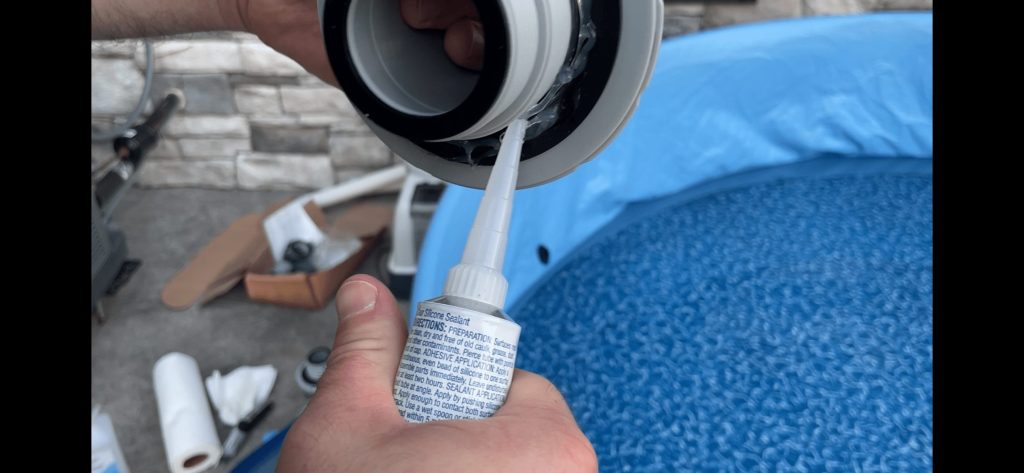
How to install the inlet and return for your stock tank pool filter
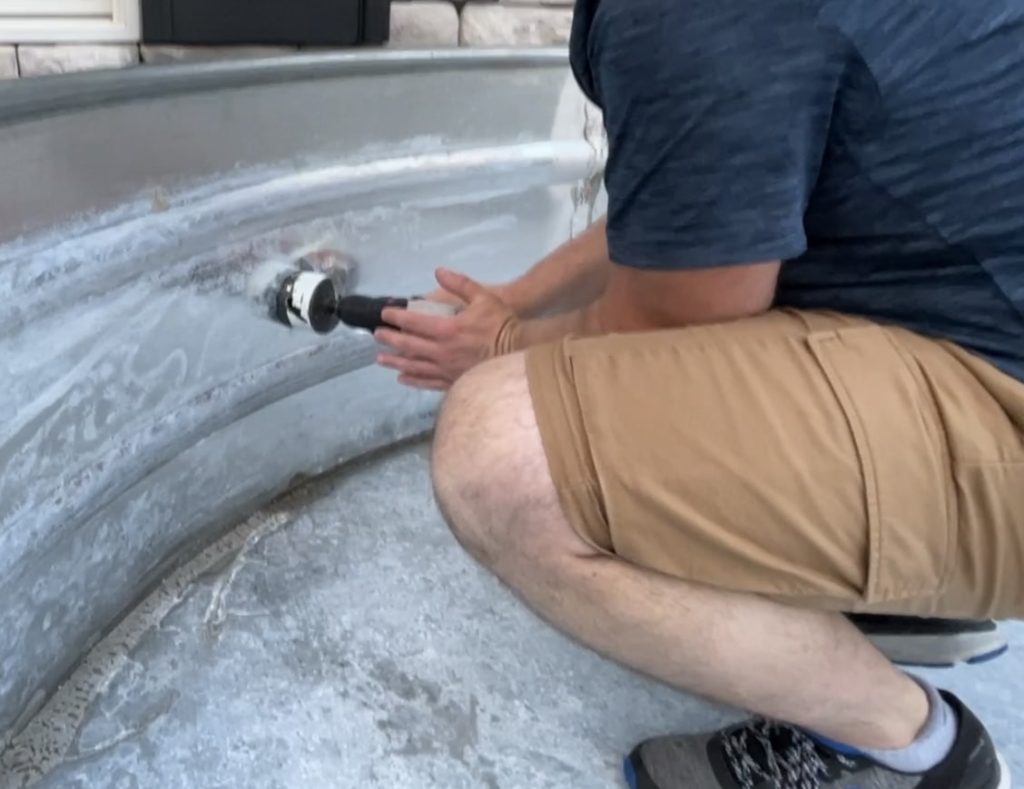
First do a test fit to make sure the port fits where you are going to be installing it. After you perform the dry fit you will need to apply silicone to the port. Apply a good bead of silicone ( I chose to make several beads around the perimeter) around the port flange. This will ensure you have a good seal against the liner. If you don't do this step you may get water leaking inside the liner and down the wall of the stock tank. This will make your liner start to float and you want to avoid that situation altogether.
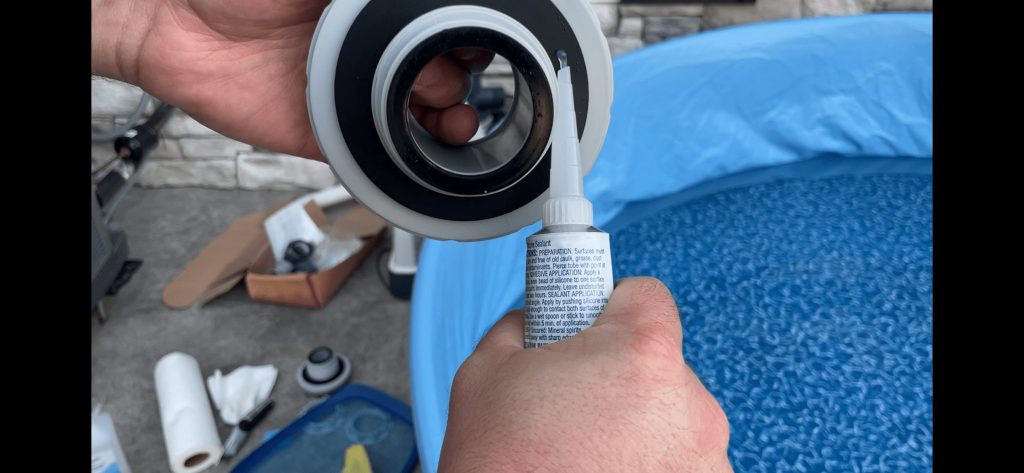

Now you will need to let the silicone set up and dry for at least 24 hours. If you are using the same type of silicone I used then make sure you wait this time. The pressure of the water will push the silicone and break the seal if you don't wait. If you want to go down the rabbit hole of using silicone to seal tanks, google aquarium sealing with silicone. There is a large amount of information out there. Just remember you want it to dry before filing further.
I know you are excited. You are almost there!
Filling up your stock tank and avoiding wrinkles in the liner
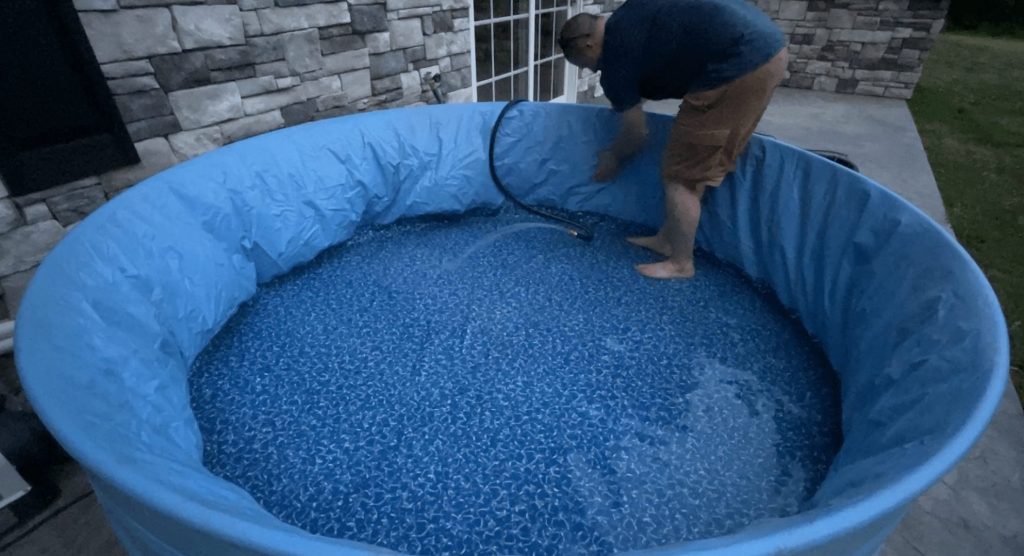
After the long 24 hour wait you can start filling up the stock tank pool. You will need to pull up on the liner while the pool is filling up. This will pull out the wrinkles in the side wall. Just make sure you don't pull too hard around the inlet and return ports. You don't want to break the seal around those.
Make sure you turn off the plunger valves on your filter. If you haven't installed the lines to the filter yet. If you have the lines installed the water will just got into the filter which is fine.
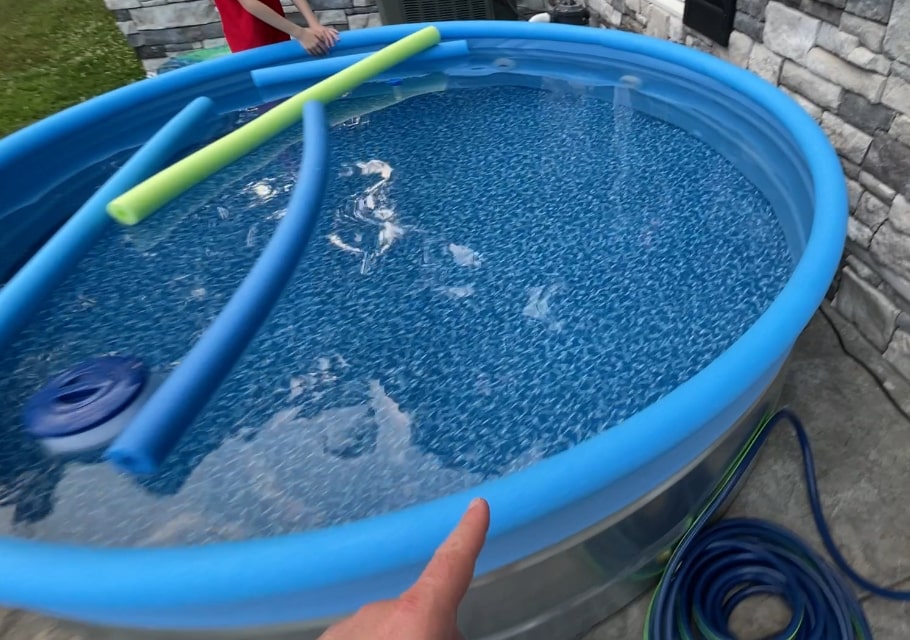
I filled ours up to almost the top. I left about 1-2" at the top so I could install the pool noodle edging without issue.
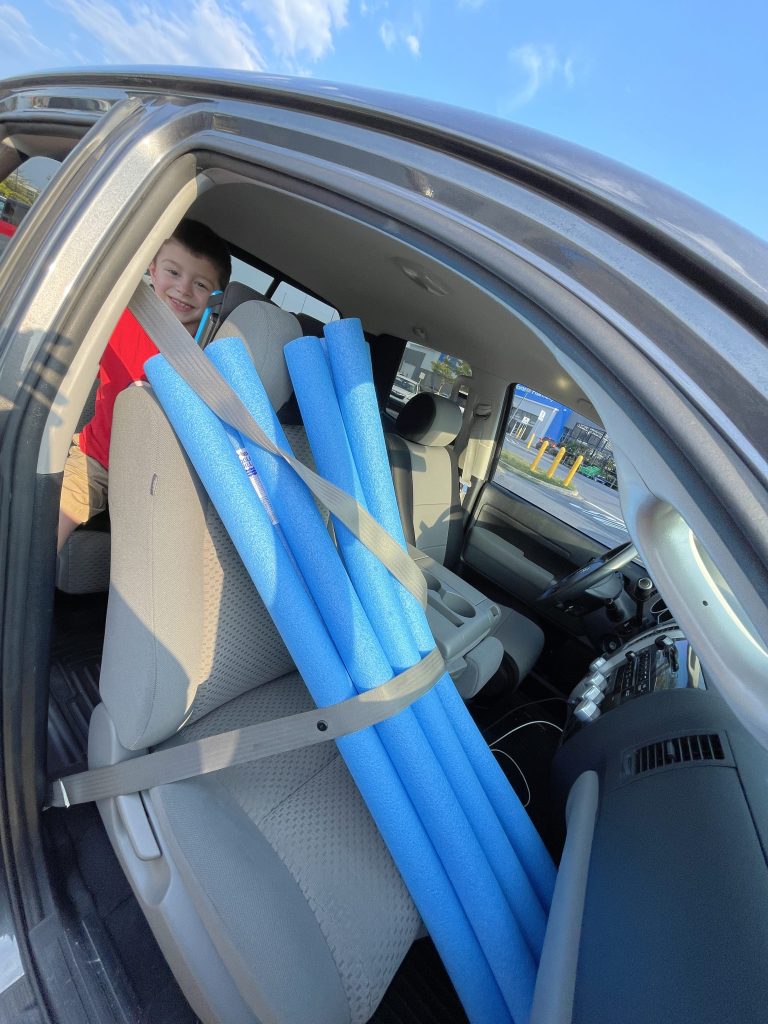
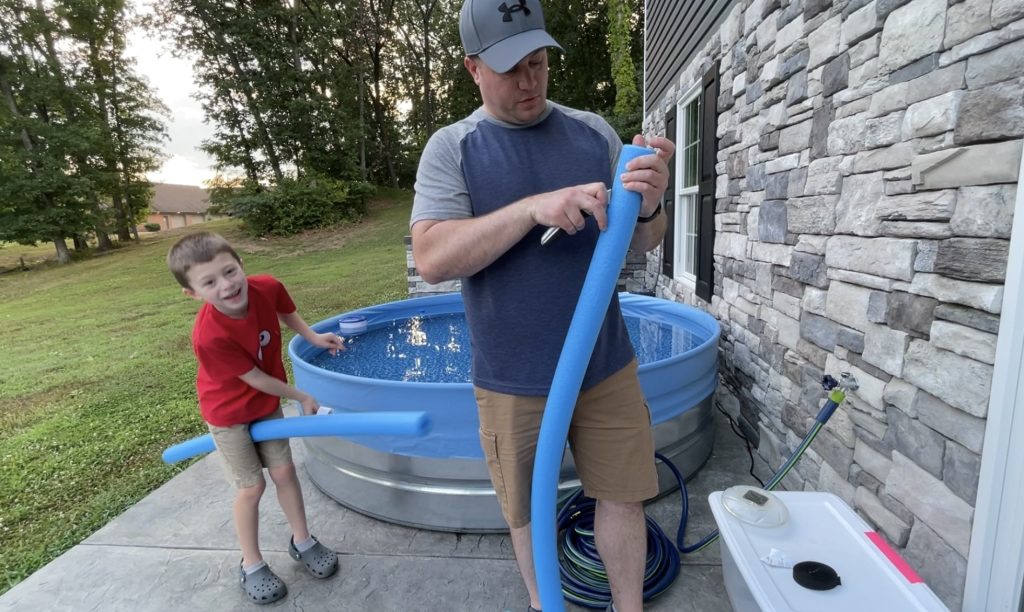
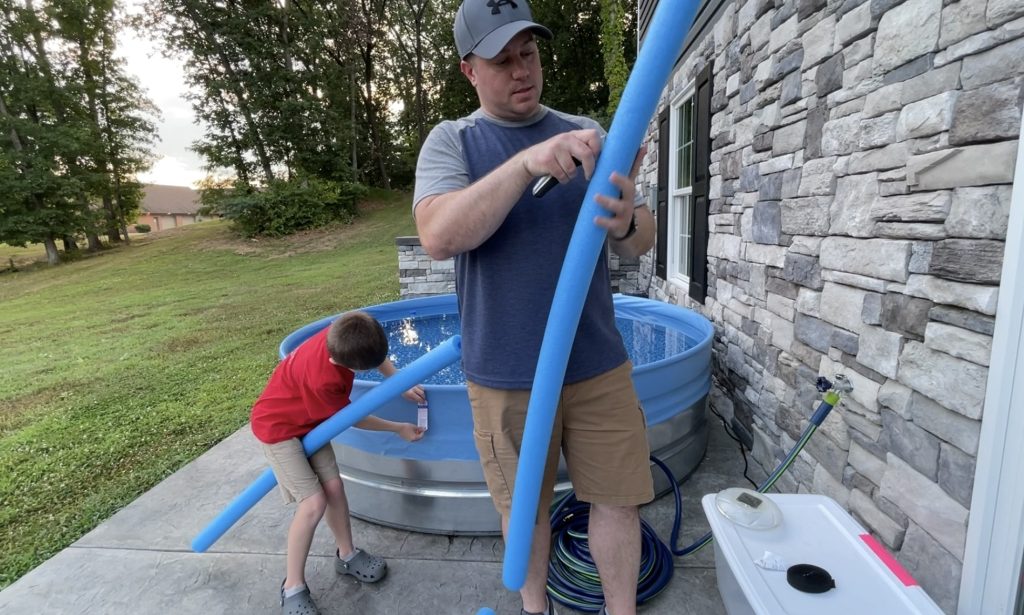
How to install pool noodles around the rim
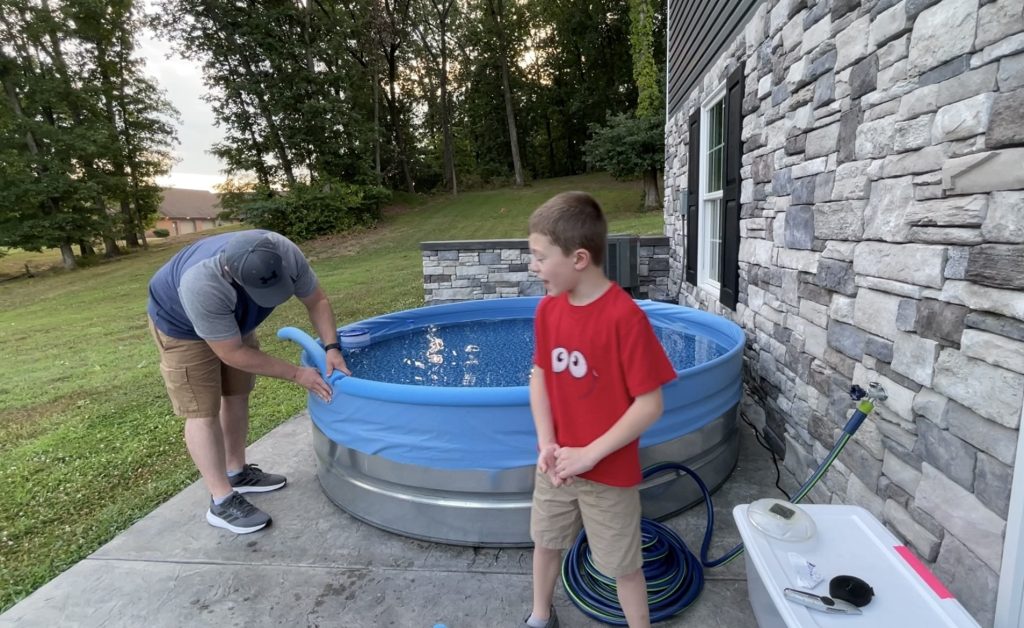
You will not need to install the pool noodles around to top rim but it helps to hold the liner in place. It also adds a little extra padding when sitting on the side or in our case when your little one is stepping over the side.
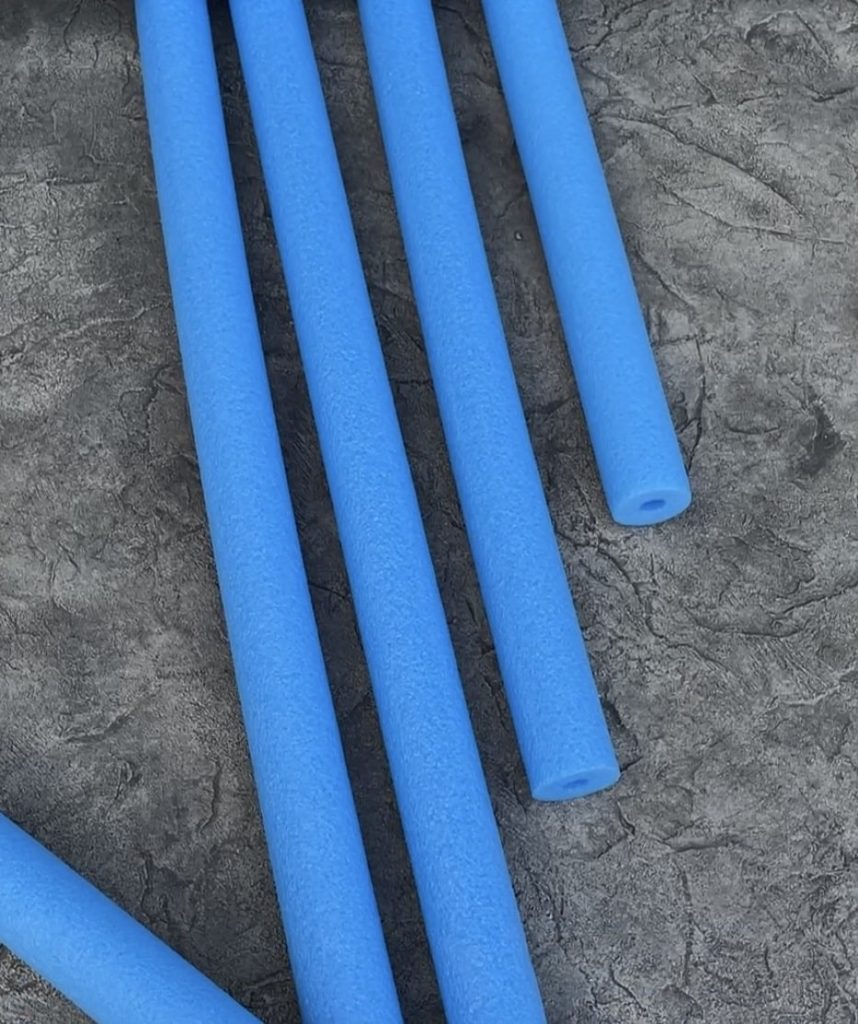
You will need seven pool noodles to go entirely around the perimeter of an 8 ft stock tank pool.
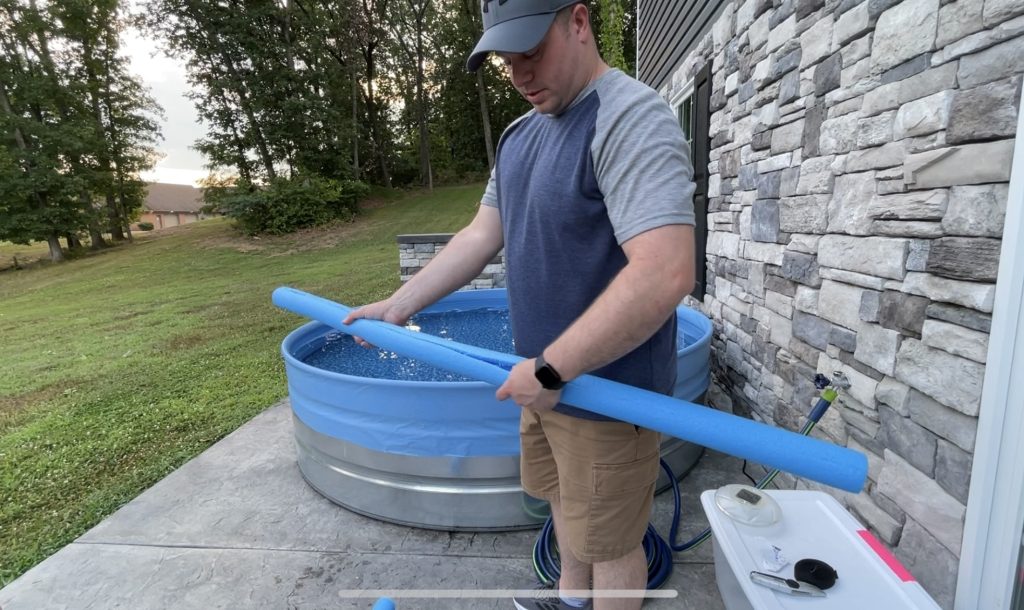
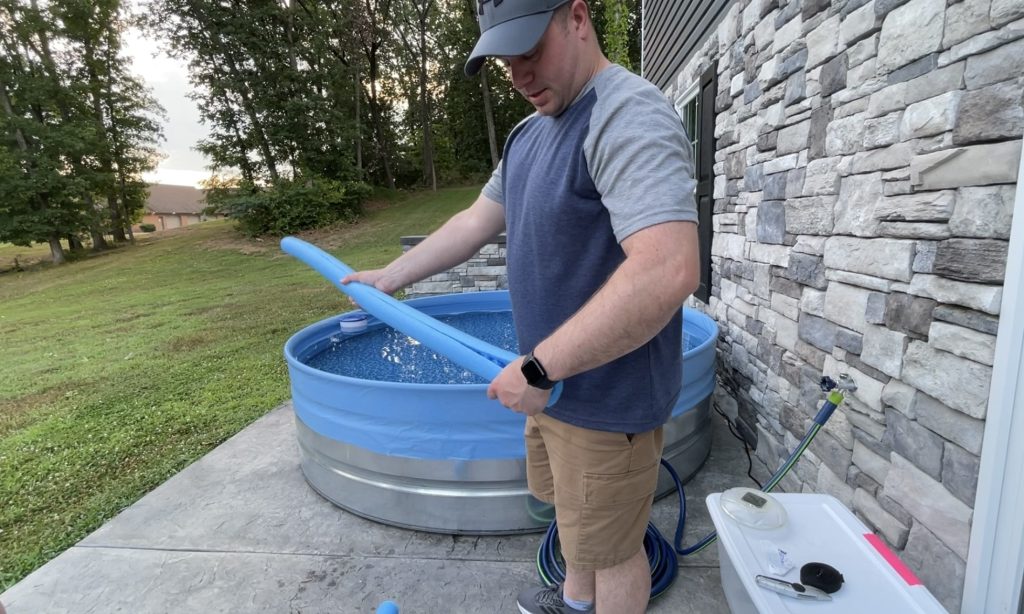
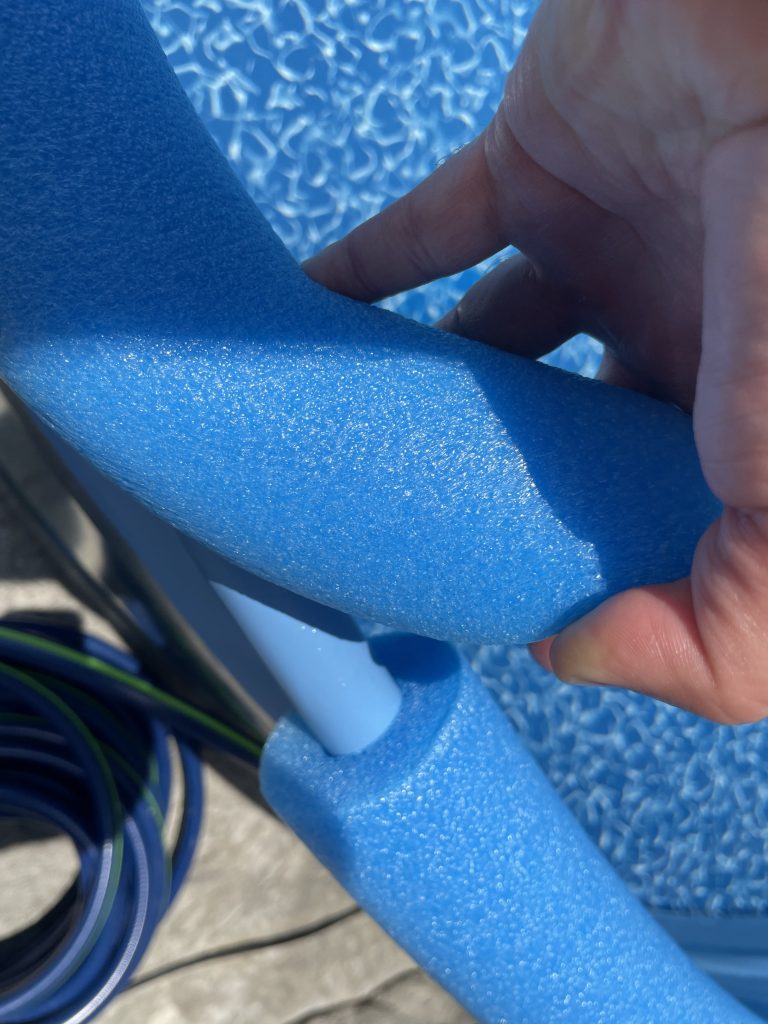
Cut down the center of the pool noodle on one side and which will create a foam type clamp. This will allow you to clamp the pool noodle onto the side of the tank. You will need to pull the liner tight before clamping the noodle on the side.


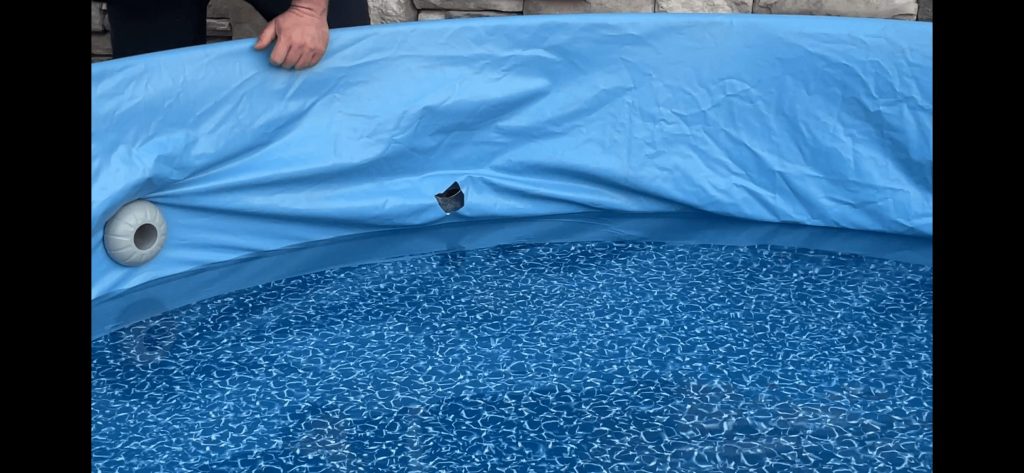
How to trim the extra liner around the edging
To trim the liner you will need to use either scissors or a razor blade. This is all up to your personal preference. You will need to cut it over the top edge so that you make sure you have overlap. If you cut it too short it will fall back into the pool. Make sure you have it overlapping the top lip. The pool noodles will help keep it in place also the elasticity of the liner will also keep it pulled tight.
The way that I temporarily fixed my liner, I cut it about 6 inches below the top lip. Then I rolled the liner back on itself and tucked it under the pool noodle. You can also use a nylon strap or something to secure the liner and roll the liner back over it. This is personal preference and how you want the liner to look.
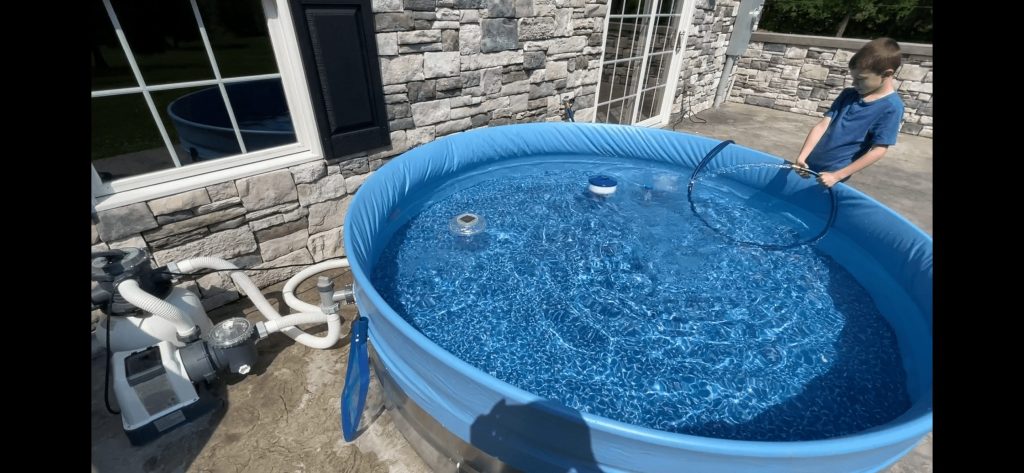
Priming and using the filter
Getting your filter setup correctly is essential so you don't burn up your pump.
Priming your pool pump is a crucial step in maintaining efficient water circulation and filtration. Follow these steps to ensure your pump operates smoothly and effectively.
Remember that if you use a different pool filter you may need to refer to the instructions included with your filter. this is a general idea of how to get started.
First, ensure the multiport valve on your filter system is set to Recirculate. This directs water into the filter head and back out to the pool, facilitating the priming process. I like to use a hose and prefill my filter and pump directly. The easiest way is to run water from the hose into the inlet and return lines until overflowing.
After filling the pump with water, replace the lid securely and switch on the pump. Initially, you may hear gurgling or sputtering sounds as air is expelled from the system. Allow the pump to run until you see water consistently filling the pump housing.
Once the pump housing is filled with water, the pump is successfully primed and ready for operation. Regularly monitor the pump and filter system to maintain optimal performance throughout the swimming season. Proper priming ensures efficient water circulation, which is essential for clean and clear pool water.

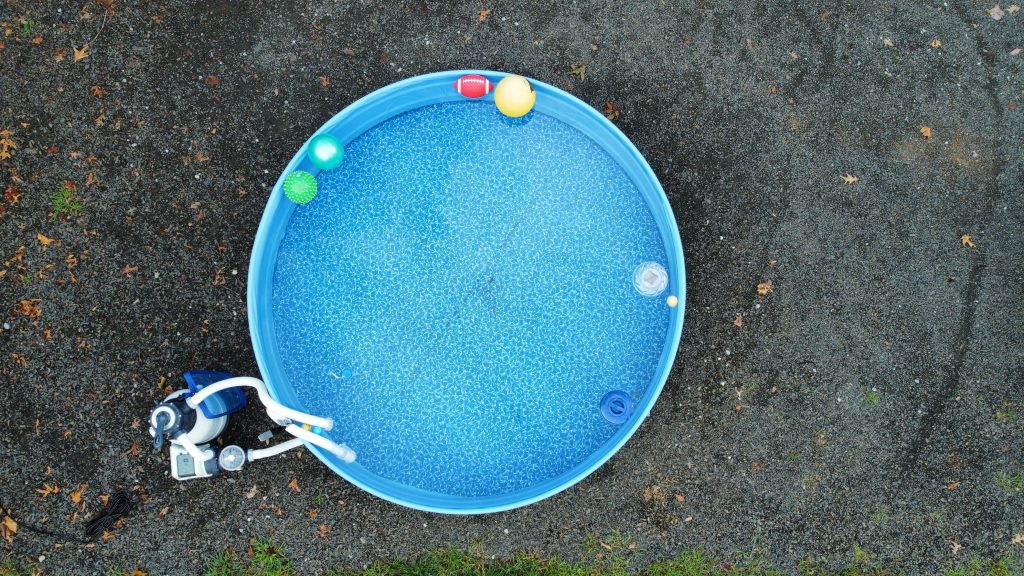
Enjoy your pool!
Whether you're looking for a cost-effective way to beat the summer heat or simply enjoy the charm of a stock tank pool, creating your own oasis can be both rewarding and refreshing. As you envision lazy afternoons spent cooling off in your backyard retreat, remember that simplicity can often yield the most enjoyable experiences. Embrace the DIY spirit and transform your outdoor space into a haven where relaxation meets creativity. Dive into the trend that's making waves this season and discover firsthand why stock tank pools are more than just a trend.
I hope that this post was helpful to you and gives you the confidence to DIY your own stock tank pool.