
No one wants Stairs that squeak and creak. I have found a method of installation that keeps this from happening. You may be surprised at the way I have attached my stairs. The old saying if it works then its not a bad idea.
In this post I will teach you the process of attaching new or refurbished stair treads onto your stringers. The method I’m using will require a few items that you can purchase at your local home improvement store or Amazon.
| Corner L-Bracket | https://amzlink.to/az0joAFgAnhea | |
| Kreg Screws | https://amzlink.to/az0RA5wGPFWpq | |
| Liquid Nails | https://amzlink.to/az0FHeSQkZnvQ | |
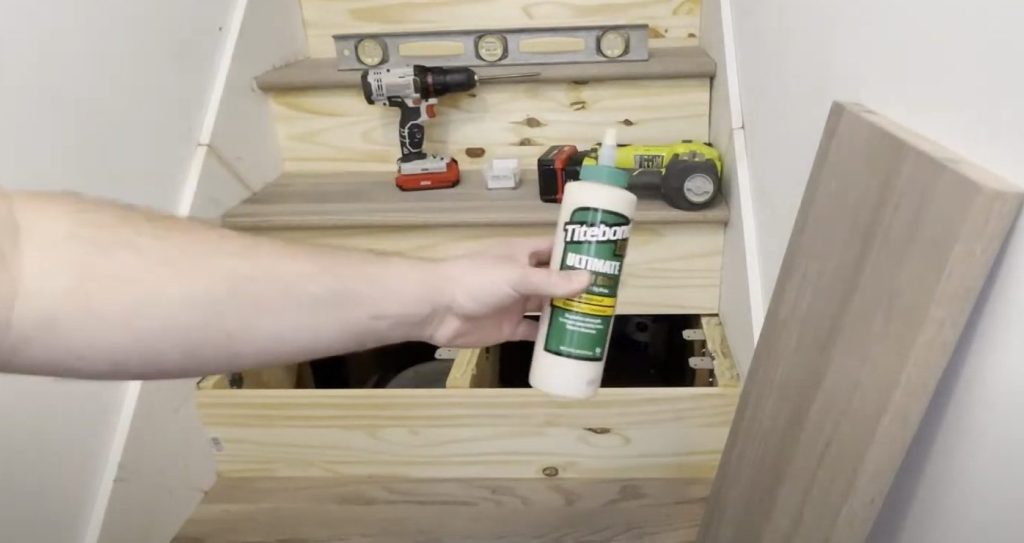
| Wood Glue – Titebond | https://amzlink.to/az0OkQg7smrh5 | |
| Ryobi Finish Nailer | https://amzlink.to/az0eTQXyIUUOX | |
| Porter Cable Drill Driver | https://amzlink.to/az0pzg3n38yoh | |
| Level 3 ft | https://amzlink.to/az0faimCCriA6 | |
| Stair Tread Measuring Tool | https://amzlink.to/az0XSY2rPhLA5 |
Here is the list of items I used. As an Amazon Associate I earn from qualifying purchases.
What methods are used to attach stair treads?
First let’s go over the ways that have been used for many years to attached stair treads. These methods have been used on many houses and by experienced installers that know what they are doing. I’m not claiming they are wrong in any way. I’m just going another way due to one reason. I Want Hidden Fasteners!
Read on to find out how the two common methods are not good for hiding the fasteners and how I managed to solve this issue.
Attaching stair treads by nailing them from the top
The most common method of attaching stair treads is to nail through the tread and into the stringer below. This method has been used for many years and does work. The problem with using nails as fasteners is that over the lifespan of the stairs the wood will expand and contract. This will cause the tread to come loose because the nail will be losing its tight grip during the expanding and contacting.
Attaching stair treads by screwing them from the top
The next most common way of attaching a stair tread is by using screws. This way the screw is driven through the top of the tread and into the stringer. Then the installer will use wood putty or a wooden dowel/plug to hide the hole that was drilled for the screw. This method is a very strong way of attaching the treads. The only issue is that you may see the plugs in the top of the tread.
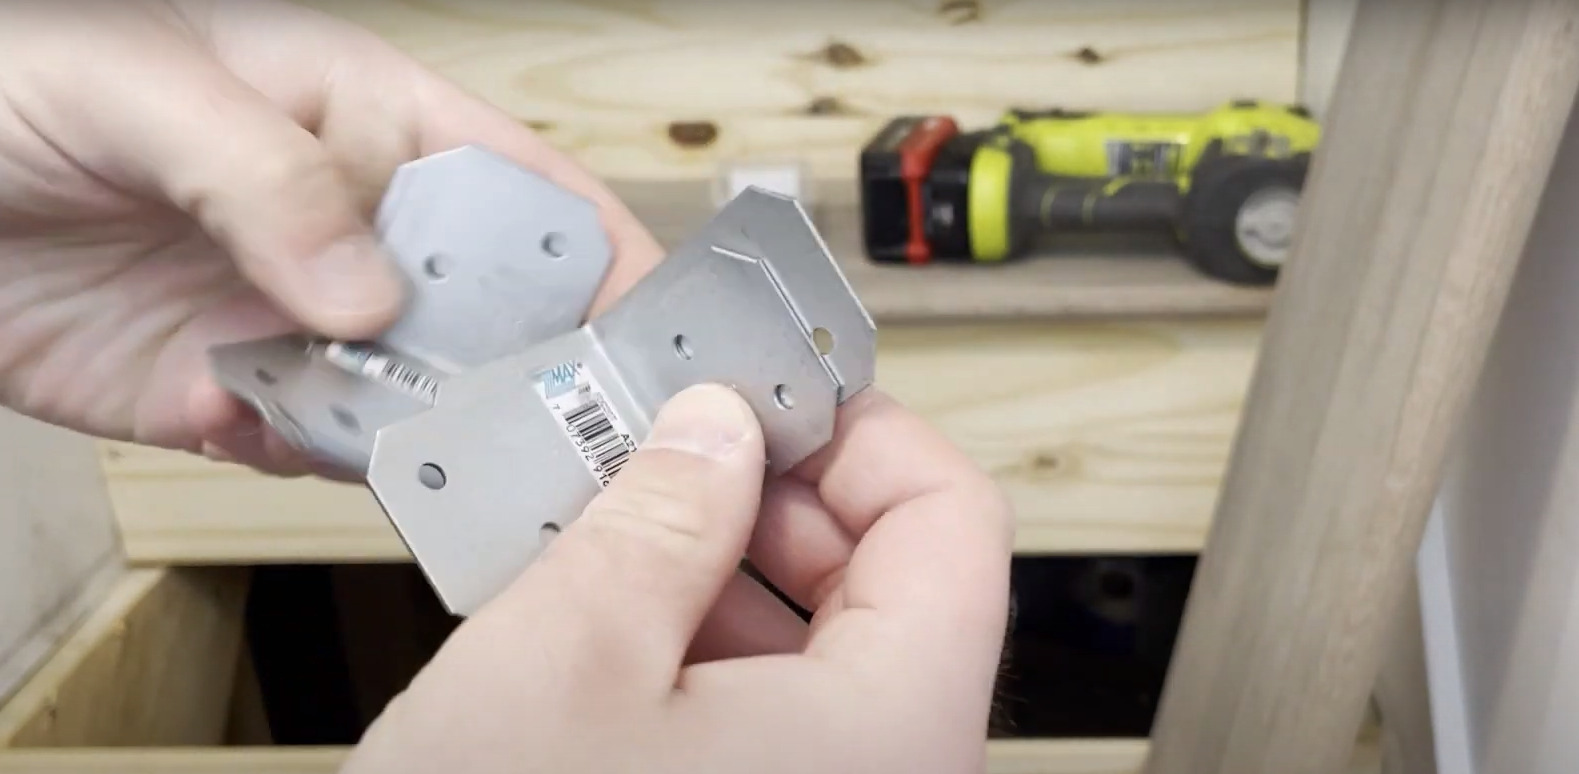
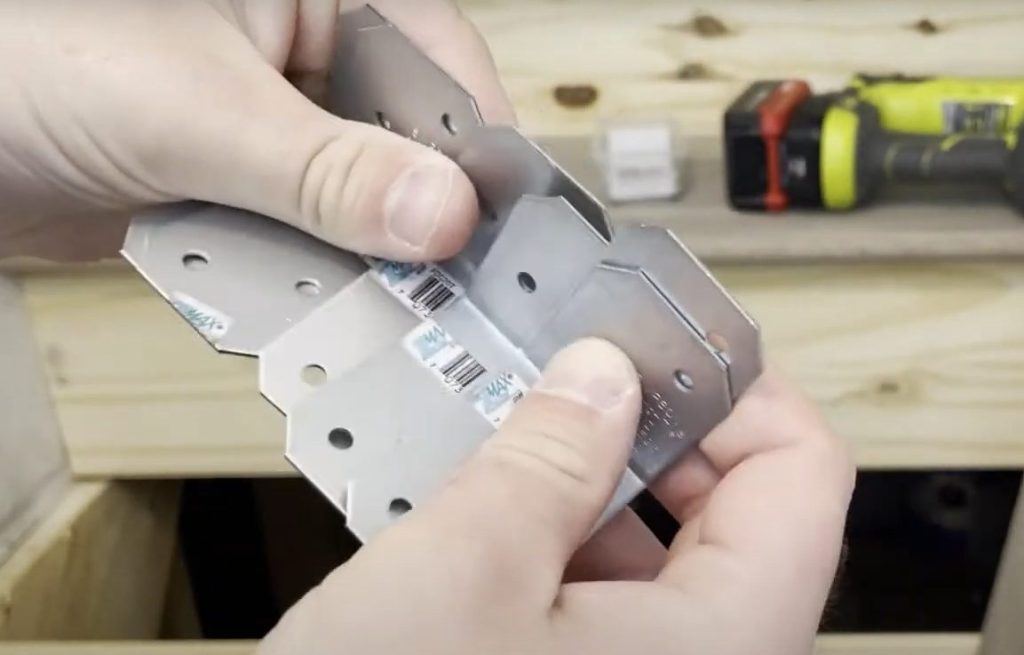
Attaching stair treads by using brackets
Here is the best way (for me) to install stair treads. This method solves the following issues:
- I am able to install the treads without anyone being able to see the fasteners.
- I am able to install the treads with a method that will hold the treads tightly in place over time. Which allows me to use the holding power of screws.
- This method creates a clamping pressure to the treads that holds them down tight.
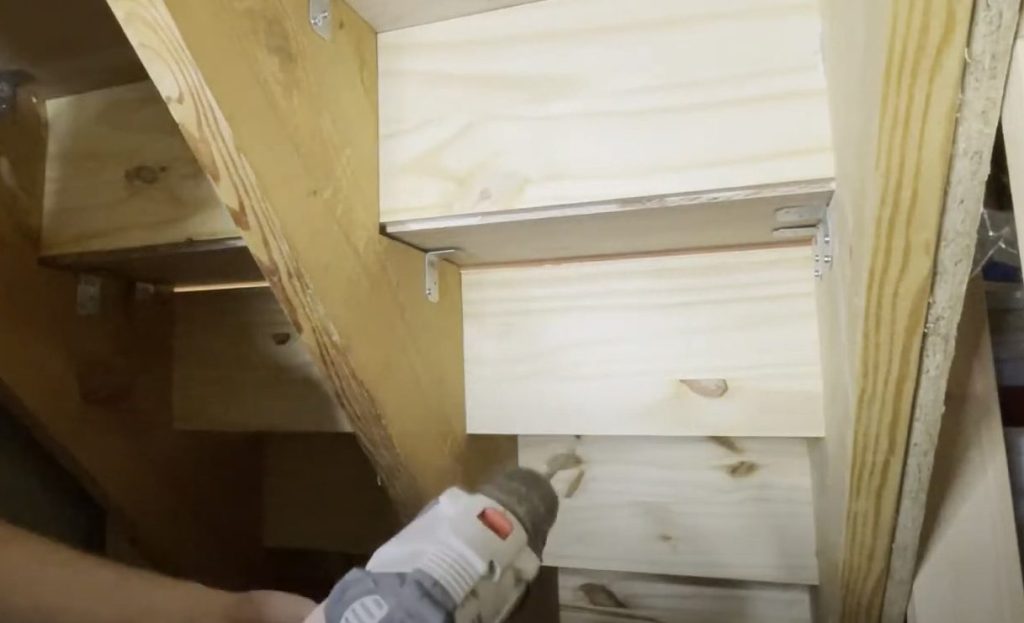
I use right angle brackets or what is commonly referred to as “L” brackets to hold my treads down. I screw a total of six brackets onto the stringers and then from underneath, I screw them into the treads. I have found this to hold down the treads exceptionally tight against the stringers. I also use some type of adhesive. The type of adhesive that I used in this install was liquid nails. I used the heavy duty formula to ensure that I had a good bond that would withstand the test of time.
Here is a YouTube video showing the process I used
Here is a video on how I installed my treads and risers. You can follow along with the video or read further to find a step by step breakdown of how I install them. If you want to read about the process you can skip past this video and read on.
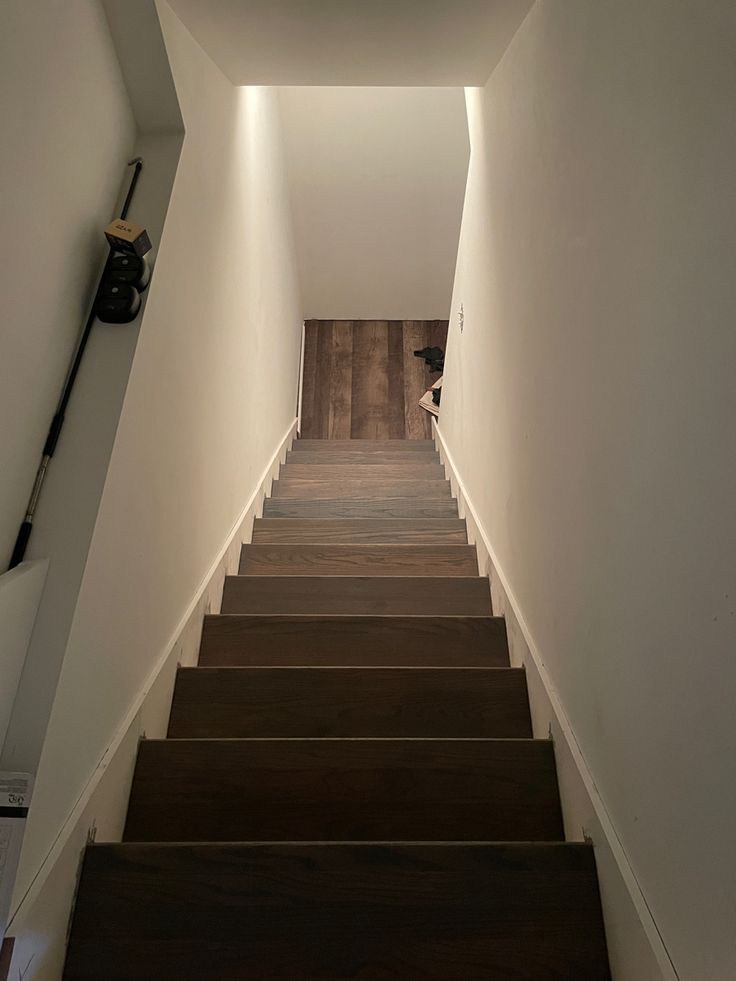
Installing Stair Treads that don’t squeak
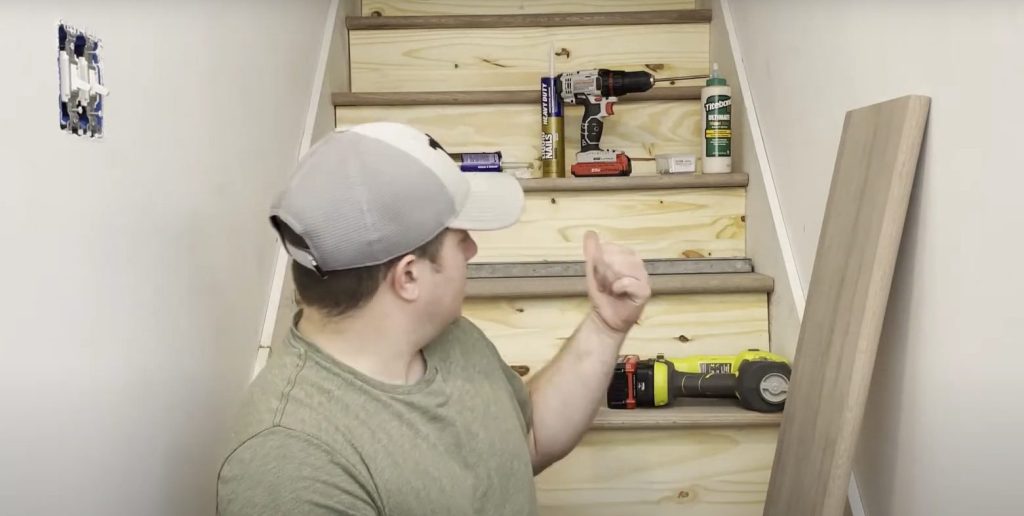
I will show you the method I used to install my red oak stair treads to my existing stringers. The first thing I did was to remove the old 2×12 pine boards that were used to make my stairs. These were placed there during the construction phase. Often times the contractor will make their own stairs like this and leave you with ugly pine stairs.
Replacing them is easy if you follow my method. First you will need to pry up all the old stairs and remove them. Make sure you have a way back upstairs alternatively from the stairs. If you don’t, you will need to have a ladder handy.
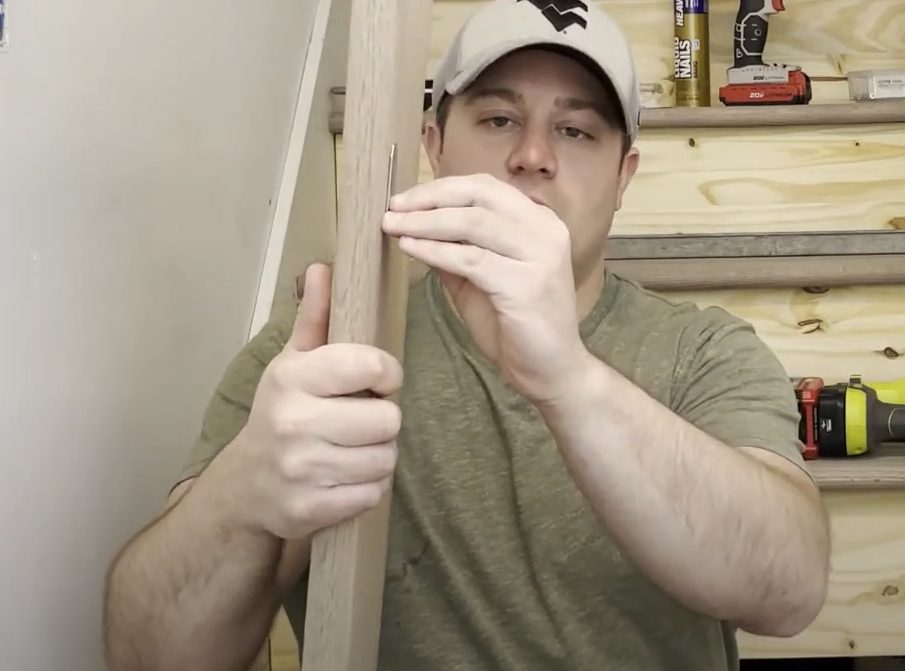
Preparing the stairs for installation
To prep your stair treads for installation you will need to measure them and cut them to fit in the existing constraints. The best method to do this is using a stair tread measuring jig. If you want to buy one you can find a link in the table at the top of this post.
If you are like me you can make your own. Use this video of me making a stair tread jig to make your own.
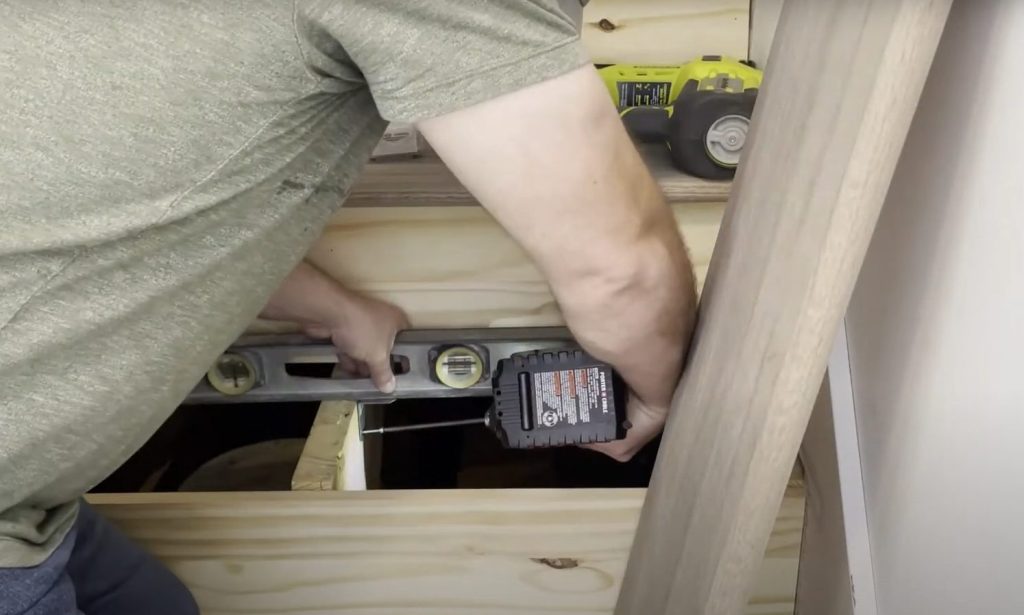
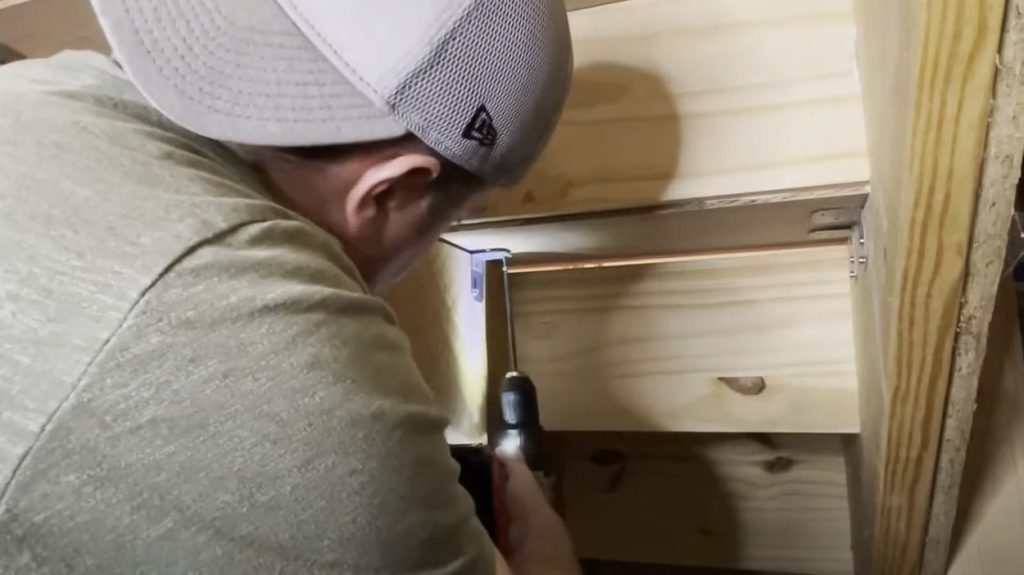
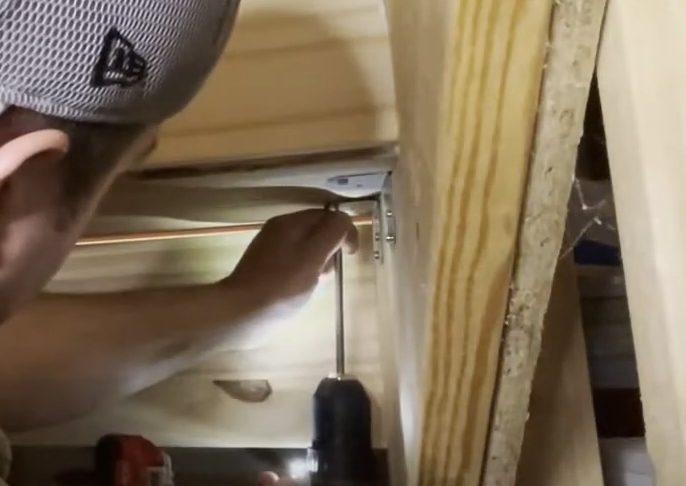
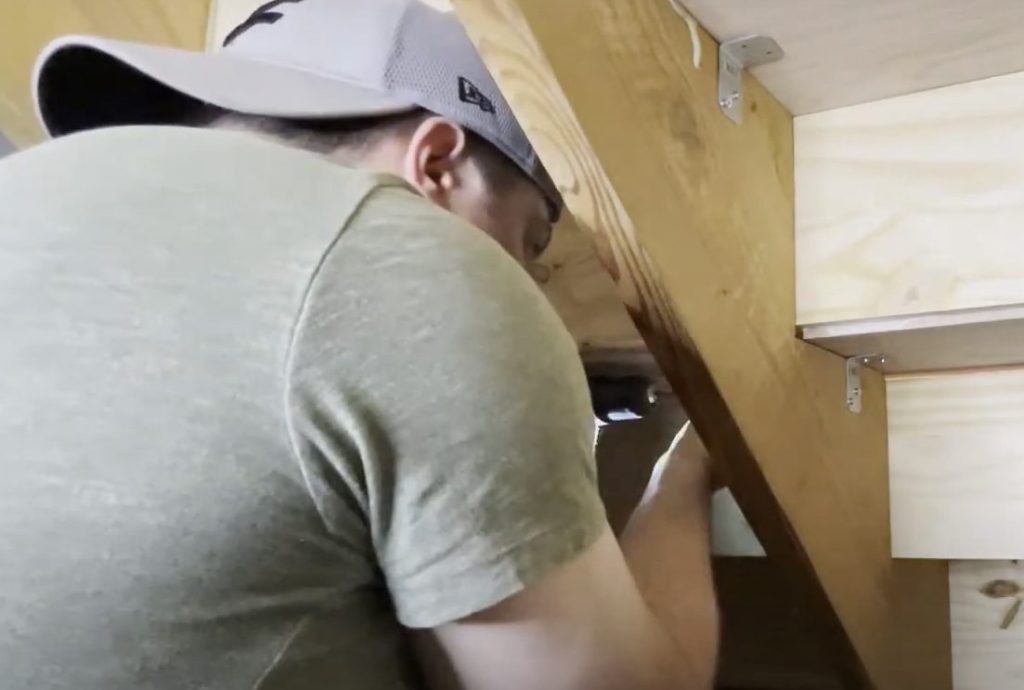
Prepping the brackets for the Oak Stair Tread installation
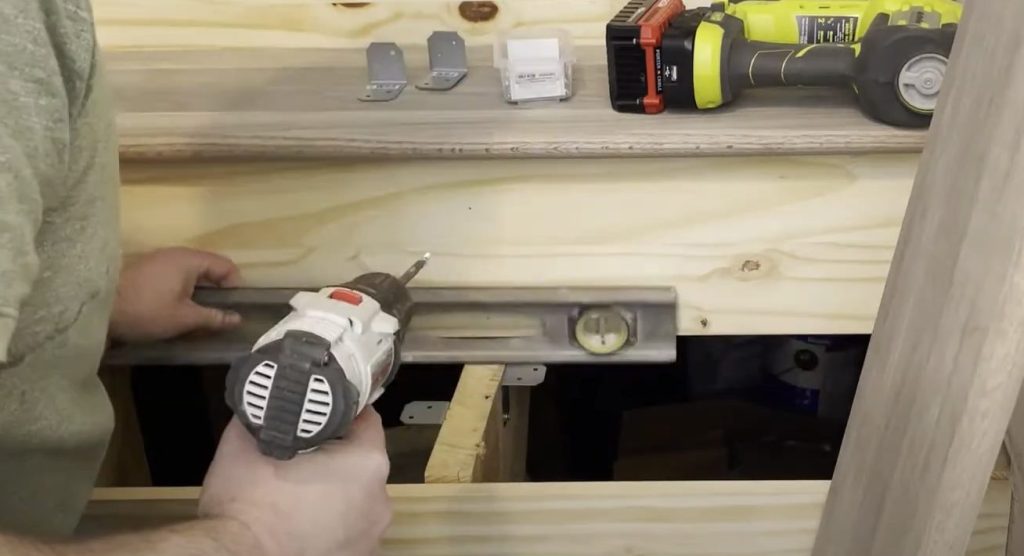
Take the L-Brackets and screw them into the side of the stringers. You will need to make sure the tread side of the bracket is facing up and is level. If your stringers were hand cut like mine then you may have space them up higher than the top of the stringer. Place your level across the stringers and see what you are working with. If one of them is low then screw the bracket up to level. If there is a gap between the stringer and stair tread you can use shims to bring it up or if its small you can use liquid nails. Mine weren’t bad so I used Liquid Nails.
You can use 1″ or 1.25″ screws to fasten the bracket. I used 1″ Kreg screws because I trust them for self drilling into the wood and not splitting the wood.
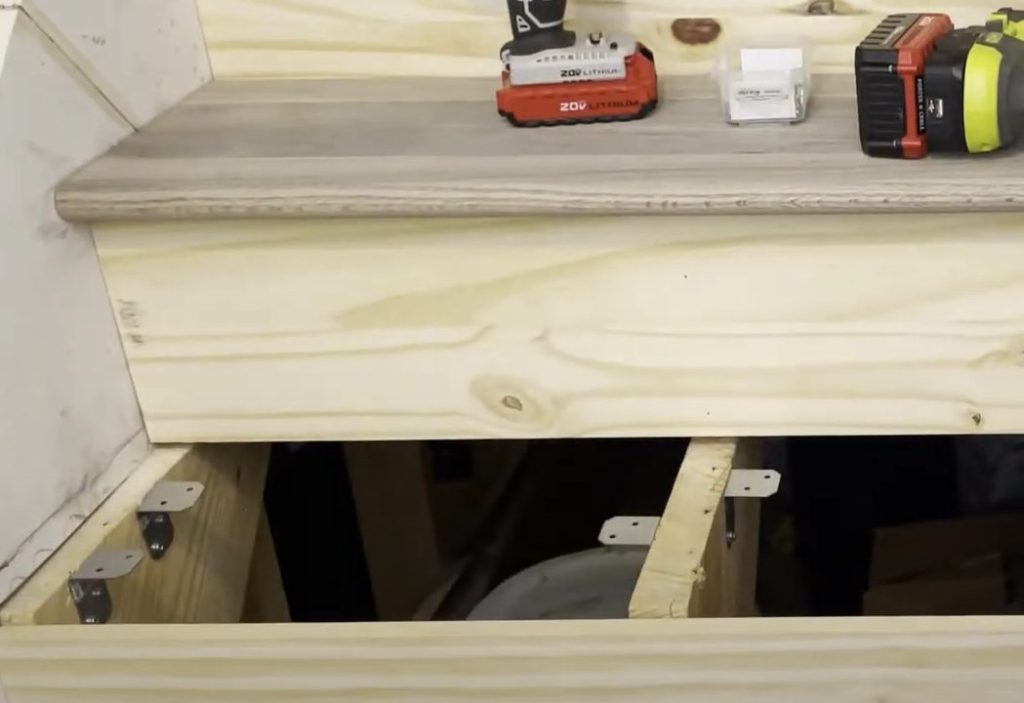
I placed two brackets on each stringer. I used two in the middle on alternating sides. Once you have all these in place you can move on to gluing the tread down.
Using Glue on Stair Treads to prevent squeaking
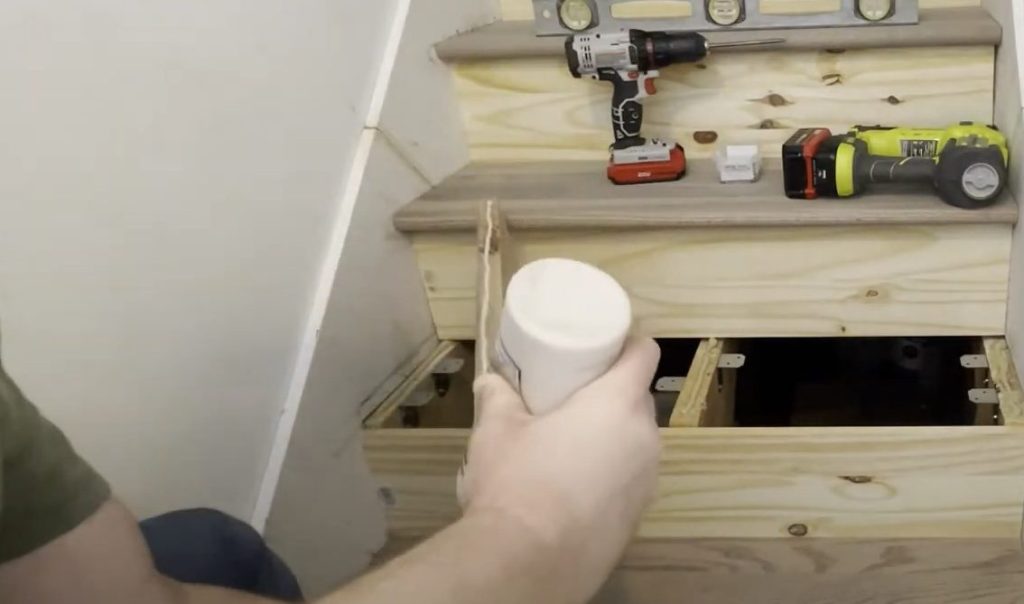
Now you will want to take the Liquid Nails Heavy Duty and lay a bead down on each stair stringer. This will ensure great adhesion to the stringer and prevent squeaking.
The reason that most stair treads squeak is from movement between the different boards that are made up of the stairs. If you can lock down the boards tightly then you will not have any movement to make a squeak.
After you cover all the stringers with the glue you can take some wood glue, Tite Bond, and glue the tread to the back of the riser. This will ensure another level of securing the stair tread. This will also help with squeaking. We will later put a nail through the riser into the back of the tread to help hold until the glue sets.
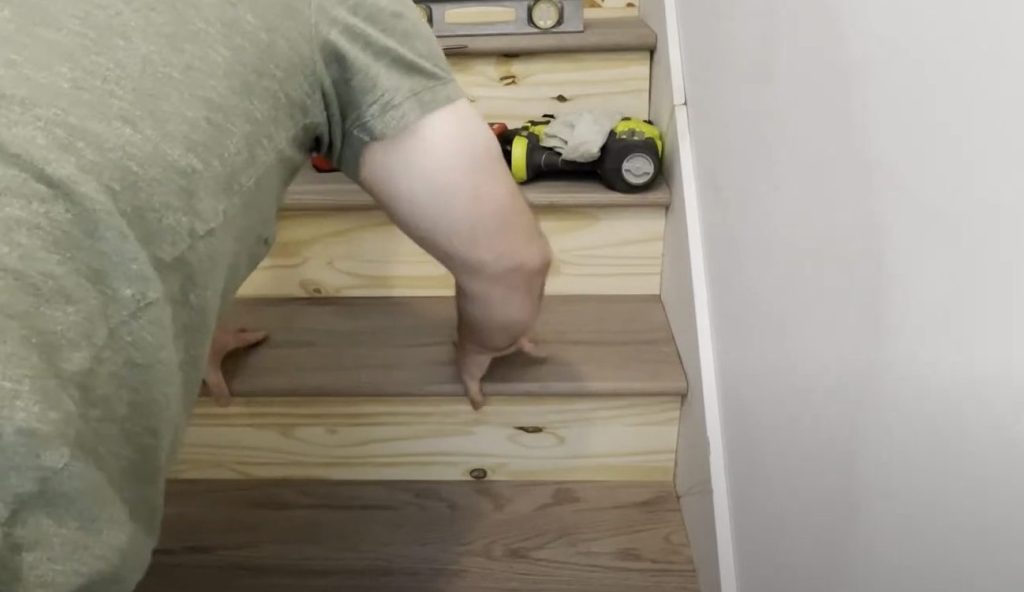
If you haven’t already, place the stair tread into place and push the back into the riser. Make sure you wipe any glue squeeze out with a damp cloth because it is hard to stain over glue.
Screw brackets into the stair tread to hold them down
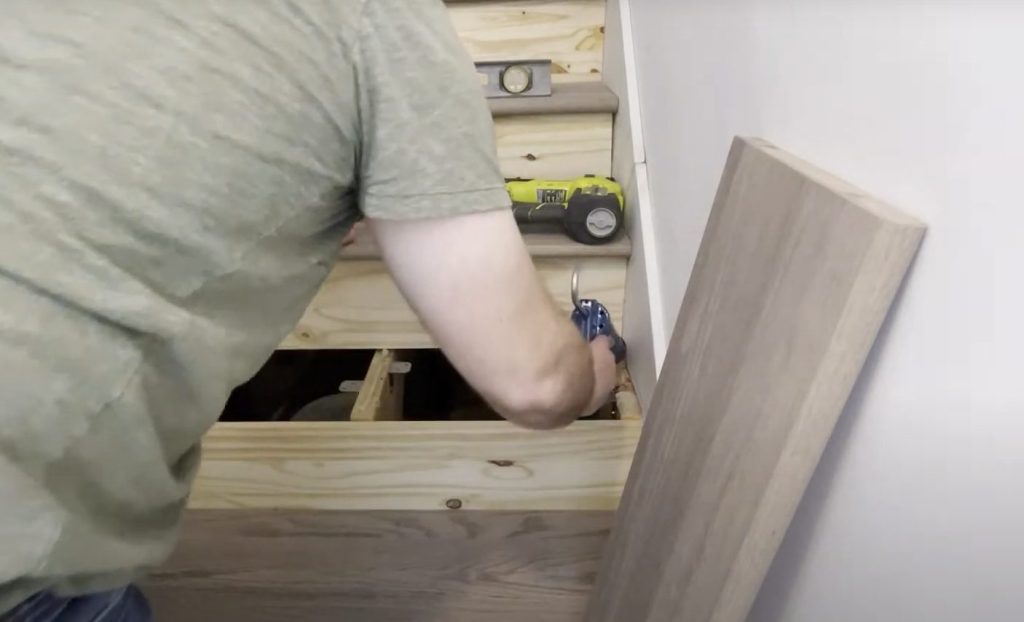
At this stage, you can screw the treads down from underneath. If you are working with a set of stairs that is finished on the bottom you will need to do this one step and riser at a time. You will need to mount the stair tread then add the riser then mount the next stair tread then riser and so forth.
Once you screw the brackets to the treads, go to the top and make sure you do not have glue squeeze out. If you do wipe it up immediately with a damp wet rag.
Now you can continue to mount your other treads until you are done. Make sure you either put a screw from the back of the riser into the tread or use nails to secure these.
Enjoy your squeak free Oak Stair Treads
Now you can enjoy your squeak free stair treads. This method is not the only option. If you want to use nails you can or screws from the top you can. I prefer the simplicity and look of this method. I don’t have any fasteners on my stair treads and they look beautiful. They also will not squeak for years to come.
Thank you for reading and hope to see you again soon.