
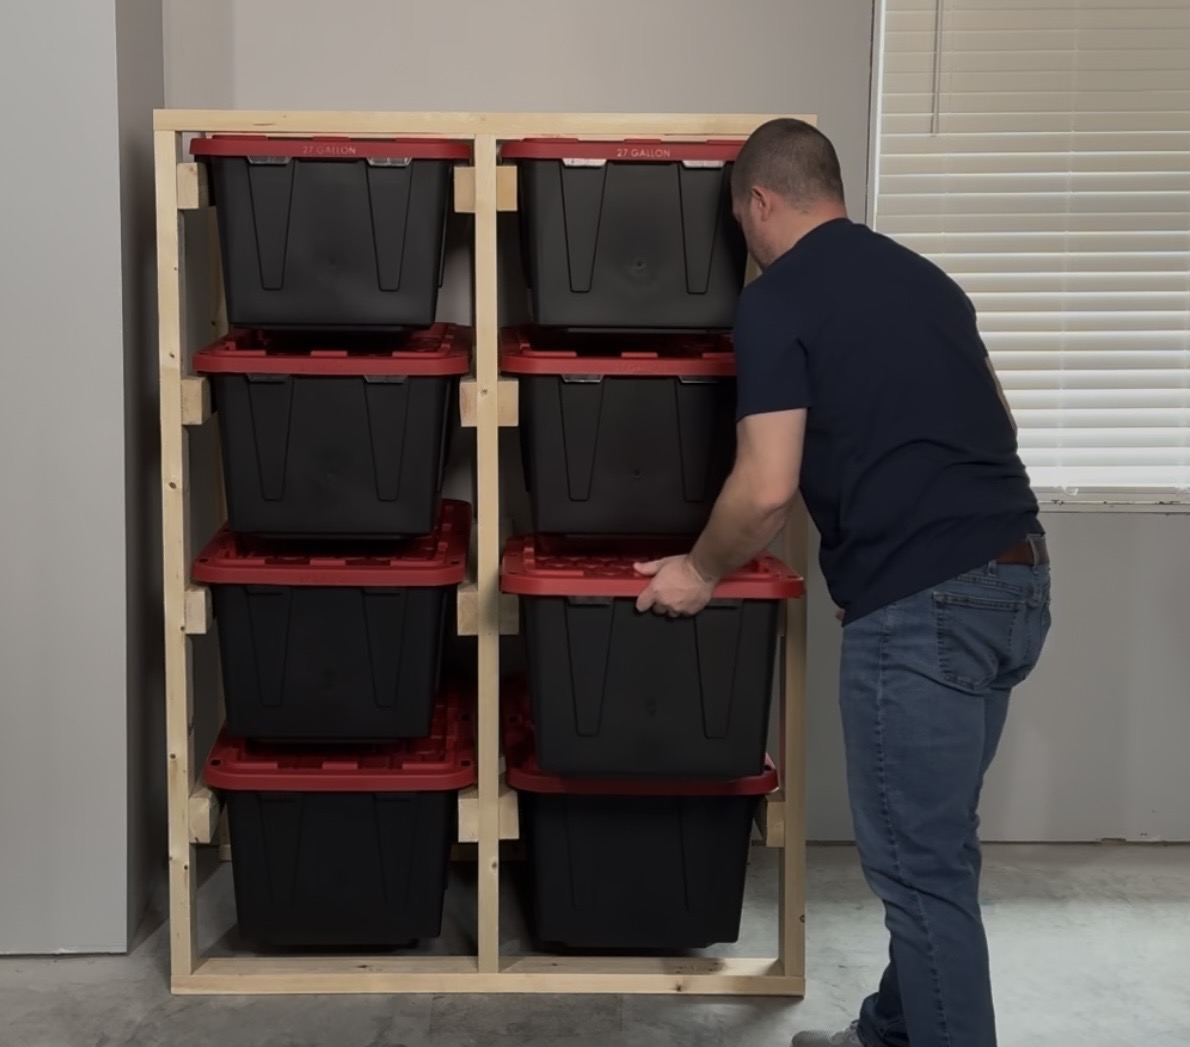
If you are looking for a simple and effective way to organize large plastic storage totes in your garage, workshop, or basement, this DIY storage tote rack is a great solution. This project was designed to maximize vertical storage while keeping totes easy to slide in and out. This finished rack holds up to eight (27 gallon) storage totes, can be built using basic tools and using simple construction grade lumber.
I modeled this rack in Shapr3D before building it to make sure the spacing and dimensions were correct. Designing it ahead of time helped avoid mistakes and made the build process much smoother. This guide walks through planning, cutting, assembly, and optional upgrades so you can build your own version with confidence.
Planning
Here is a curated list of all the items you will need to complete this build. I have included links from multiple sources in case your location only has certain stores.
| Photo | Item | Links |
|---|---|---|
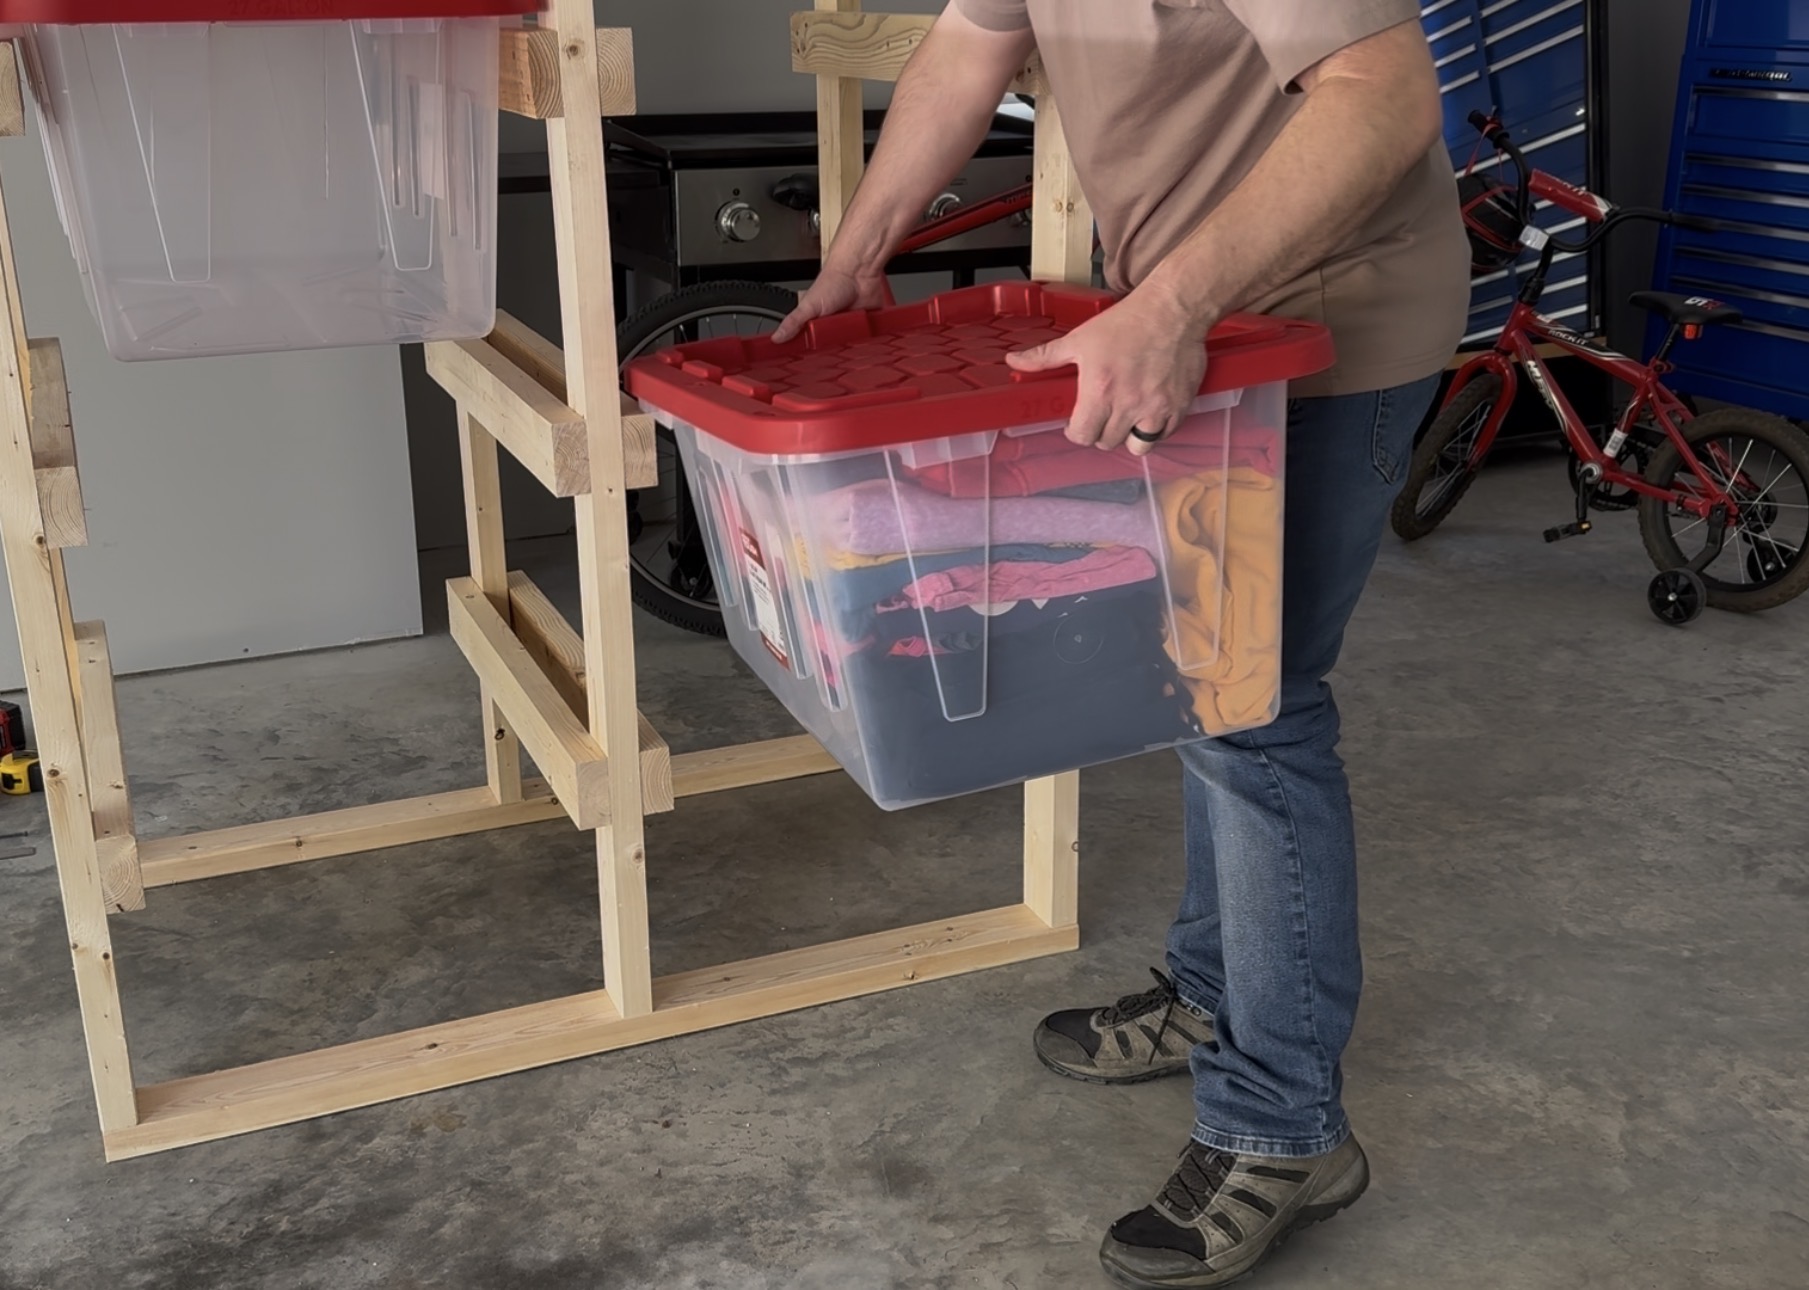 |
27 Gallon Tote Clear
These 27 Gallon Storage Totes are Clear Bottom. The lids are Red for Walmart and Yellow for Lowes. These are a little more expensive than the black bottom totes but it is nice to see the items inside. |
|
 |
27 Gallon Tote Black Bottom
These 27 Gallon Storage Totes have a black bottom. The lids are Red for Walmart and Yellow for Lowes. This is the cheapest option.
(Amazon Link is for a 4 pack) |
|
 |
2x4 Lumber
You will need to purchase 2x4's that are at least 8 feet in length for this build. Make sure you pick out the straightest ones you can find. |
|
 |
Construction Screws 2.5"
|
This post contains affiliate links, including Amazon, Walmart and Lowe’s. As an Amazon Associate I earn from qualifying purchases at no extra cost to you.
Compatible Tote Sizes
This storage rack is designed around standard 27 gallon plastic storage totes commonly sold at Walmart and Lowe’s. The totes used for this build measure approximately:
- 14.3 inches tall
- 20.6 inches wide
- 30.6 inches deep
If you plan to use a different brand or size of tote, measure them first and adjust the runner spacing as needed. Even small size differences can affect how smoothly the totes slide in and out of the rack.

Cut List
This rack is built entirely from standard 2×4 lumber.
Runners
These pieces support the totes on each side.
- 16 pieces cut to 30.75 inches
Upright Legs
These are the vertical supports for the rack.
- 6 pieces cut to 62 inches
Top and Bottom Boards
These tie the rack together and add rigidity.
- 4 pieces cut to 47 inches
Once assembled, the rack creates four storage levels with two totes per level.
Choosing Lumber
Selecting straight lumber is one of the most important parts of this project. Warped or twisted 2x4s can cause the rack to lean, rack, or make the totes difficult to slide.

When buying lumber, sight down each board and choose the straightest ones available. Spending extra time here will make the build easier and the finished rack much sturdier.
Cutting the Boards
Cut all of the lumber before starting assembly. This helps maintain momentum and prevents stopping mid build to cut more pieces.
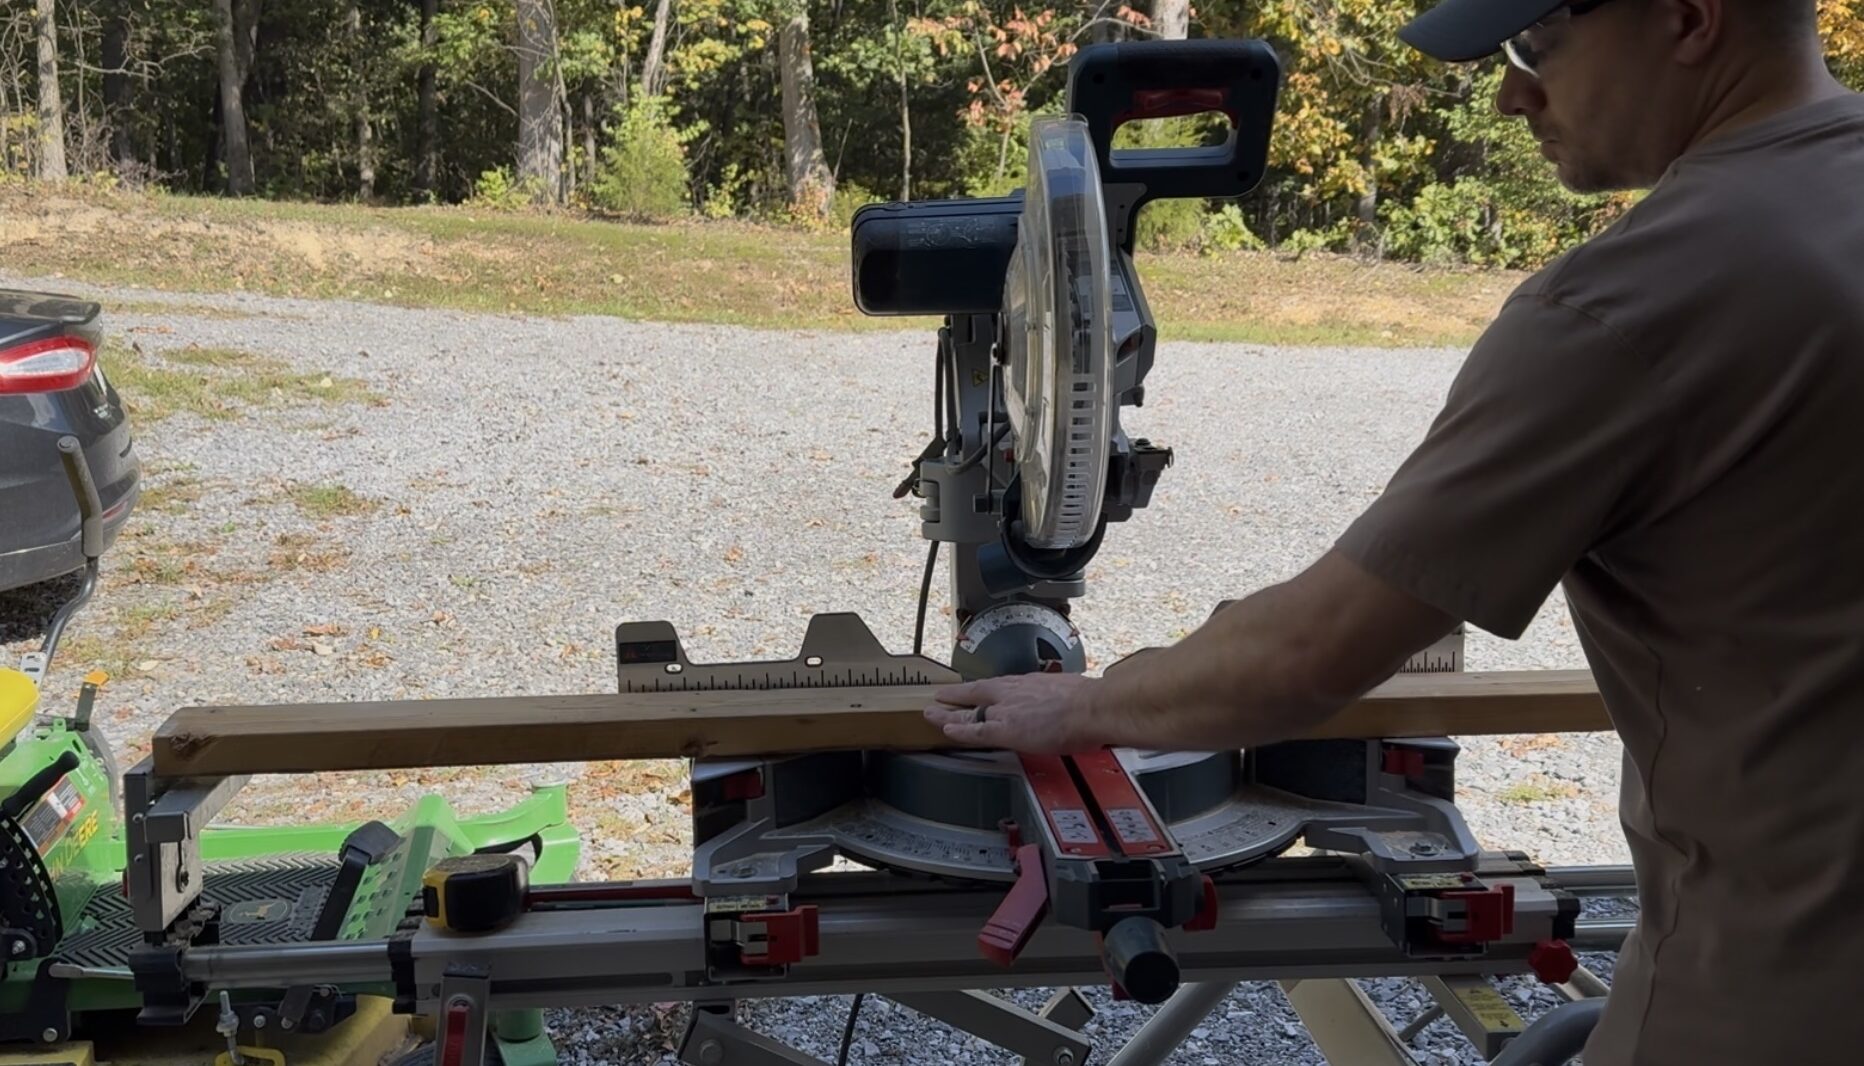
A good cutting order is:
- Upright legs
- Top and bottom boards
- Runners
Set all pieces aside once cut and move on to layout and assembly.
Optional Board Prep
If your 2x4s have rough or uneven edges, you can joint them to flatten the sides. This step is completely optional and not required for structural strength. It can help everything sit flatter during assembly, but the rack will work just fine without it.

Marking the Upright Legs
Before attaching the runners, mark the runner locations on the upright legs. These measurements are taken from the bottom of the leg to the top edge of each runner.

Use the following measurements:
- 13.25 inches
- 28.75 inches
- 44.25 inches
- 59.75 inches
These marks create four evenly spaced storage levels sized for 27 gallon totes.
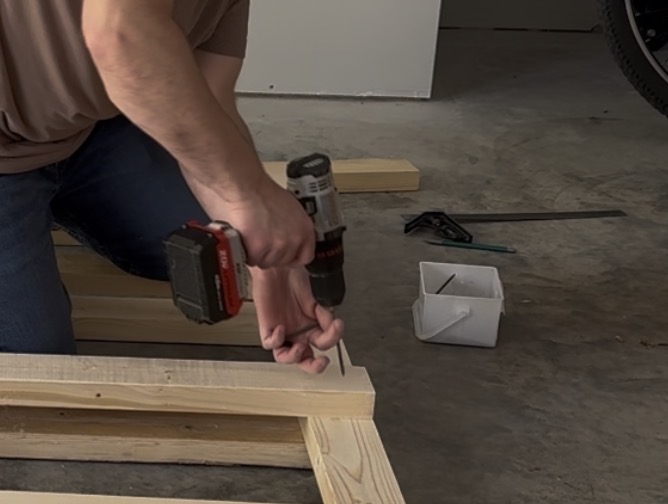
Building the First Side
Start by laying out two upright legs on a flat surface. This forms one side of the rack.
Place the bottom runner on the layout marks and check that it is square using a combination square. Attach the runner using three screws. Repeat this process for the top runner, then install the two middle runners.
Using three screws per runner helps prevent the rack from flexing or racking over time. Checking for square at each step helps avoid compounding errors later.

Building the Middle Section
The middle section of the rack is slightly different because runners attach to both sides of the upright leg.
Before attaching runners, make sure runner locations are marked on both sides of the leg. Forgetting this step can cause misaligned shelves.
If you only mark one side by mistake, use another upright leg and a square to transfer the measurements across. This ensures the runners remain perfectly aligned.
Attach the runners using the same process as before, checking for square as you go.
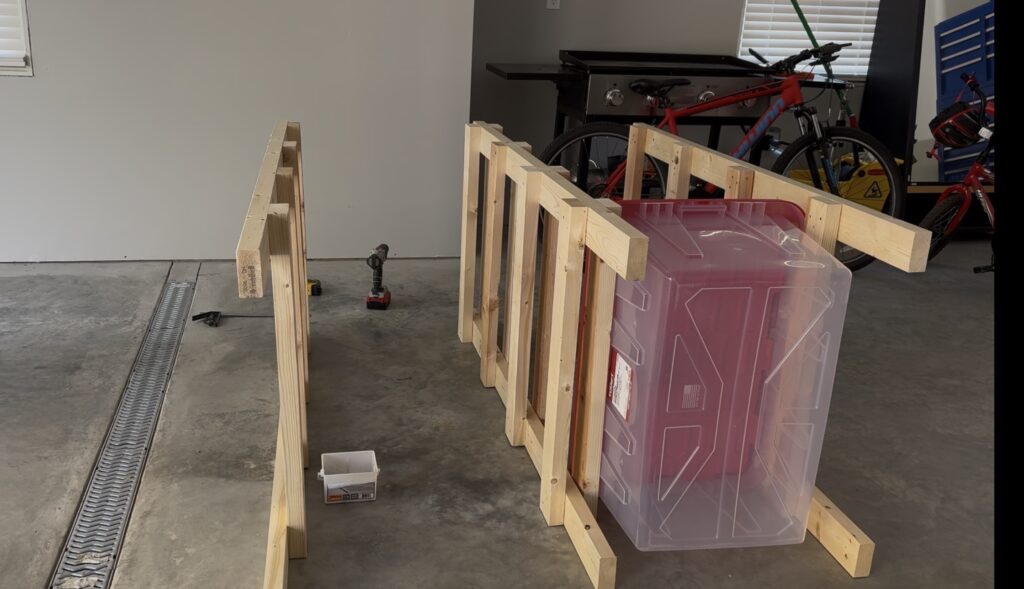
Building the Final Side
The final side is built the same way as the first side. Once complete, you will have three vertical assemblies ready to be connected.
At this point, the structure should feel sturdy and well aligned.
Final Assembly
Connect the three vertical sections by attaching the bottom boards first, followed by the top boards. These pieces lock the rack together and add strength.
If you plan to move the rack through doorways, you may want to use fewer screws initially so it can be disassembled. If the rack will stay in one place, add additional screws for maximum rigidity.

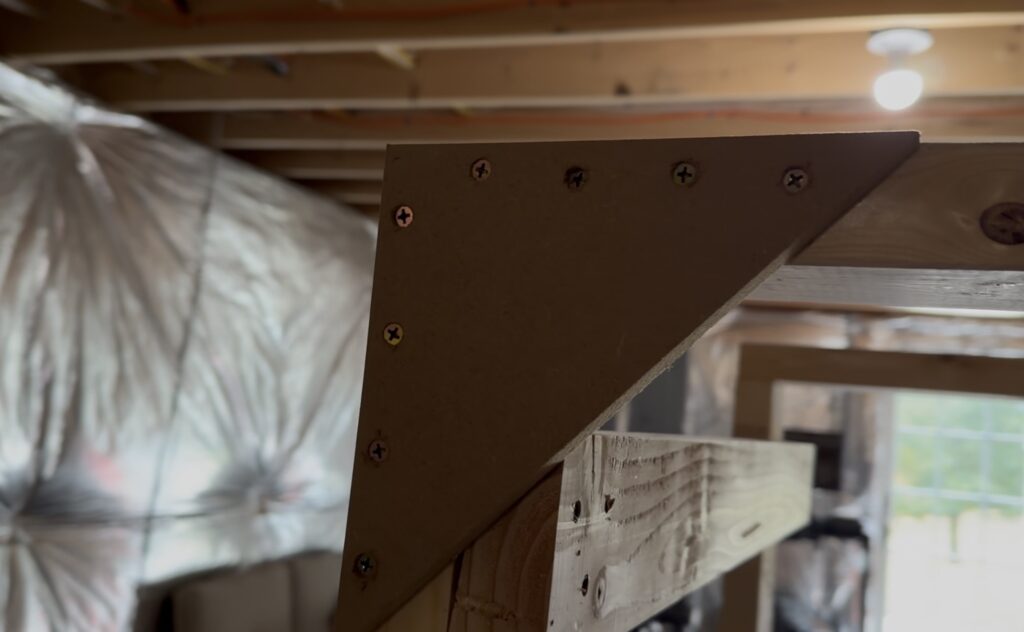
Optional Upgrades
Once the rack is assembled, there are a few optional upgrades that improve durability and usability.
- Add triangular corner braces at the top to reduce racking
- Install caster wheels to allow the rack to roll, even when loaded

Both upgrades make the rack more stable and easier to use, especially in basements or workshops.
Final Thoughts
This DIY storage tote rack is a practical and customizable solution for organizing 27 gallon storage totes. It uses affordable materials, basic tools, and can be easily modified to fit different tote sizes or storage spaces.
This is a great project for garages, workshops, and basements where floor space is limited but vertical space is available. Once built, it provides clean, accessible storage and helps keep clutter under control.