If you have ever installed vinyl fencing then you know that you can buy the premade posts or you can buy the blank posts. We purchased fencing for our old house only to realize the posts that they sent had the fence holes in the wrong place. We could not take them back because they were special order and I didn’t unbox them fast enough to return them within the return period. (Due to digging the holes for the fence taking so long.) Luckily the holes were so far down on the post they were going to be in the ground. So after cutting the new holes we had no problems.
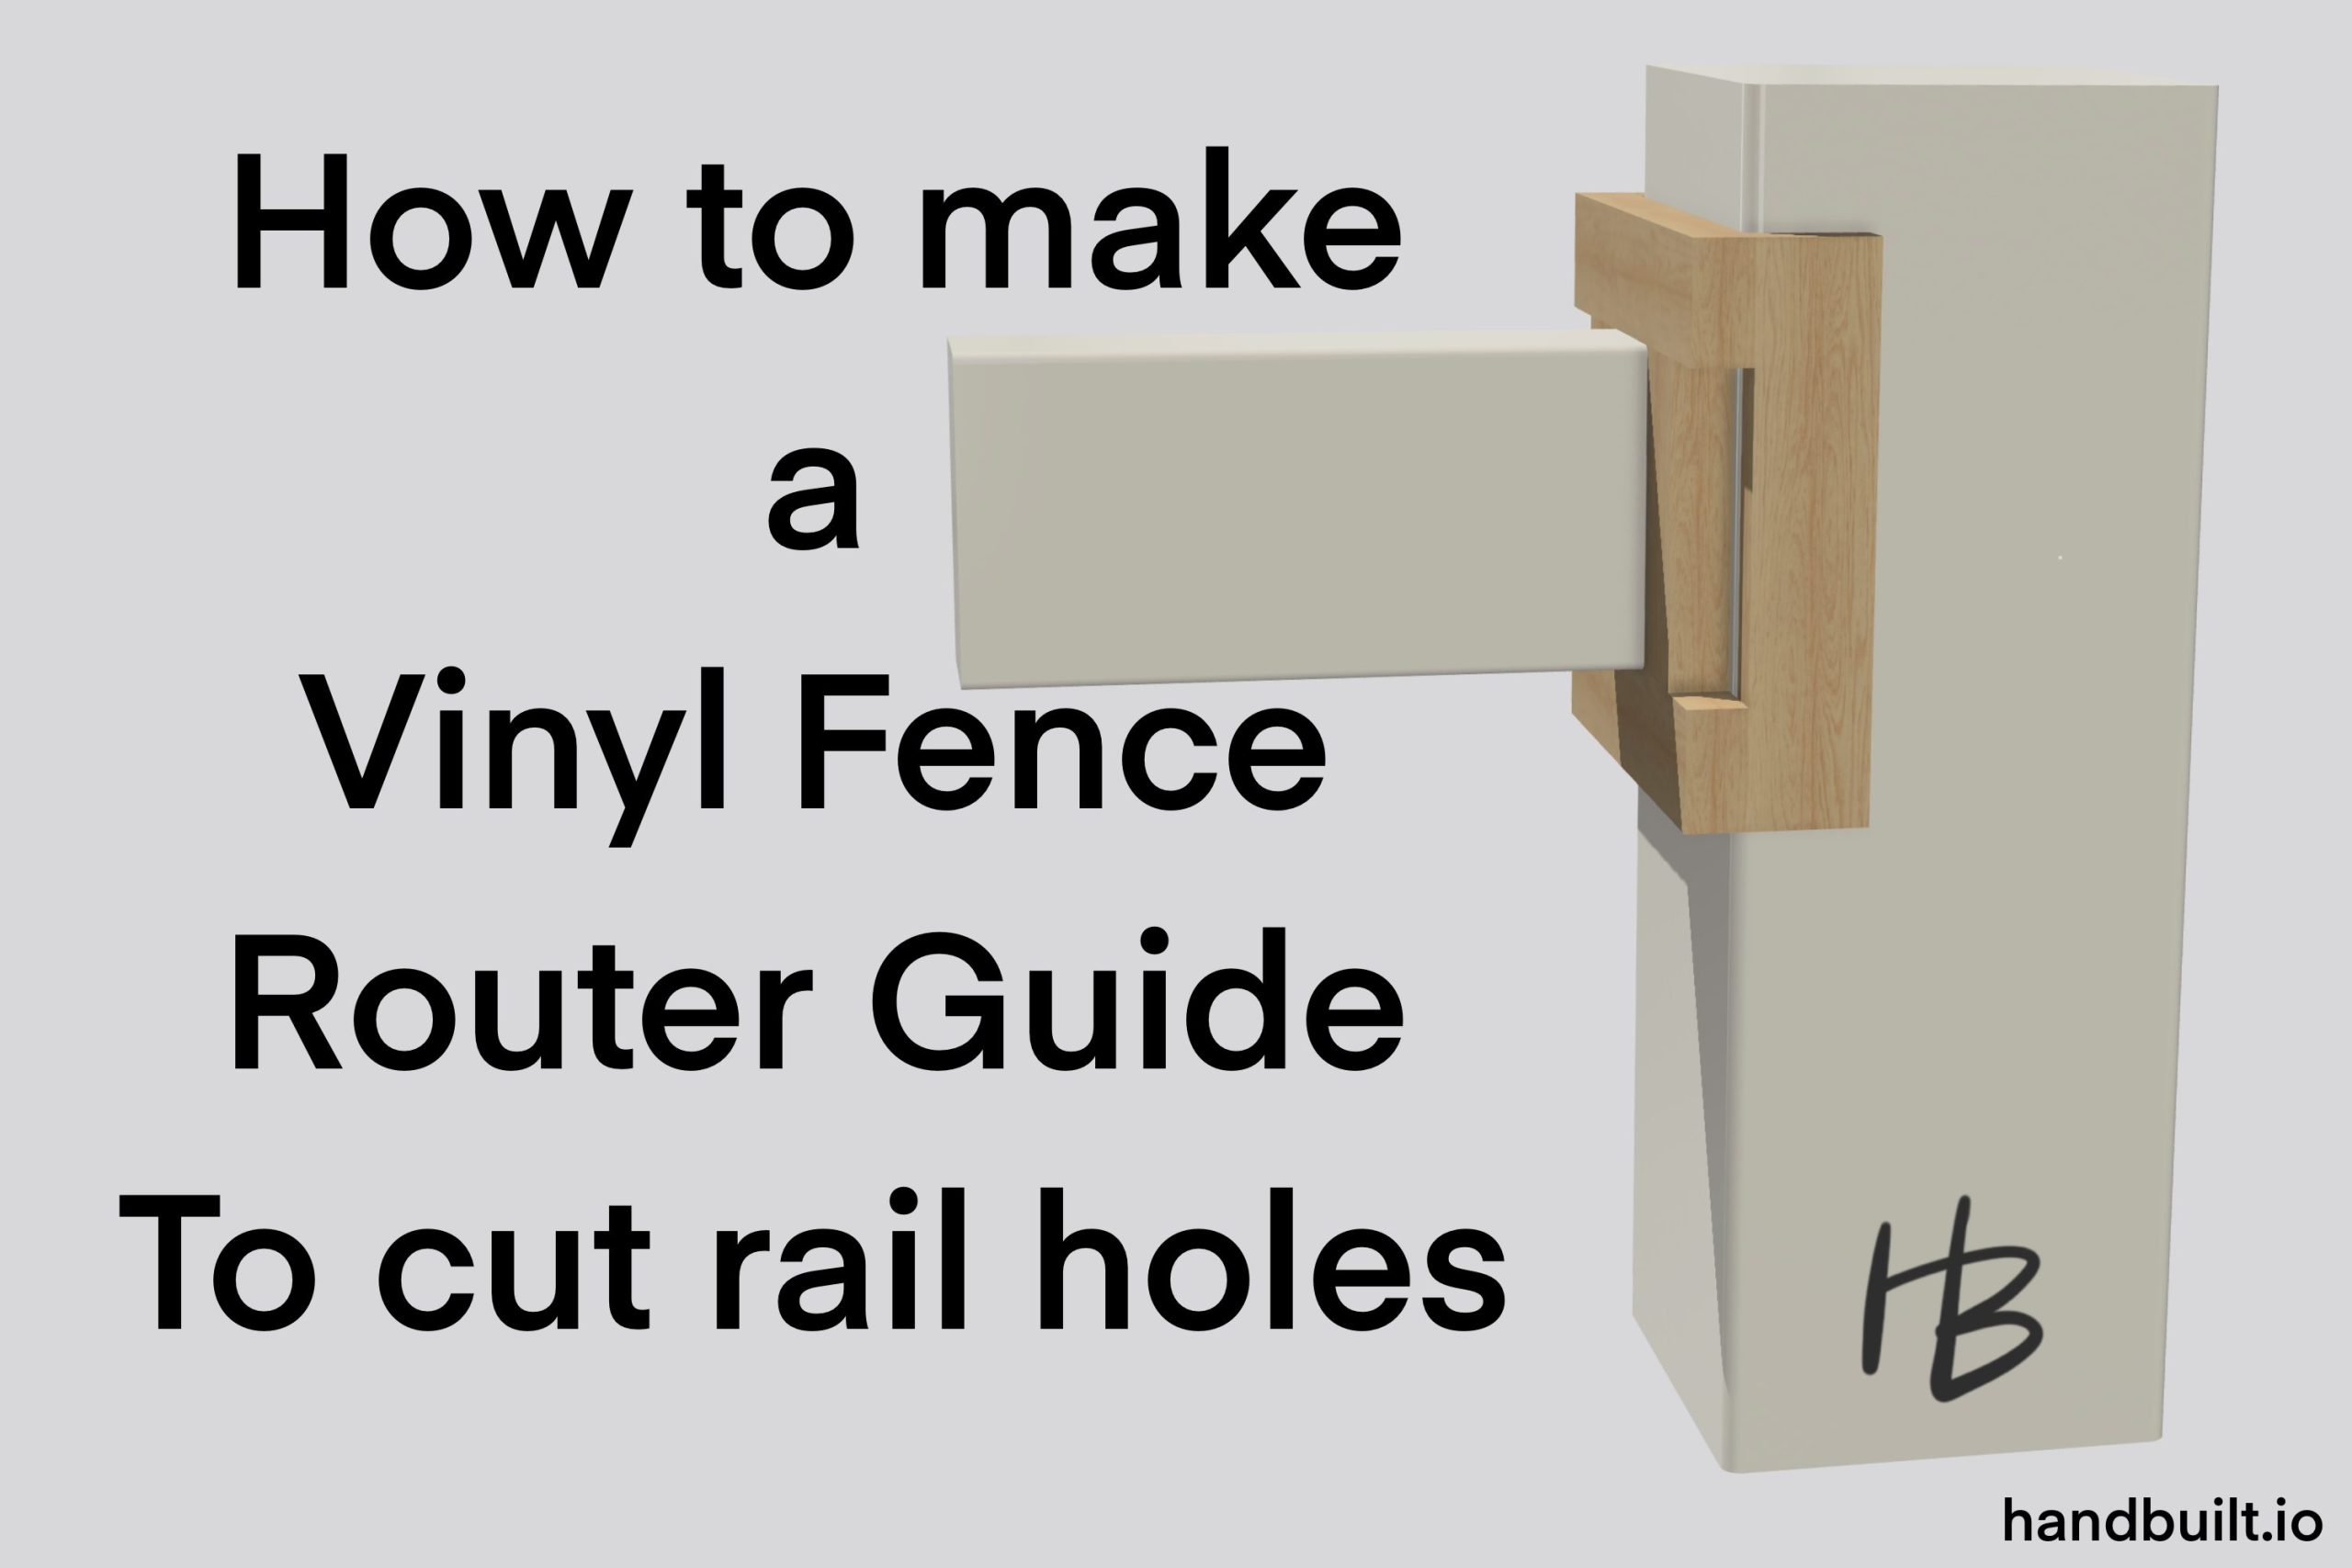
So in this short post I will show you how to make your own router jig to cut vinyl fence posts. This is simple and cheap compared to the jigs I saw online for hundreds of dollars. This can be made cheaply with things you already have around the house.
Searching for a vinyl fence post hole cutting jig
So I searched and googled trying to find a template to cut out the new holes. The alternative was to purchase all new posts which cost somewhere between 30-40 dollars a piece at that time. They are probably more expensive now.
I saw some template guides on the market for hundreds of dollars. $400.00 to $900.00 is insane for something that is going to be a one time use for me. Before posting this blog post, I can see the same templates out there costing in the same range of money. Well mine cost zero dollars if you have some screws, Kreg Jig and a little courage.
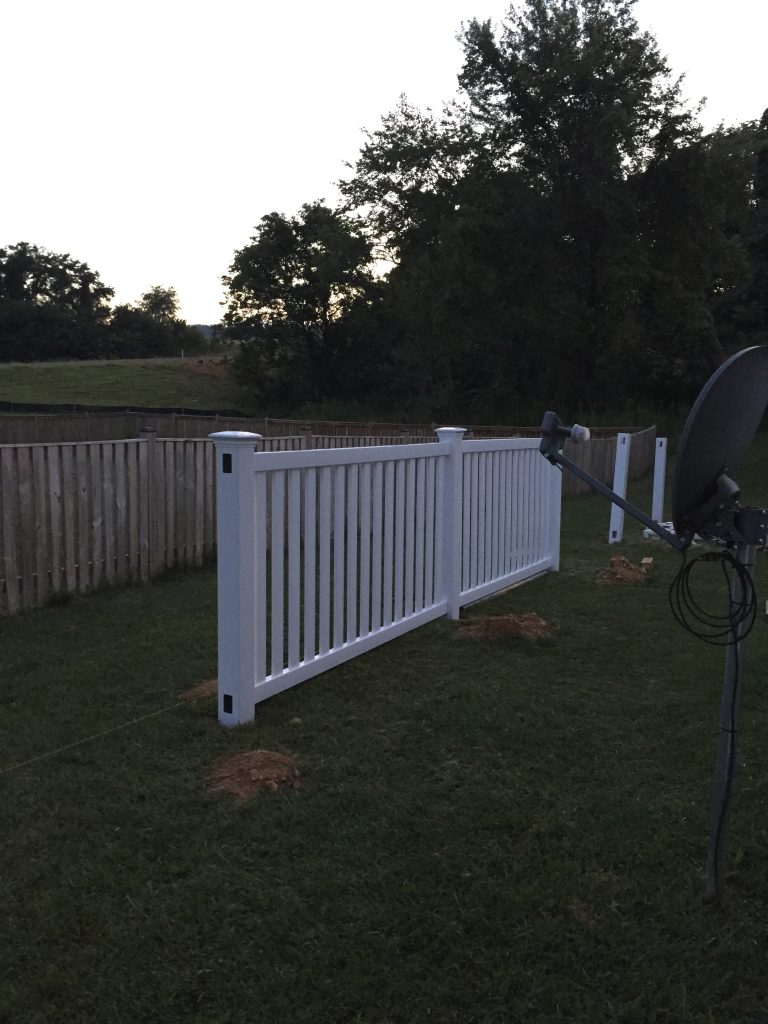
I built this fence in 2016 and had been going through some old photos when I stumbled upon this little template. I figured I would share it with the world and give you an idea so you don’t pay 900 bucks for a router guide.
How to make a DIY Vinyl Fence Hole Cutting Router Jig
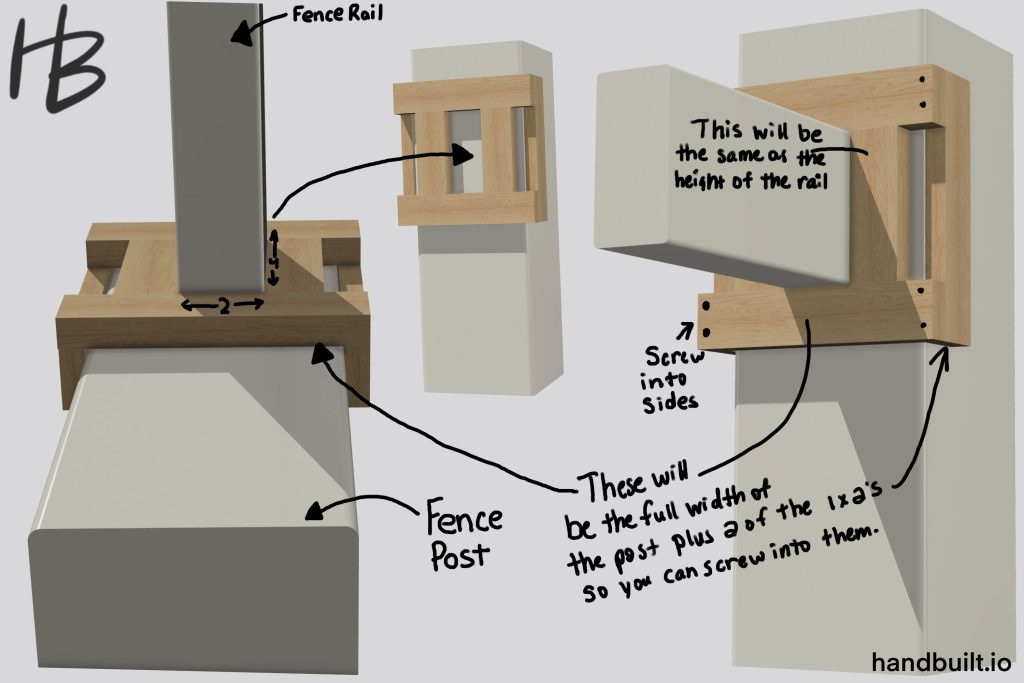
So after coming up empty for ways to do this cheap, I created my own template. I took some regular 1 by 2 pine and using a Kreg Jig I made a template. You can see the template in the pictures below. I took one of the side rail ( stiles) and basically built the jig around the perimeter. This made sure the piece was an exact fit. I then put two side guides on the jig to center it on the post.
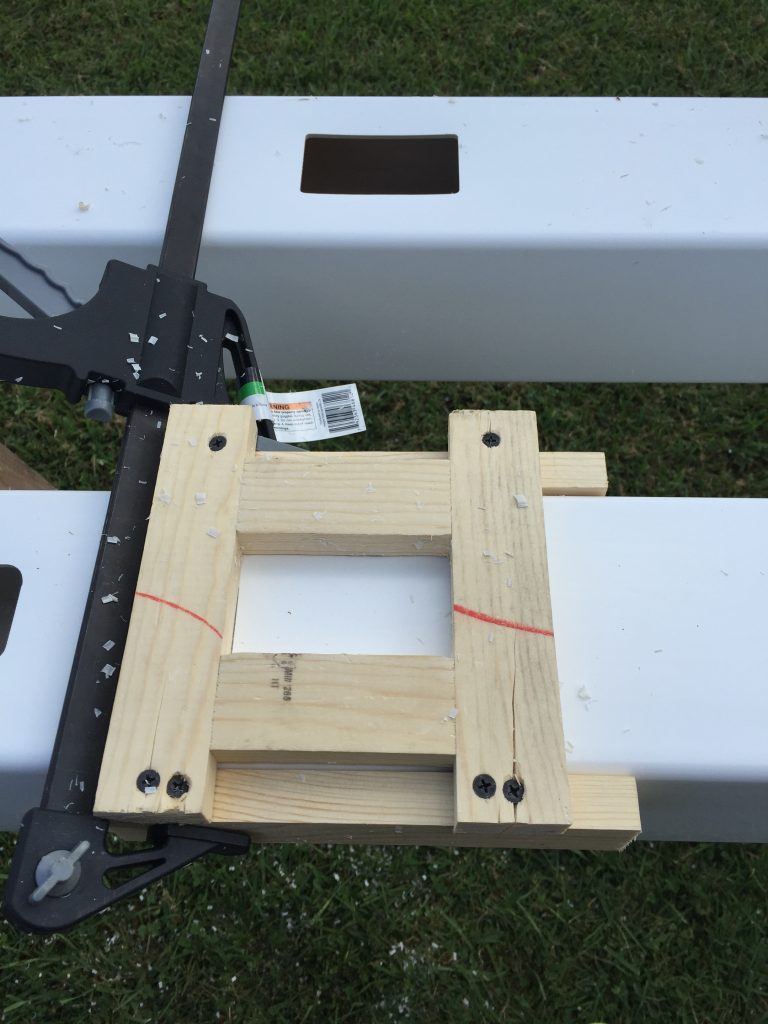
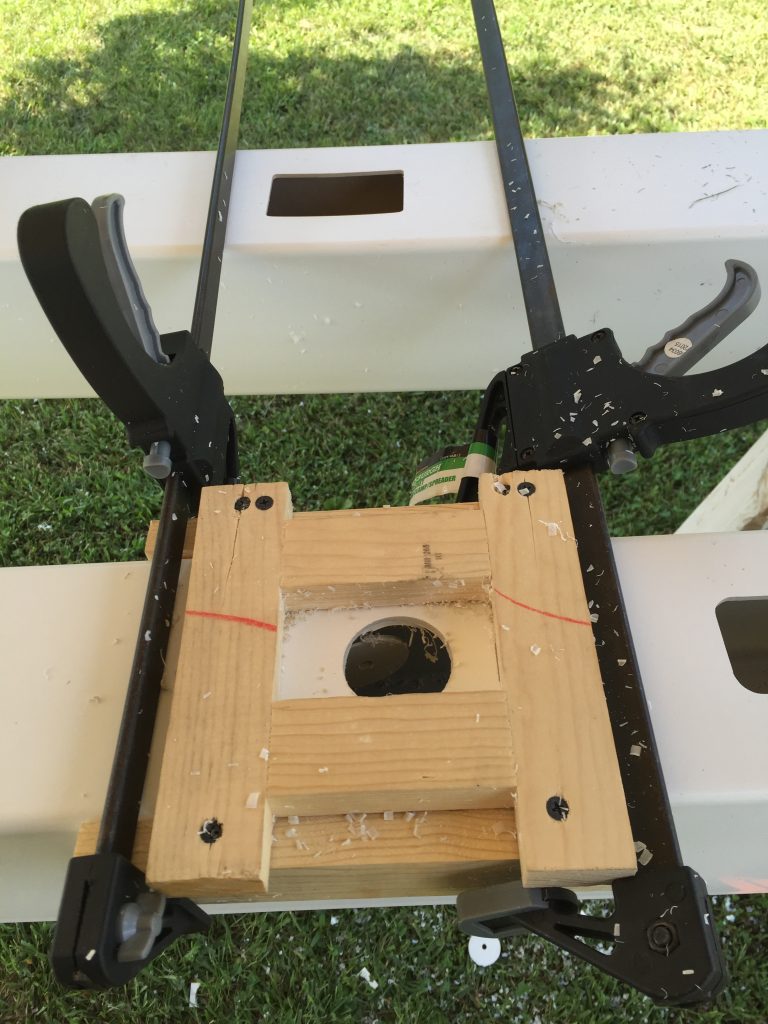
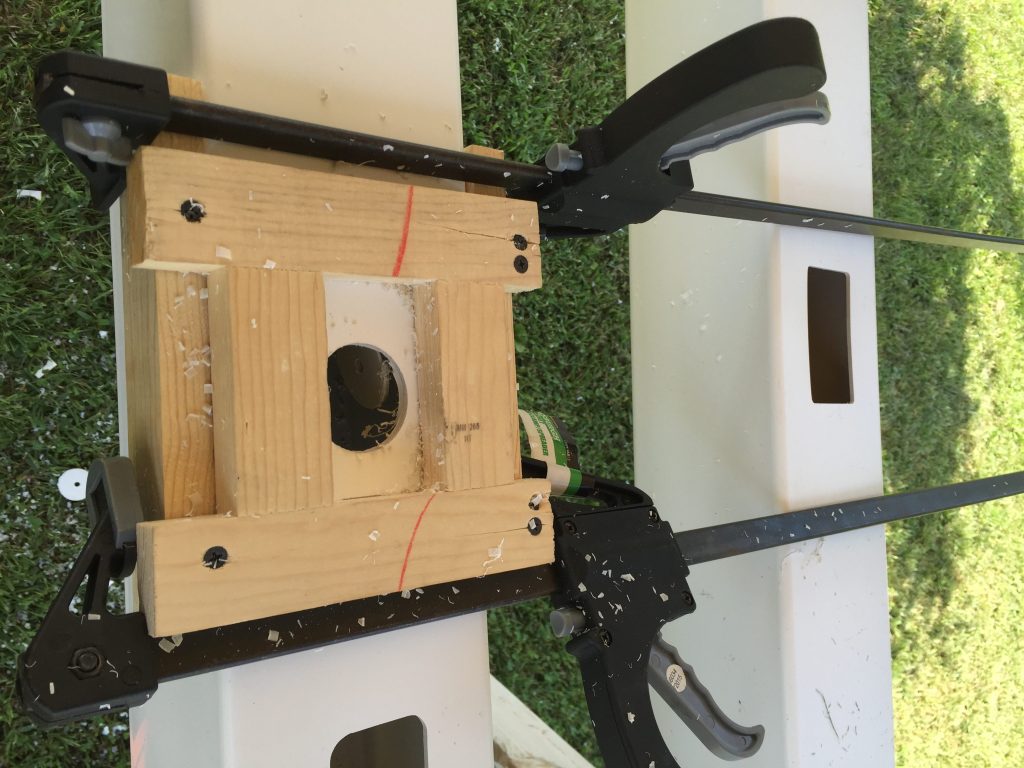
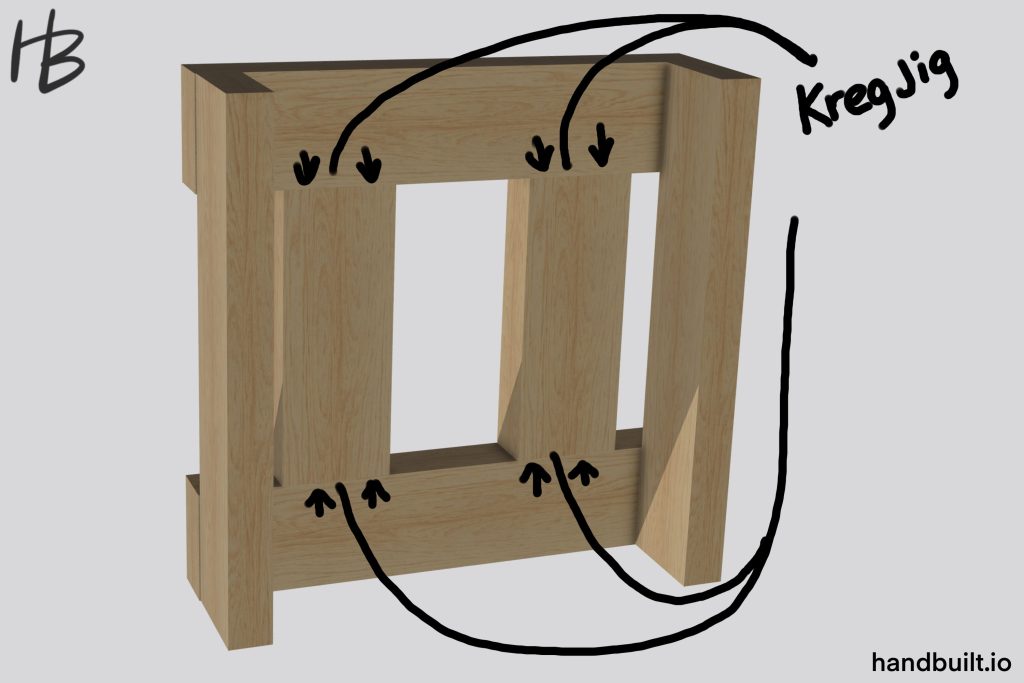
To cut out the hole you will need a hole saw bit, a router bit and some patience
You will need a 1″ hole saw and a flush trim bit like the ones below.

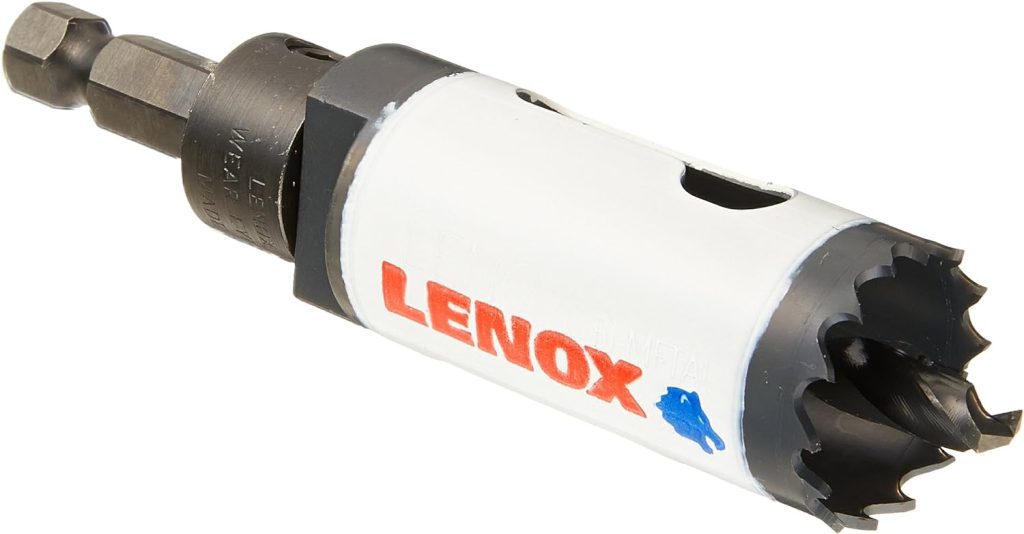
After lining up the jig on the post I took a hole saw and use it to cut away a large portion of the vinyl inside the jig hole. This allowed me to have a place to insert the router bit and also cut down on the amount the router bit was cutting. If you hit the side of the vinyl with the bit at an angle it would break away the vinyl and shatter it. So make sure you place the router in place, then turn it on with the bit inside that hole. Then carefully you can use a template bit with a bearing to run along the 1×2 material. This will cut out a perfect slotted hole for the fence railing to go into. The type of fence I had purchased was from Home Depot and it had fins on the rail that locked it into place when it was placed into the hole.
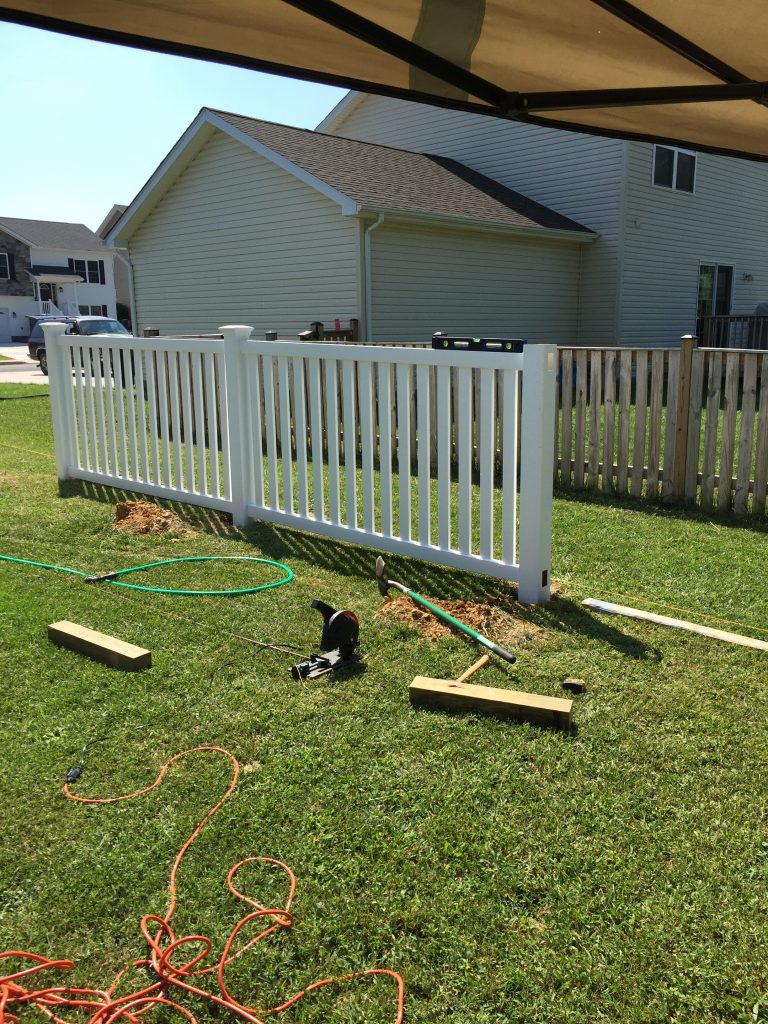
That’s it. This was my simple fence rail slot jig thing. Hopefully this helps someone else and saves you some money.

