
In this article you will learn how to Dry Pour Concrete. I will show you from beginning to completion how to dry pour concrete without mixing and getting professional looking results. If you want to take it a step further I will also be showing you how to stamp in a decorative stone texture to your concrete slab. This method of pouring concrete is great if you need a fast concrete pad without mixing and easy finishing.
What tools will you need?
| Concrete Stamp | https://amzlink.to/az0xQrUuEl84x | |
| Concrete Edger | https://amzlink.to/az0fQp8eaBner | |
| Sifter | https://amzlink.to/az0RrbiWWdxUk | |
| Shovel | https://amzlink.to/az0XM0Aukb2KQ | |
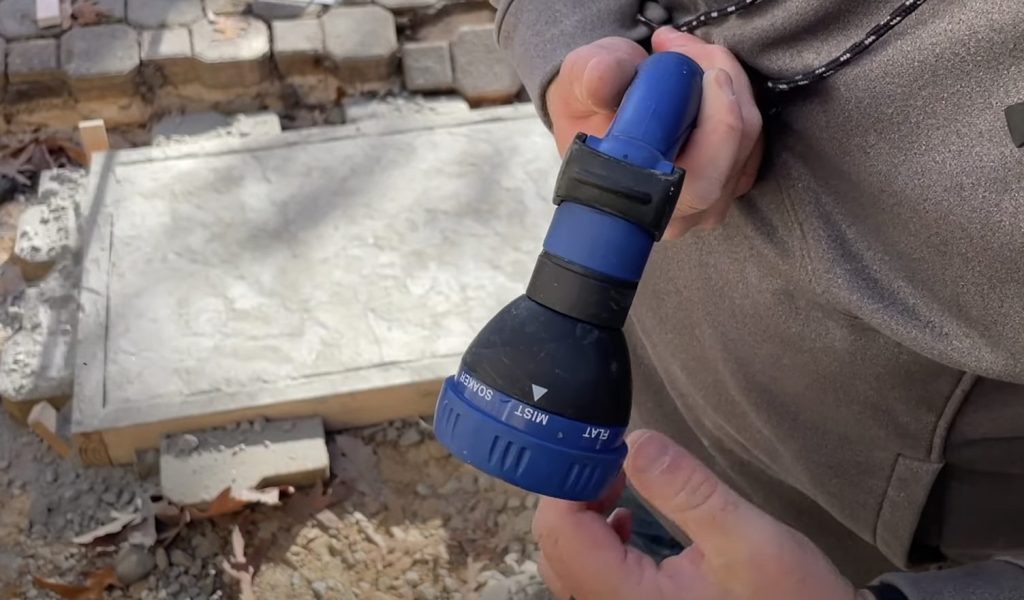
| Hose Nozzle Mist Sprayer | https://amzlink.to/az0btVtj8zow5 | |
| Porter Cable Drill Driver | https://amzlink.to/az0pzg3n38yoh | |
| 3″ Construction Screws | https://amzlink.to/az0Vgm8IXprXU | |
| Concrete Mix (What I used) | SAKRETE 80 lb. Gray Concrete Mix 65200390 – The Home Depot |
Here is the list of items I used. As an Amazon Associate I earn from qualifying purchases.
Step one is picking the type of concrete to use
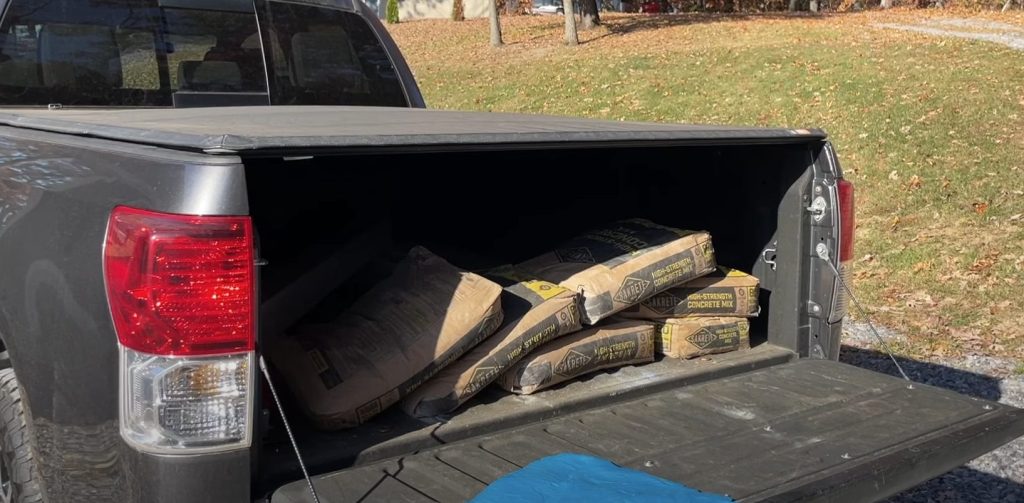
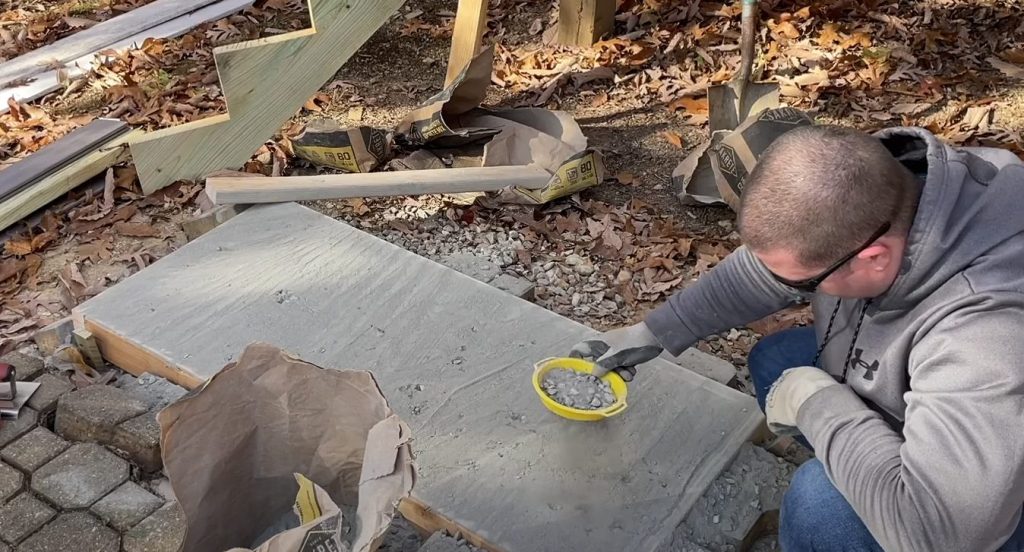
The type of concrete you use matters. I try to use dry ready-mix concrete. This is the basic bagged concrete mix that is designed for general use. I will show you the secret to getting the aggregate to lay smooth. Using this type of concrete is good because it does not have any fast setting agents in the mix. We want the concrete to absorb water over time and get fully cured.
You can purchase this type of concrete at your local big box store. This is where most people get their concrete bags. I like getting mine at Home Depot, only because they usually keep it stored inside. This ensures that its dry and mostly powder. Your Home Depot may be different and keep it outside under the canopy.
Making a concrete form for your pad
Now you need to determine the size of the pad you are wanting to pour. Your form will need four sides and you will need to make sure you can take the form off the concrete without damaging it at the end.
To make the concrete form, you will need 2×4’s that are straight. You will need to cut the boards to the size of your form and secure them in place. I always make sure to use screws and make sure they are accessible after the pour. This will allow you to take apart the form after the concrete is dried.
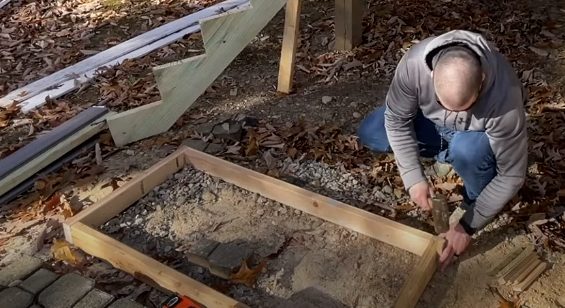
Once you make your form, place it down in the are you are wanting to pour. I use gravel for the base of my form and then I level the form using the gravel, or shims. You can also use stakes and screw the form into the stakes. Make sure the stakes are not obstructing the sides because you want to be able to run the screed board over the sides later. If the stakes are sticking up they will get in the way of your screeding.
Having a well build form keeps the concrete from spilling out and ensures crisp clean edges on your slab. Make sure you take your time at this step.
Pour the concrete
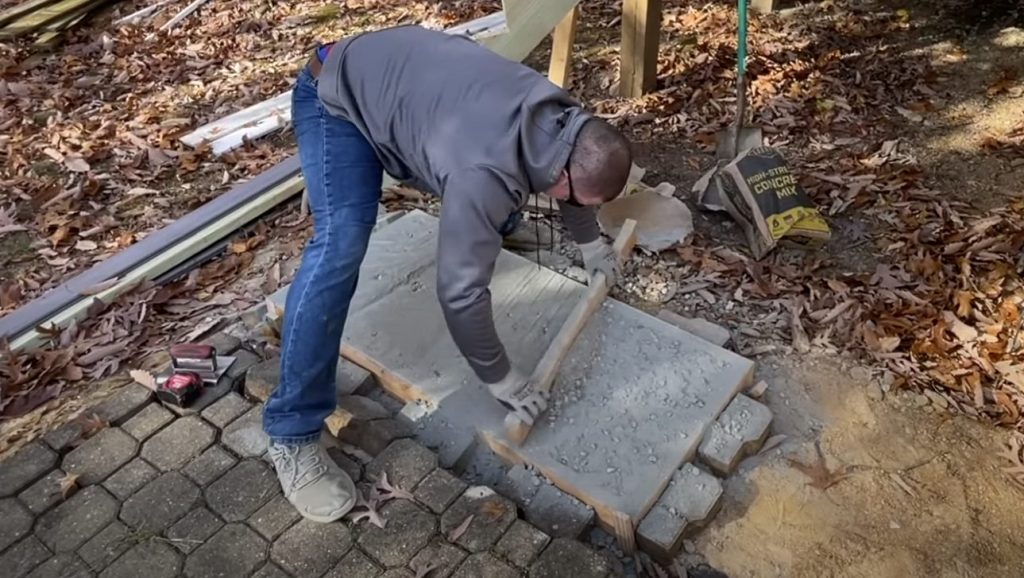
Pouring the concrete into the form is fairly straight forward. I used 80 pound bags. Since I used the heavy bags, I placed the bag into the form and then cut out the bottom of the bag to pour it in. You can cut the bag outside the form and pour it in also. I didn’t want to be spilling all the concrete trying to handle the bag, so I just cut it inside the form. You can take your shovel and hit the spade part against the bag which will rip the paper. This is how I normally do it.
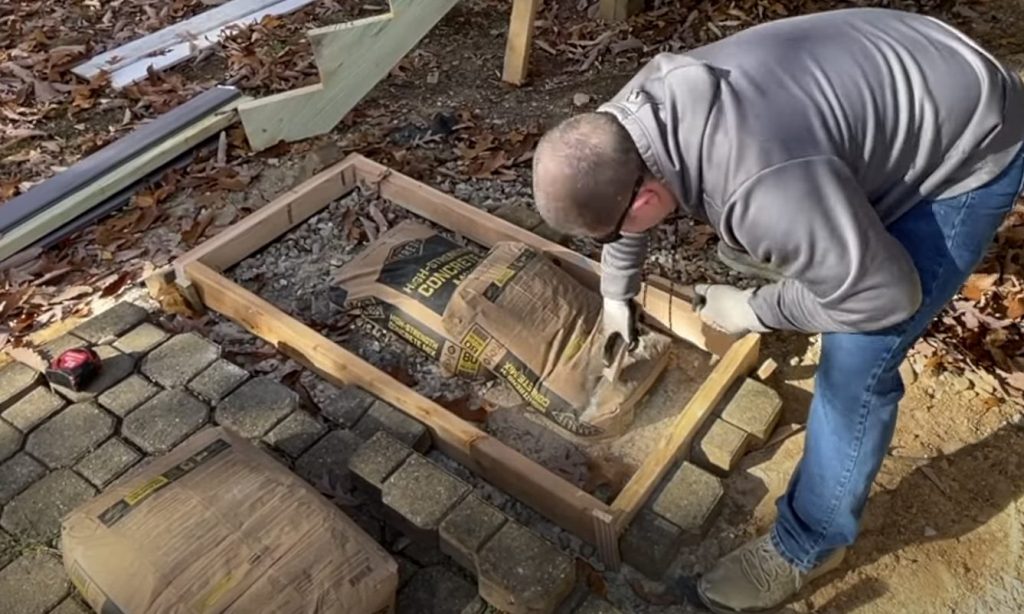
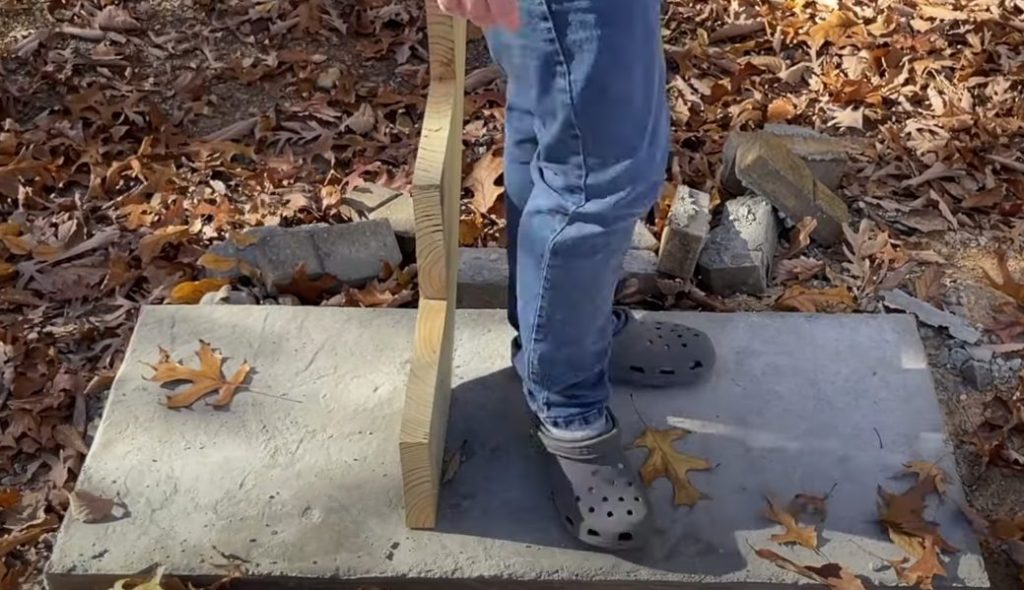
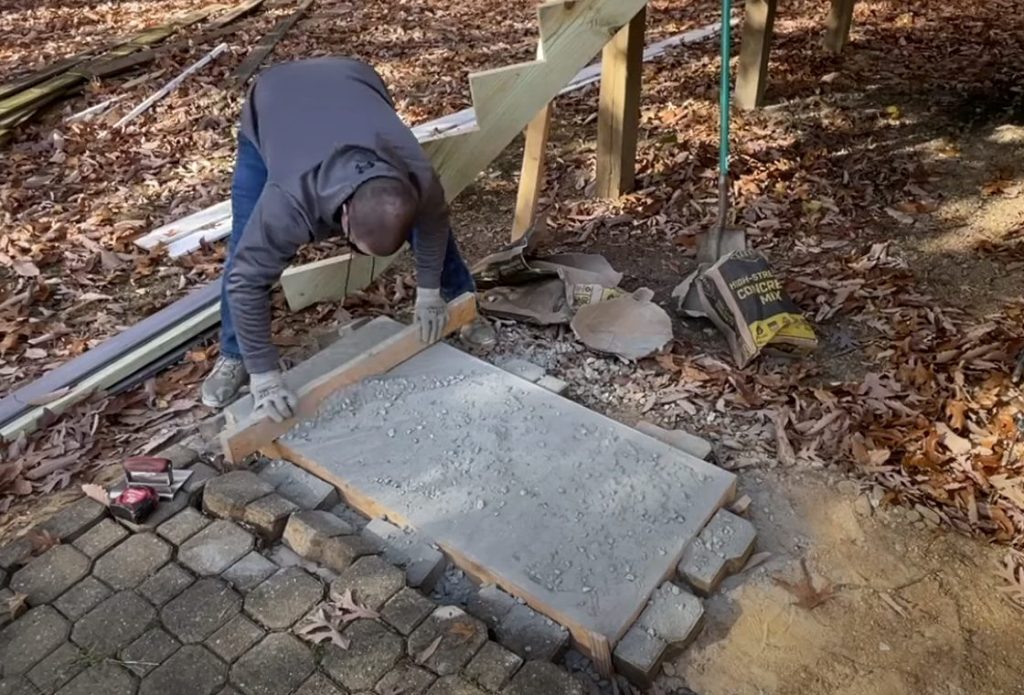
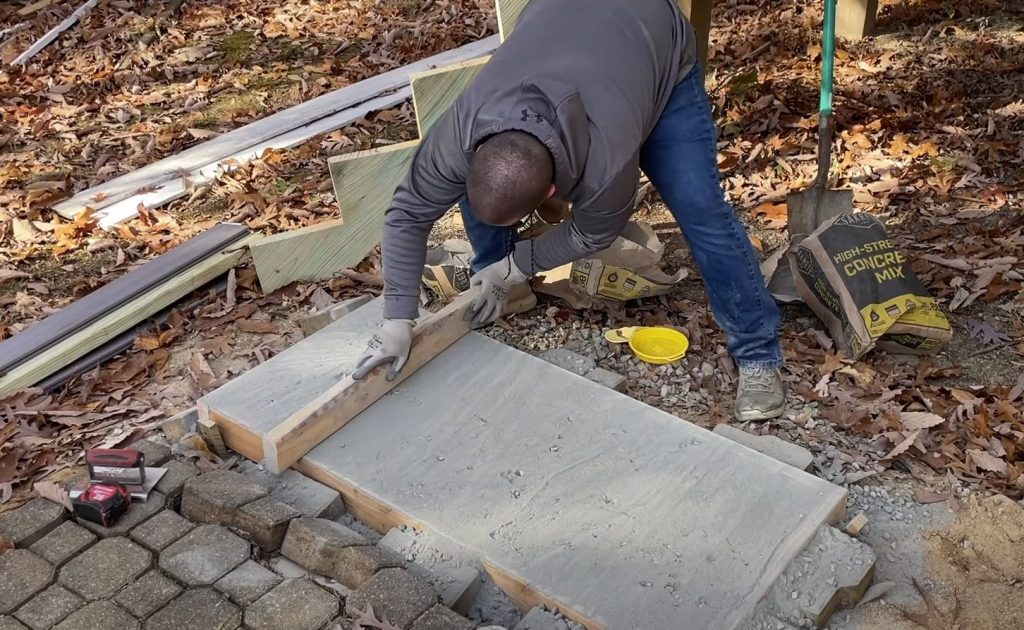
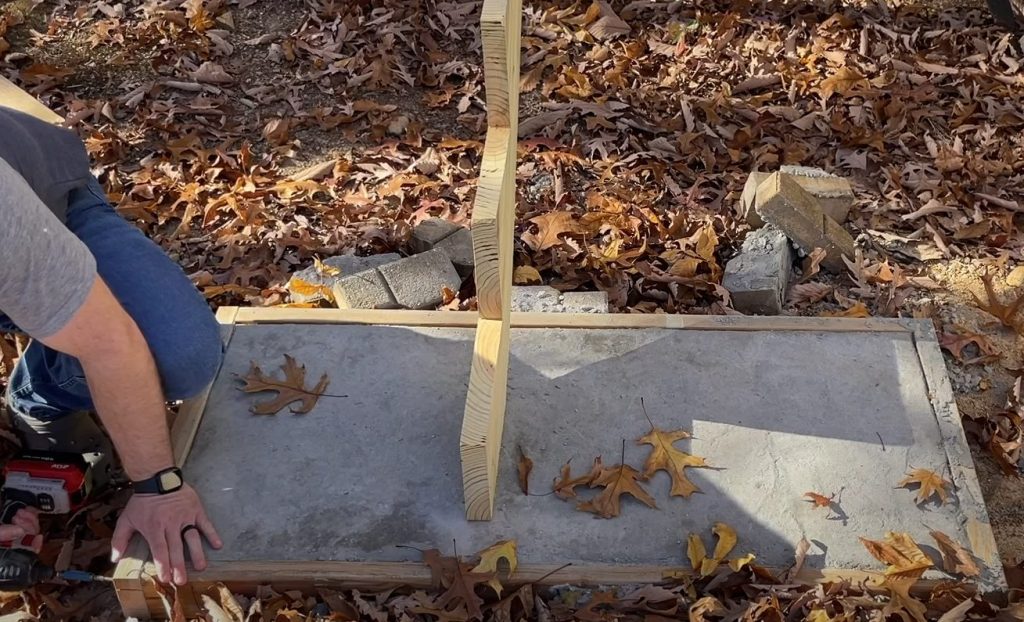
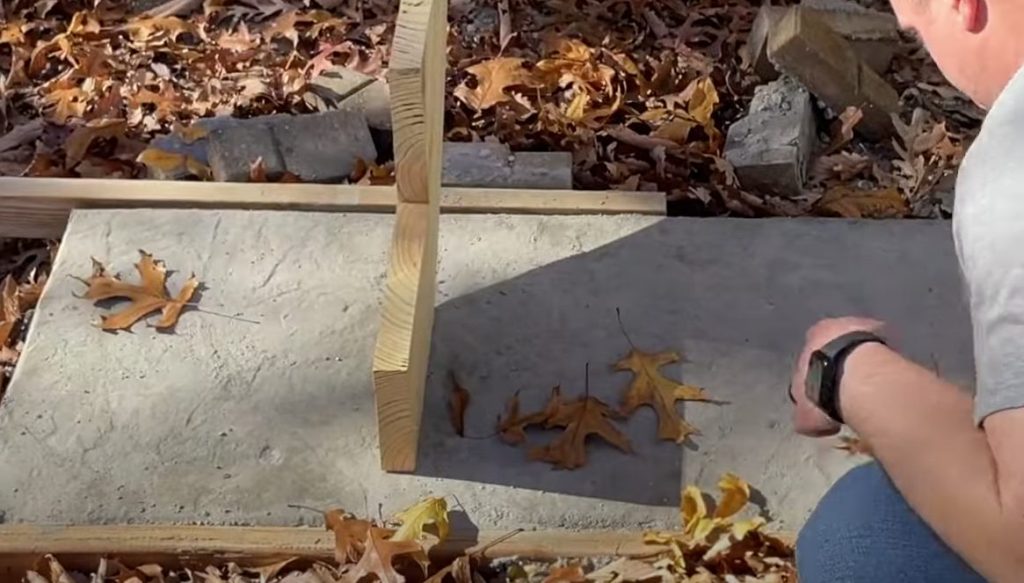
Dump the dry mix directly into the form. Now you will spread it around by dumping it all over. Once you get the dry mix near the top of the form all over, you will need to make sure to rake or shovel it around. Once you have it in place you will need to take a screed board across the top of the 2×4’s to level the top to the top of the form. I used a straight 2×4 for my screed board and turned it on its side. When I say on its side, I mean I turned the skinny side down which is 1.5 inches wide. The screed board will need to be longer than your form so you can move it back and forth.
Now you will start at one end, moving the screed board back and forth, push the concrete across the form. This will look like a sawing motion. Screeding will push the concrete into the voids and holes on the surface and hopefully leave you with a smooth top. The screeding may leave some aggregate on top but going back across the form again slowly should make it disappear.
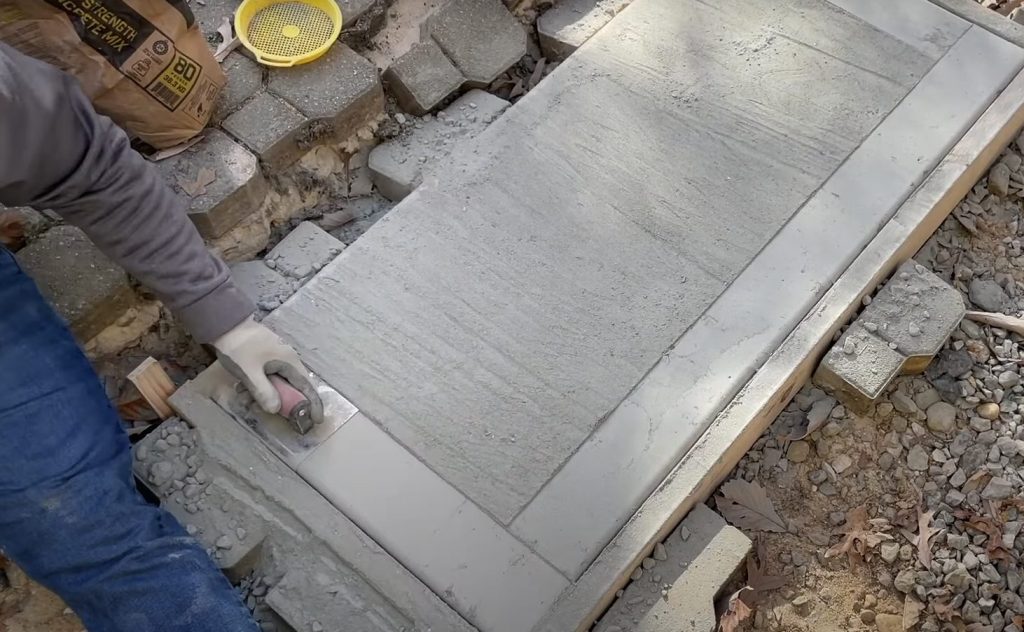
Finishing the concrete the normal way
Typically when you get to this step, you have your form ready with the concrete screeded. Now you will take a dry paint roller with a short knap and roll it lightly over the concrete powder. This will create a smooth surface for your concrete. This will not be as smooth as a troweled concrete slab but it looks more like a sandpaper finish. Its very presentable and most dry pour concrete pours that I have seen use this method.
I’m not going to go over this method because I stamped my concrete with a texture. You will need to round over the corners if you want them to be shaped. I will go over this in the next section.
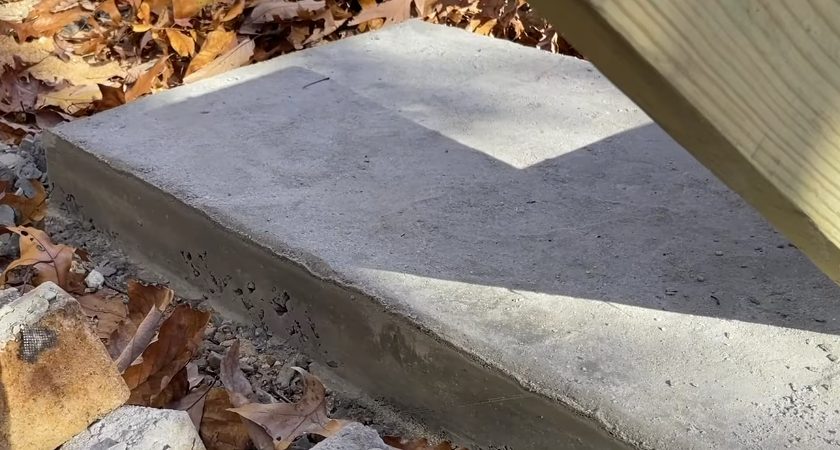
Rounding over the slab corners of Dry Pour Concrete
Rounding over the slab corners of dry pour concrete takes some finesse. The reason that you would round over the corners is to prevent the chipping off of the sharp concrete edges. Take a small round over trowel and shape the corners by pushing and pulling it across the edges of the form. You will need to be careful you don’t push down too hard or you will dig into the dry concrete. I did this several times and if you watch my YouTube video you will see that it takes a light hand.
Since the mix is try you won’t be able to hold the shape as easily as when the concrete is wet. If you take your time and a soft touch you will be able to round the corners over nicely.
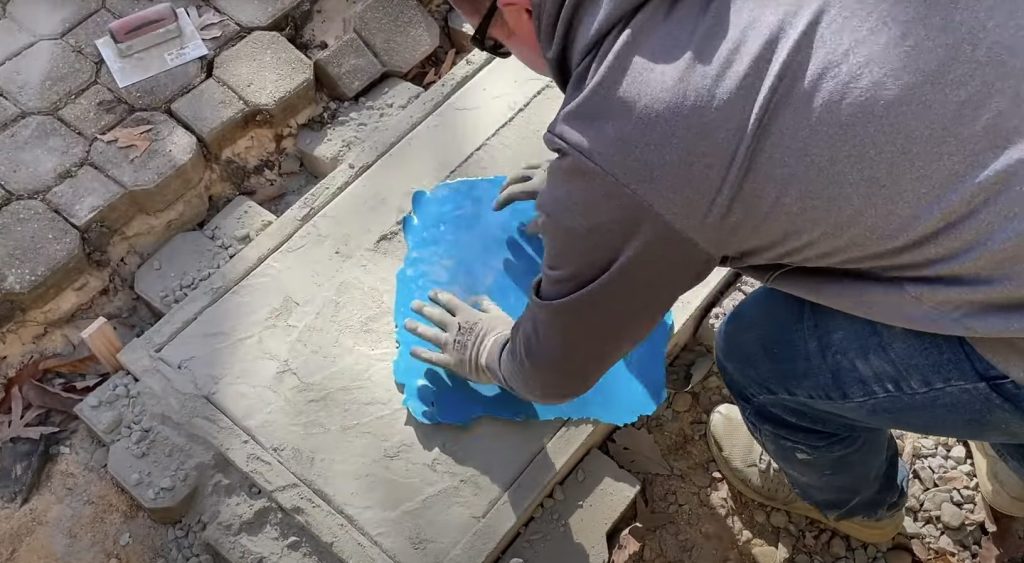
Stamping Dry Pour Concrete with Decorative Finishes
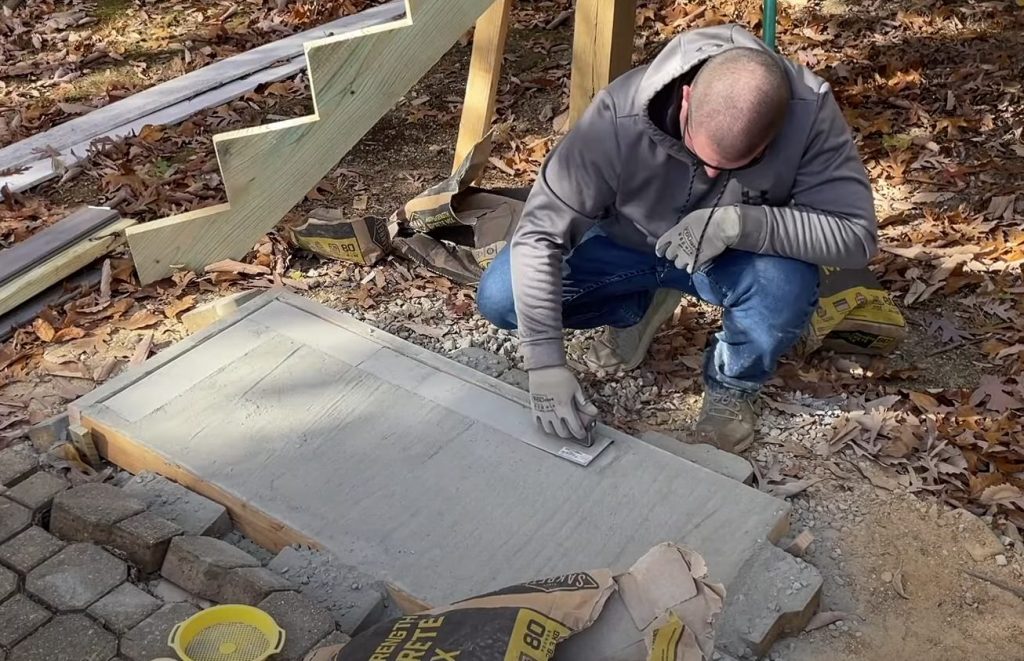
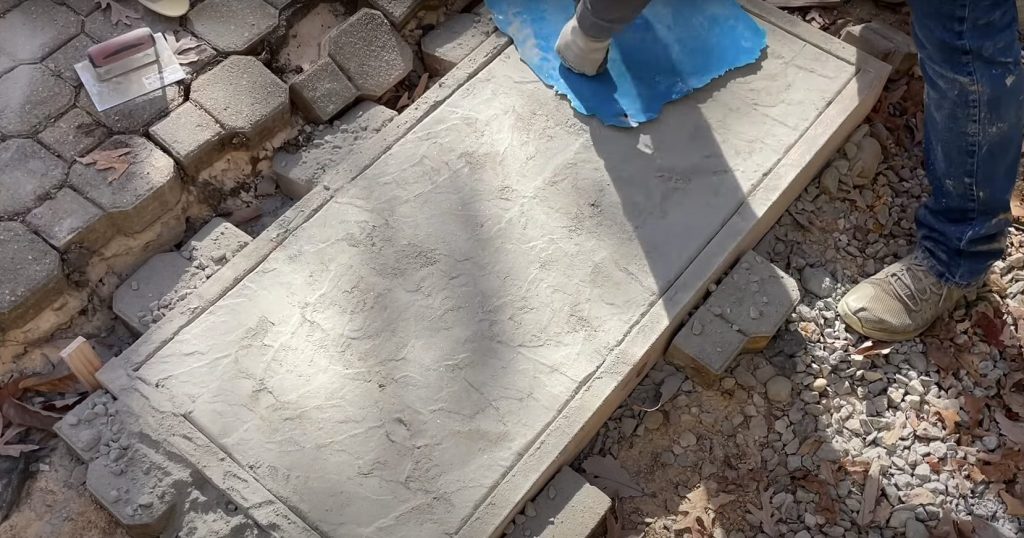
Now the nest part. This is so much easier than stamping wet concrete. Some may argue that dry pour can’t be used with a stamped texture. This works incredibly well and will hold the shape of the stamp easily. Take the stamp and push down on it with your hands. Make sure you are alternating the stamp around so that you don’t get the same texture pattern.
I would stamp then randomly turn the stamp a different direction to get a different pattern.
You don’t need to press very hard with the stamp. I experimented with stepping on the stamp or hitting the stamp with my palm. You only need to put some consistent body weight with your hands onto the stamp. This will efficiently push the stamp into the dry pour concrete and make your decorative finish. Once you are satisfied with your stamping you can move onto watering process.

Watering dry pour concrete and how to make it turn out perfect
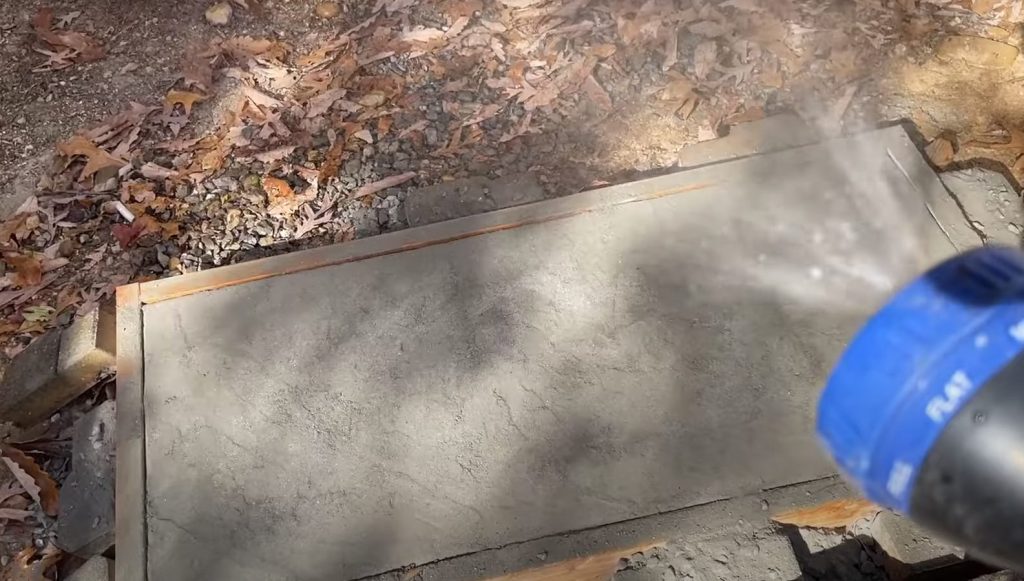
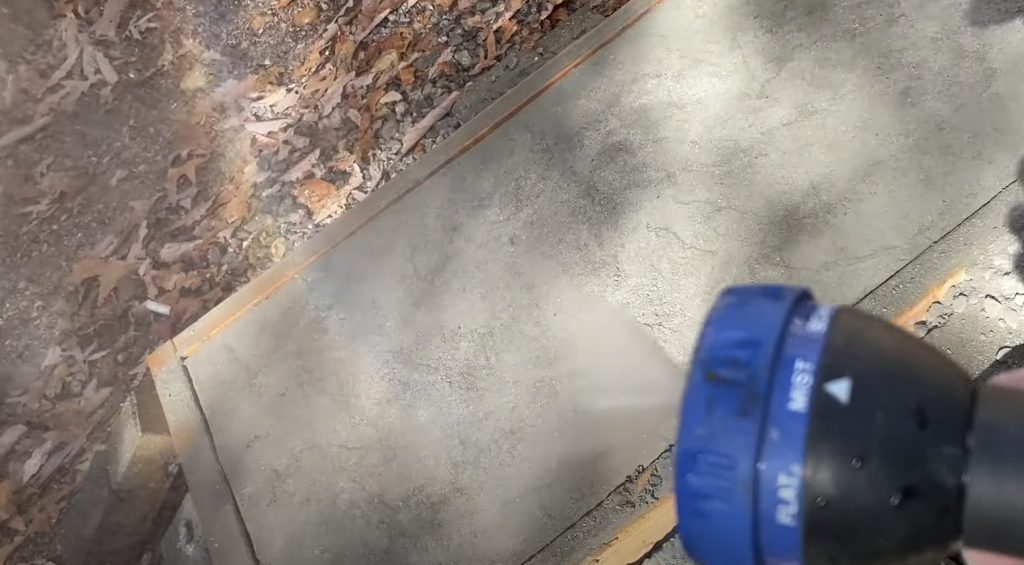
The water part! This is when you finally introduce water into the equation. Dry pour concrete is unique because you are watering it in place to where its going to be set. This is a difficult concept to some and will drive professionals crazy. I will admit, I have been in the construction field and this is not the normal way to pour concrete.
By pouring the concrete this way you are not getting the strongest possible mix, but this method isn’t meant to be the strongest way to pour concrete. This method is mostly used for foot traffic or to make a slab yourself without the effort of mixing the concrete.
For the watering I used this formula:
💦 Watering Schedule
First Half Hour – Mist for about 10-20 seconds
Second Half Hour – Mist for about 20 seconds
Wait One Hour Be careful but start drenching the top with low pressure each hour per thickness of the slab
Every Inch add 1 hour
Wait 48 hours or more to remove the forms
If you see the top of the slab being washed away during your watering you will need to stop and wait for the water to soak in. This can happen really fast so make sure you are using a low mist setting and turn down the pressure if you need to. You don’t want the top texture to be washed away. This will ruin your pour!
How to remove the concrete form from your dry pour concrete
To remove the concrete forms from your dry pour concrete you will need to take out the screws that you left accessible on the sides. Once you back out the screws you can try to pull the boards off the side of the slab. Make sure you are being careful as the concrete may still be a little brittle on the edges. Pull off the boards and admire the beautiful job you did.
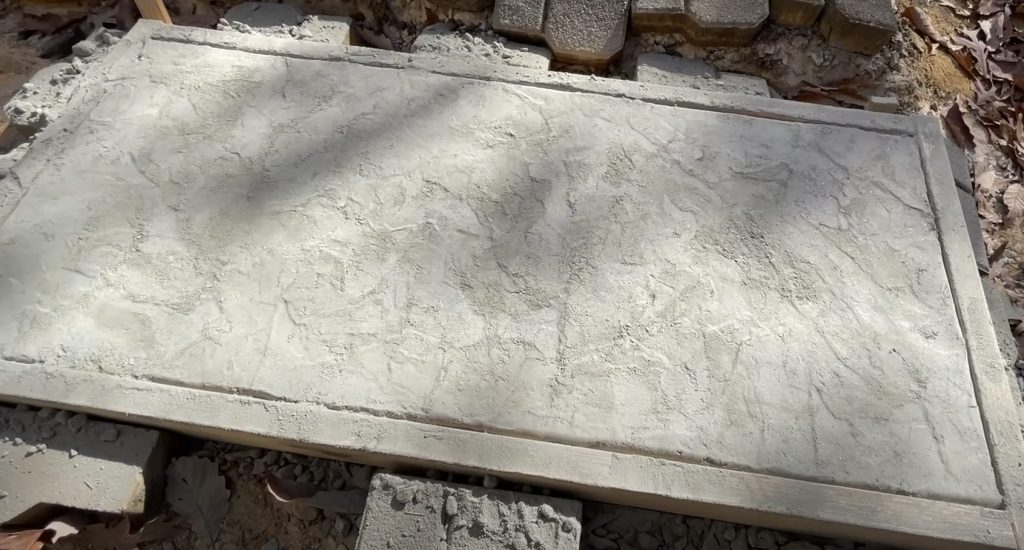
Should you use the dry pour concrete method?
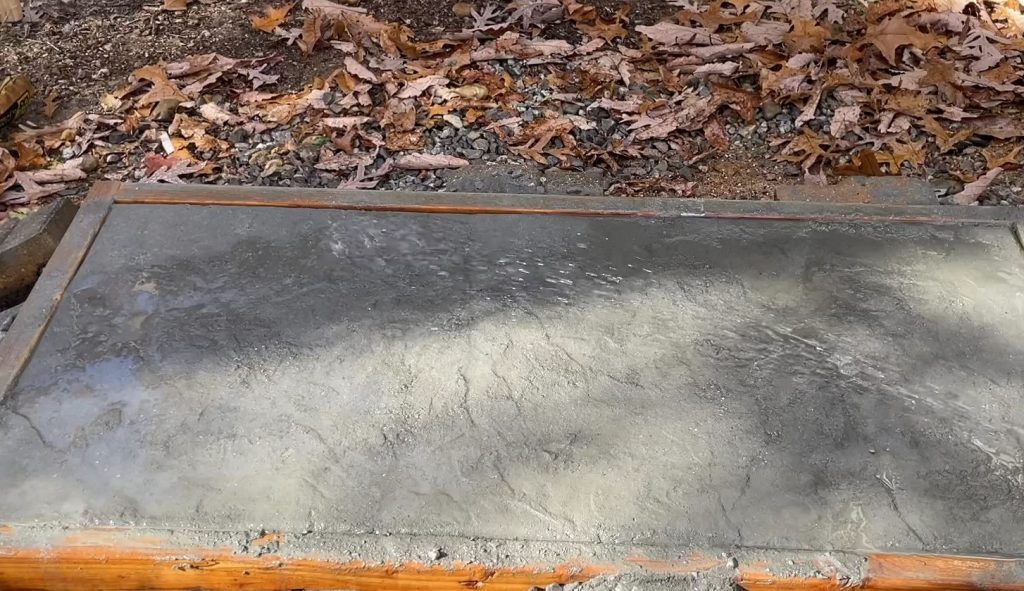
As you can see, I used this method and it worked wonderfully. If you are on the fence about trying the dry pour method you can see the results that I got. You will need to make sure you follow the steps and water the concrete enough at the end of the pour. If you don’t water the concrete enough you will have dry crumbly concrete. I have seen several videos on YouTube where users haven’t watered their slabs enough and they don’t get good results .
Don’t expect regular concrete with this method. Set your expectations for dry pour concrete. It will look good and serve its purpose but may not be as strong as normal concrete.
If you’re thinking about trying it, I’d definitely recommend it. It worked for me, and I’d use it again anytime I need a quick easy slab. Good luck and I am confident you will be able to tackle this project yourself. Take care.